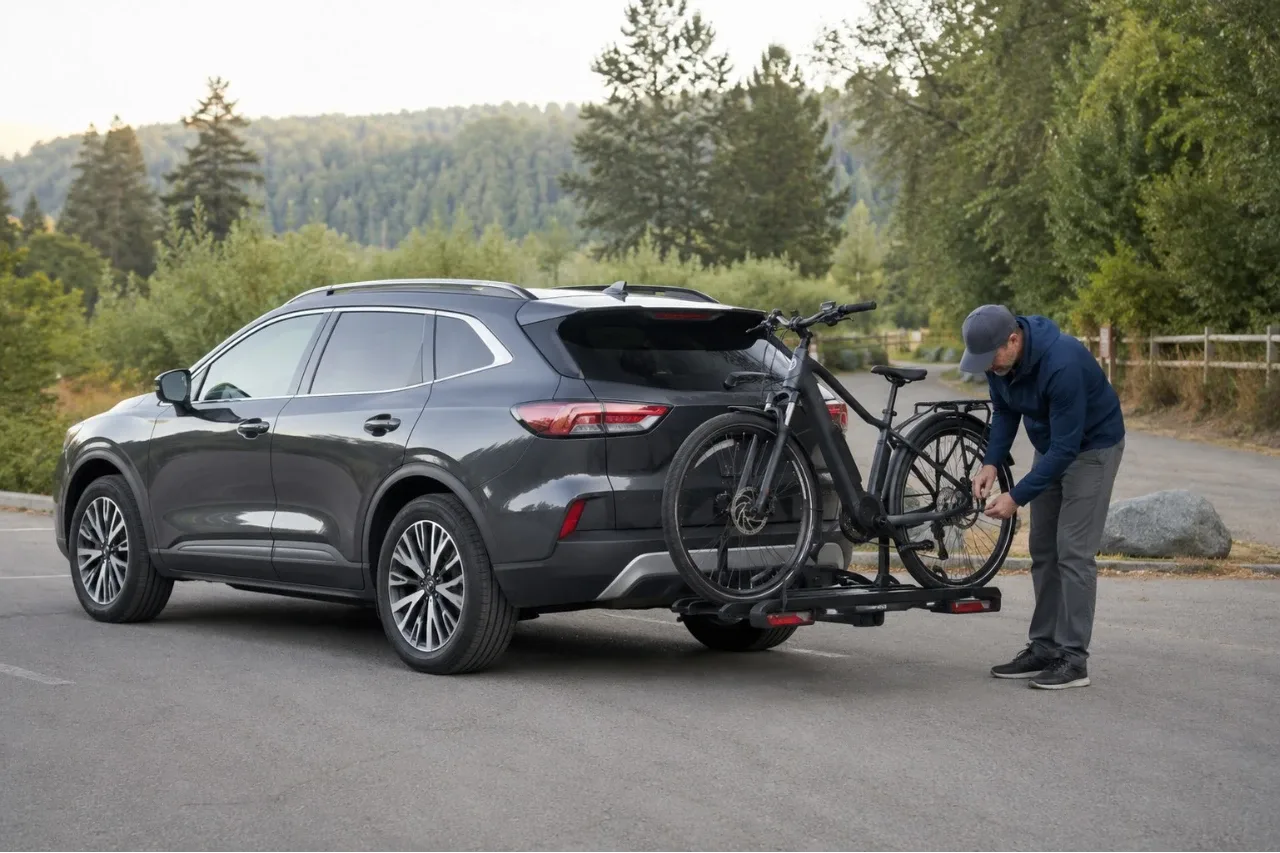
The safest way to transport an e-bike is to use a method rated for the bike’s actual transport weight, secure it at manufacturer-approved points, and check the entire setup before driving.
For many heavy e-bikes, a properly fitted hitch-mounted platform rack is the most practical option. Transporting the bike inside an SUV, van, or pickup can also work when it is restrained to suitable cargo anchors.
This guide covers road transport in a personal vehicle. Airline and public-transit rules are different. If you plan to fly, read the separate guide to flying with an e-bike and its battery before booking.
Start with the complete weight and fit check
Do not choose a rack based only on the number of bikes it claims to carry. Published limits may change with receiver size, road surface, vehicle type, or add-on trays.
Check every applicable item before loading:
| What to check | Why it matters |
|---|---|
| E-bike weight as transported | Include any battery and accessories that will stay on the bike. |
| Rack capacity per bike | One heavy bike can exceed this limit even when the total load is acceptable. |
| Rack total capacity | Add the transport weight of every bike. |
| Tire width and wheel diameter | The wheels must fit the trays and straps correctly. |
| Wheelbase and frame fit | Long cargo bikes and unusual frames may not fit or reach approved contact points. |
| Rack weight plus bike weight | The vehicle and hitch must support the complete installed load. |
| Vehicle, receiver, and rack compatibility | A rack’s rating does not override a lower vehicle or receiver limit. |
| Intended use | Some racks have different ratings for paved roads, rough roads, trailers, or RVs. |
The lowest applicable limit controls. If a specification is missing or unclear, contact the vehicle, rack, or e-bike manufacturer rather than estimating from appearance.
For example, a rack rated for 120 lb (54 kg) total but only 60 lb (27 kg) per bike cannot carry a 70 lb (32 kg) e-bike, even when no second bike is loaded.
Choose the right transport method
Hitch-mounted platform rack
A hitch-mounted platform rack is often the easiest exterior option for a heavy e-bike because the wheels sit in trays and loading height is relatively low. It must match the bike’s weight, tires, wheelbase, fenders, frame shape, and approved clamping points. Even an “e-bike ready” rack may be underrated for a cargo, moped-style, or dual-battery model.


Inside an SUV or van
Interior transport protects the bike from road spray and theft exposure, but it must be secured to suitable cargo anchors. Do not rely on a folded seat, closed hatch, blanket, or luggage. Confirm whether the bike may be laid on its side and avoid loading the derailleur, brake rotor, display, levers, cables, or charging port.
In a pickup bed
Use a truck-bed carrier, wheel holder, fork mount, or tie-down method approved for the bike and vehicle. Attach restraints to designated anchors and approved points on the bike; a bungee cord is not a primary restraint. Protect painted surfaces, cables, brake hoses, and the derailleur.
On a roof rack
Roof transport requires overhead lifting and increases vehicle height. Use it only when the roof, crossbars, carrier, and hardware are approved for the complete load. Measure the loaded height and keep a reminder in the vehicle for garages, drive-throughs, branches, and covered parking.
Hanging or trunk-mounted rack
Use a hanging or trunk-mounted rack only if its manufacturer approves the bike’s weight and frame. An adapter bar can help some step-through frames fit, but it does not increase weight capacity.
Prepare the e-bike before loading
Work on level ground away from traffic when possible. Avoid lifting or loading in strong wind.
- Turn the e-bike off. Remove the key if the bike uses one.
- Remove the battery when the manuals permit or require it. Removing a detachable battery can reduce lifting weight and protect it from road spray and theft. Some systems have integrated or non-removable batteries, so follow the bike manufacturer’s instructions rather than forcing removal.
- Secure a removed battery inside the vehicle. Keep it dry, out of direct sunlight, protected from impact, and restrained so it cannot slide. Prevent keys, tools, coins, or other metal objects from contacting its terminals. Protect exposed contacts only as directed by the manufacturer.
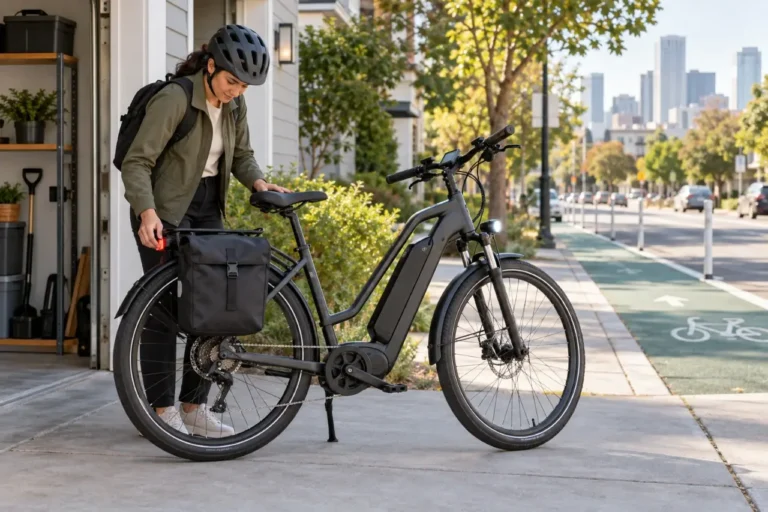
- Remove loose accessories. Take off panniers, child seats, baskets, bottles, pumps, phone mounts, detachable lights, and other items that could move or catch wind unless their manuals approve transport while installed.
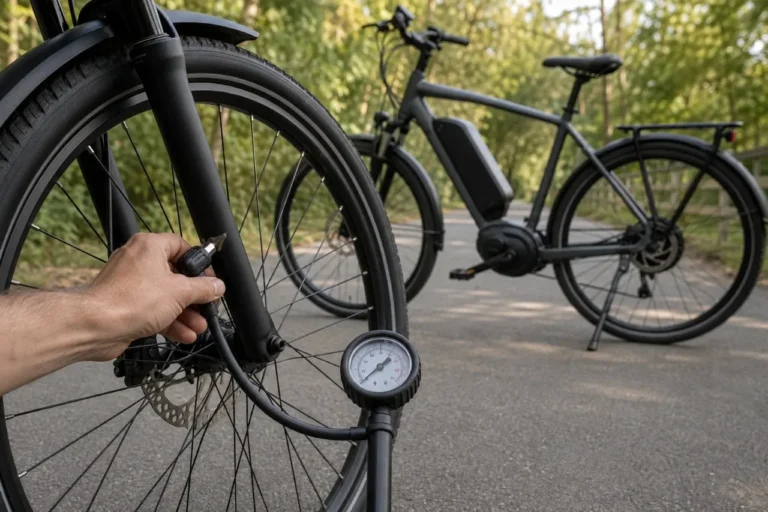
- Check wheels and tires. Confirm that quick releases or thru-axles are fully secured and that the tires are within the bike and tire manufacturers’ approved pressure range. See the e-bike tire pressure guide if the pressure needs attention.
- Fold only a folding e-bike. Follow the exact sequence for its frame latch, stem, pedals, and battery. Make sure every transport latch is fully engaged.
Do not load a battery that is swollen, cracked, leaking, unusually hot, producing a strong or unusual odor, recalled with stop-use instructions, or damaged by a crash or water exposure. Review the warning signs of e-bike battery damage and contact the manufacturer or a qualified battery service provider for instructions.
If there is smoke, fire, hissing, or immediate danger, do not touch or move the battery. Move people away, call 911 or the local emergency number, and follow emergency personnel’s directions.
Load the bike without damaging it—or yourself
Ask another adult for help if the bike, rack height, or frame shape makes the lift uncertain. Use an approved loading ramp when available.
Hold stable frame areas identified by the manufacturer, not the display, saddle, fender, brake lever, cables, or battery. Follow any specified loading order; placing the heavier bike closer to the vehicle is not a universal rule.
Once the wheels are seated, apply the rack’s wheel straps, hooks, arms, or clamps in the specified order. Keep straps and clamps away from:
- Hydraulic brake hoses and electrical cables
- Valve stems and wheel spokes
- Displays, controls, and charging ports
- Battery housings and battery mounts
- Thin, damaged, or unapproved frame tubes
- Carbon-fiber components unless the rack maker expressly approves contact
With two bikes, check for handlebar, pedal, frame, and cable interference. Do not force them together or allow components to rub.
Secure the complete setup before driving
Use the rack’s primary retention system first. Add secondary straps only when permitted. A lock may discourage theft but does not replace transport restraints. For stops, follow the basics of locking an e-bike correctly.
Before departure:
- Confirm the rack, hitch pin, wheels, and every retention point are secure.
- Gently test the bike for independent side-to-side or upward movement.
- Keep straps away from tires, wheels, the road, and hot exhaust parts.
- Check lights, plate, camera, sensor, liftgate, and exhaust clearances.
- Measure added vehicle length or height when relevant.
Plate visibility, lighting, and rear-load rules vary by state and locality. Check every jurisdiction on your route, especially if the rack blocks the plate or taillights.
Do not use a loose tarp. It can flap, tear, obstruct lights, and add wind load. Use a transport cover only when both the cover and rack manufacturers approve that exact use at road speeds.
Recheck the rack during the trip
Inspect the setup before moving, then recheck it at the first safe opportunity after a short initial drive if the rack manual recommends an early check. Check again at fuel, meal, or rest stops and after rough roads, severe crosswinds, or sudden braking.
Look for loose straps, a shifted frame arm, hitch movement, bike contact, or a flapping cover. Follow rack-specific speed, road-surface, RV, trailer, and off-road restrictions.
Allow extra room when turning and backing, avoid abrupt maneuvers, and watch steep driveways. Never take an exterior rack through an automatic car wash.
Rain and road spray can leave electrical areas and brake rotors wet or dirty. After wet transport, follow the drying and inspection steps in the guide to using and caring for an e-bike in rain.
Inspect the e-bike after arrival
Unload on level ground. Before reinstalling a removed battery, confirm that the battery, mount, and contacts are clean and dry. Install and lock it exactly as the manufacturer directs.
Before riding:
- Squeeze both brake levers and confirm normal resistance.
- Spin each wheel and look for rotor, fender, or tire rubbing.
- Check the handlebars, stem, seat, pedals, and folding latches.
- Inspect the derailleur, wiring, battery mount, and exposed connectors.
- Confirm accessories removed for transport have been reinstalled securely.
Do not ride if the bike fell, was struck, or shows damage to the frame, fork, steering, wheels, brakes, wiring, battery, or battery mount. Have it assessed by a qualified bicycle or e-bike professional first.
Frequently asked questions
What is the safest way to transport a heavy e-bike?
A properly fitted, e-bike-rated hitch platform rack is often the most practical choice. The bike, rack, hitch, receiver, and vehicle must remain within every applicable limit.
Should I remove the battery before transporting an e-bike?
Remove a detachable battery when the instructions permit or require it. If it must remain installed, secure it as directed and include it in the weight calculation.
Can an e-bike be laid down inside an SUV?
Only if the e-bike manufacturer permits that orientation. Secure the bike to suitable cargo anchors and avoid loading the derailleur, brake rotors, controls, display, or cables. Never leave the bike loose in the cargo area.
GoEBikeLife publishes independent e-bike reviews, comparisons, and practical buying guides. Some links on this page are affiliate links. If you make a purchase through an eligible link, we may earn a commission at no additional cost to you.