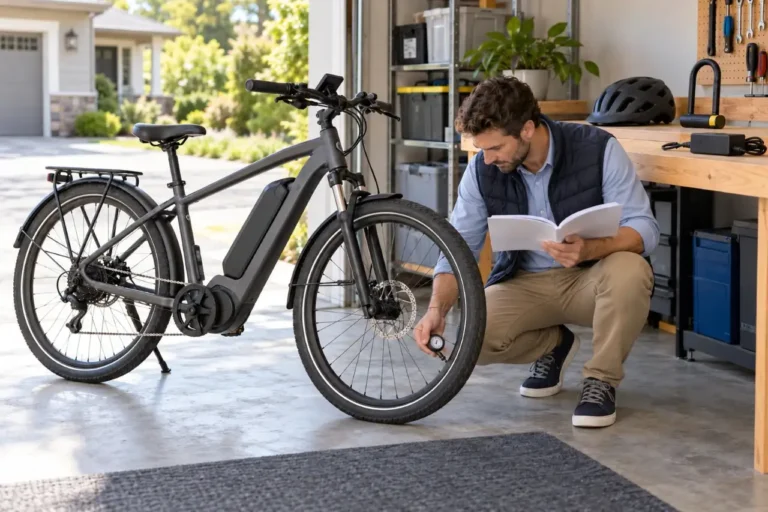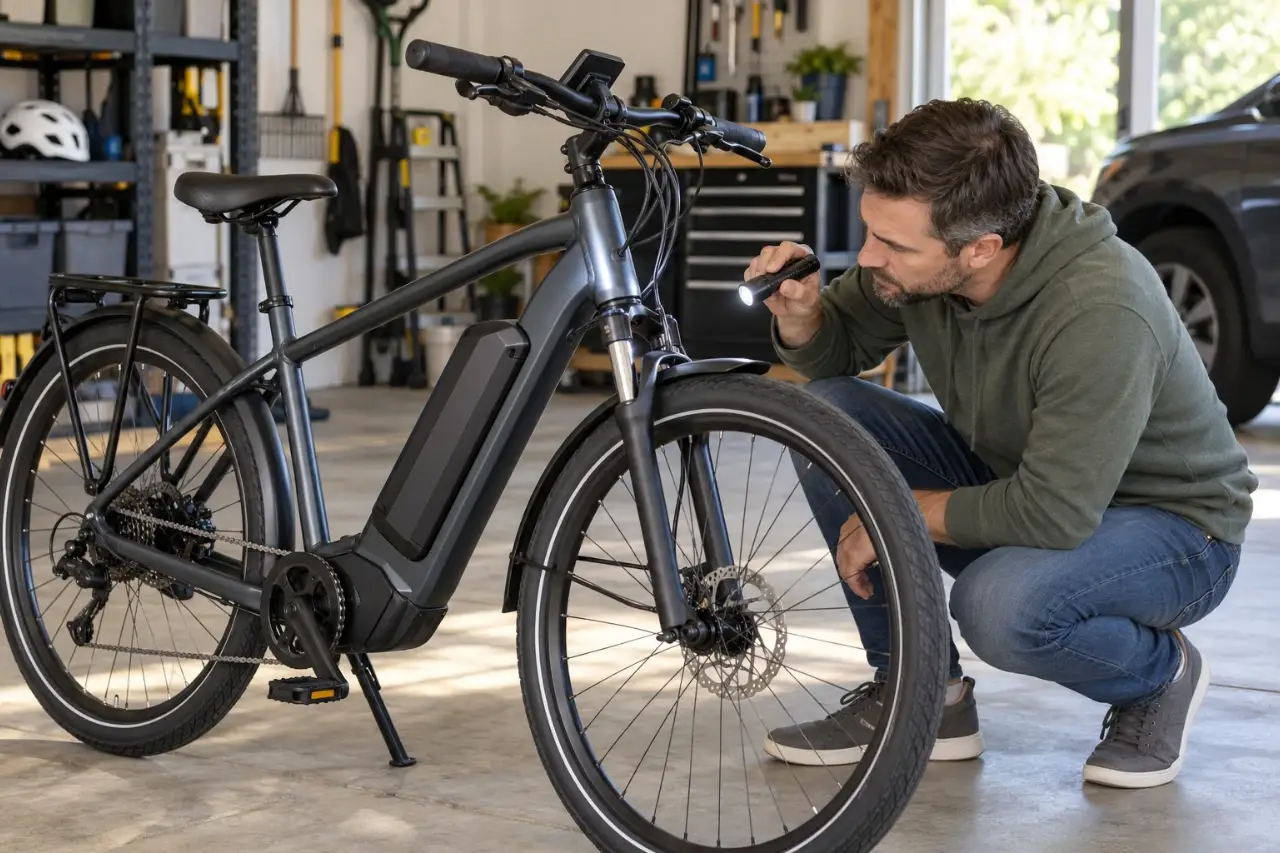
An e-bike frame inspection starts with a quick look at the frame, fork, and attachment points before every ride. Check for new cracks, dents, bending, loose mounts, and changes in wheel alignment. After a hard impact, inspect more thoroughly—even if the bike appears normal. Do not ride if you suspect structural damage. Have a qualified bicycle technician or the e-bike manufacturer evaluate the problem before the bike is used again.
The frame supports the rider and connects the steering, wheels, battery, and drivetrain. A few minutes spent noticing what has changed can help you identify a problem, but a visual check cannot guarantee that a frame is free of hidden damage.
When Should You Inspect an E-Bike Frame?
Use three levels of inspection:
- Before every ride: Make a brief visual pass around the frame, fork, wheels, and visible mounts. Look for anything loose, bent, cracked, or different from the last ride.
- During routine cleaning and maintenance: Look more carefully at welds, joints, the underside of the downtube, and areas normally hidden by road grime. Inspect more often if you carry heavy loads or regularly encounter rough roads.
- After a significant impact: Stop using the bike until you have checked for damage. A crash, hard pothole strike, vehicle-rack incident, or shipping mishap can affect parts that still look intact. If the impact was severe, steering or alignment has changed, or damage is uncertain, arrange a professional inspection before riding.
This is a frame-focused check, not a replacement for a full e-bike pre-ride safety checklist, which also covers brakes, tires, lights, and controls.
Prepare the Bike for a Safe Visual Inspection
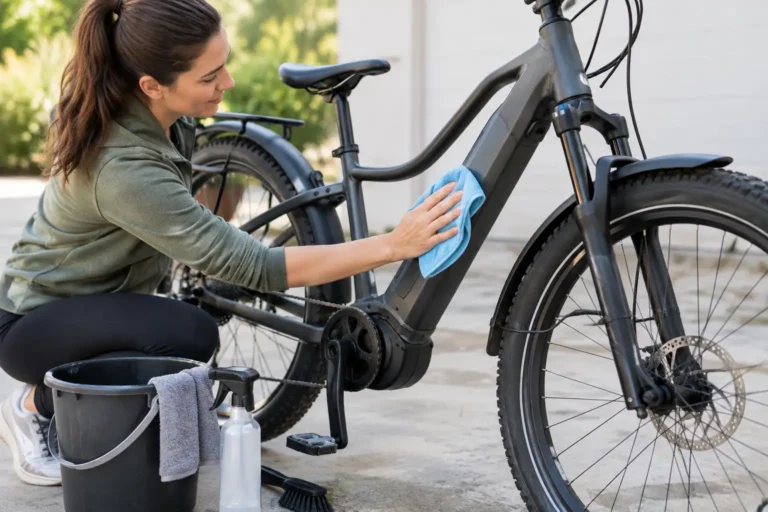
Park the e-bike securely on level ground in good light, disconnect any charger, and switch off the electrical system. Use a flashlight to see under the tubes and around mounting points. If necessary, wipe away surface dirt with a soft, damp cloth; avoid a pressure washer, which can drive water into sensitive areas. See our guide to e-bike cleaning mistakes for cleaning precautions.
| Preview | Product | Price | |
|---|---|---|---|

| PHIXTON Rechargeable Flashlight High Lumens 100000 One Mode for Home Travel | $29.99 | View on Amazon |
You generally do not need to remove the battery, wheels, motor, or other parts for this visual check. If a cool, undamaged battery is intended to be removed by the owner and the manual permits it, removal may improve access to its mount. Never force a stuck battery or disturb its wiring. Do not handle a battery that is smoking, leaking, swelling, unusually hot, or otherwise showing signs of failure.
How to Inspect an E-Bike Frame: Five Key Areas
1. Head Tube, Front Triangle, and Fork
Begin where the handlebars and fork connect to the frame. Examine the head tube and the junctions where the top tube and downtube meet it. On a step-through e-bike, follow the lower structural tubes and their joints rather than looking for a top tube that may not exist.
Watch for a narrow line near a weld or joint, a deep gouge, lifted paint along a seam, a dent, an unusual bulge, or a tube that no longer looks straight. A mark is not automatically a crack, but appearance alone may not reliably distinguish paint damage from structural damage.
Look at the fork legs and the fork crown just above the front wheel. The fork is a separate component, yet it is essential to steering and braking. Do not ride with a suspected crack, bend, significant impact mark, or other possible structural damage to the fork. Unexplained movement near the headset or steering assembly also needs attention before riding.
2. Downtube, Battery Mount, and Cable Openings
Check both sides and the underside of the downtube, especially around battery rails, fastening points, and openings where cables enter the frame. On some e-bikes the battery is built into the downtube; on others it is attached externally. Inspect only what is safely accessible without disassembly.
Look for distorted mounting tabs, cracks around mounting bosses, newly exposed metal, and changes in the battery’s position. A battery that rattles, shifts, or fails to latch securely may have a latch or mounting problem rather than a cracked frame. Either way, do not ride until the attachment is secure and the cause has been resolved.
Follow the manufacturer’s procedure and torque specifications for any adjustment the owner is permitted to perform. Never tighten battery-mount bolts or frame inserts by guesswork.
3. Bottom Bracket and Mid-Drive Motor Area
Inspect the frame around the crank arms and bottom bracket. On a mid-drive e-bike, also look around the motor-to-frame interface. Grime often collects in this area and may hide small changes.
Look for cracked welds or joints, distorted brackets, loose or missing external hardware, or an unfamiliar gap around the motor mount. A new creak while pedaling is not proof of a cracked frame—it can also come from the crank, pedals, seatpost, or mounting hardware—but it deserves investigation.
Do not remove or retighten motor mounts unless the manufacturer explicitly provides an owner-level procedure and the required specifications. Have a qualified e-bike technician diagnose unusual movement or damage.
4. Chainstays, Seatstays, Dropouts, and Rear Wheel
Follow the chainstays from the crank area to the rear axle, then inspect the seatstays running toward that axle. Check both the outside and the inside faces, where a chain strike, rack hardware, or road debris might leave damage.
Focus on the dropouts, the places where the wheel axle attaches to the frame. Look for cracks, bending, missing hardware, or a rear wheel that appears off-center after an impact. A crooked wheel can result from several problems, including the wheel, axle attachment, or frame; it should not be diagnosed by continuing to ride.
On a rear-hub-motor e-bike, pay particular attention to the manufacturer’s axle-retention hardware and any specified anti-rotation parts. Do not substitute fasteners, alter the dropouts, or reroute motor cables to make incompatible parts fit. If the axle or wheel attachment is loose or uncertain, stop riding and get qualified help.
5. Folding Hinges, Suspension Pivots, and Cargo Mounts
If the e-bike folds, visually check its frame hinge and locking mechanism for deformation, cracks, unexpected movement, or a latch that does not close as designed. Do not ride with an incompletely locked or damaged hinge. Follow the specific folding-bike manual rather than assuming all latches operate alike.
If the frame has rear suspension, examine visible pivot and shock-mount areas for damage or abnormal play. Leave internal suspension work and uncertain pivot problems to a qualified technician.
Inspect the mounting points used by racks, baskets, child seats, fenders, and trailers. Watch for pulled-out inserts, cracked material around bolts, bent brackets, and loose attachments. A damaged rack may need to be taken out of service even when the main frame is sound. Confirm accessory compatibility and load limits before using the bike with cargo.
After transporting an e-bike, give frame contact points and attachment areas extra attention. Improper clamping or a fall from a carrier can damage the bike. Our e-bike transport guide explains rack capacity and approved contact-point considerations.
Is It a Paint Scratch or a Frame Crack?
A light surface scuff with no visible deformation or other warning signs may be cosmetic. But a thin line in the finish, especially near a weld, joint, or mounting point, is not proof that the underlying material is intact. If you cannot confidently identify a mark as harmless, have it assessed rather than treating it as a scratch.
Consider the material as well:
- Aluminum and steel: Look for cracks, bends, dents, corrosion, and changes around welds or attachment points. A metal frame may be damaged even if it has not visibly broken.
- Carbon fiber: Cracking, unusual bulges, crushed-looking areas, damaged finish, or a change in shape can indicate a problem. Some impact damage may be hidden beneath the surface, so an apparently normal exterior does not clear a carbon frame after a significant impact.
Trek’s bicycle owner’s manual emphasizes inspections before riding and warns that carbon-fiber damage may not be visible. Those are useful general safety principles; your own frame manufacturer’s inspection and replacement instructions take priority.
Do not bend the frame to test it, scrape away paint, apply improvised crack-detection chemicals, or attempt a home weld or carbon repair. Avoid a test ride to see whether a suspected structural problem gets worse.
When to Stop Riding Immediately
Keep the e-bike parked and arrange an appropriate inspection if you find:
- A suspected crack in the frame, fork, weld, bonded joint, or folding hinge.
- A bent, crushed, deeply dented, or otherwise deformed structural part.
- New steering play, a wheel that sits incorrectly after an impact, or an axle that is not securely retained.
- A battery mount that is cracked, loose, or unable to hold the battery securely.
- Unexplained movement at a motor mount, suspension pivot, or load-bearing accessory attachment.
- A significant crash or transport impact that could have damaged the structure, even if no crack is visible.
If the bike starts pulling to one side, develops unstable steering, or makes a new structural-sounding creak while you are already riding, stop safely and do not continue using it until the cause is identified. Do not use repeated short rides as a diagnostic test.
A damaged battery introduces a different hazard. Stop using or charging a battery that has suffered significant impact or shows swelling, leakage, abnormal heat, a strong odor, or other warning signs. Refer to the e-bike battery damage warning signs guide and contact the manufacturer or a qualified battery service provider. If a battery is smoking, burning, or rapidly overheating, move away, keep others clear, and call emergency services; do not approach or move it.
What Can You Check Yourself—and What Needs a Shop?
Most riders can visually inspect accessible frame surfaces, identify changes, photograph a suspicious mark, check whether accessories appear secure, and clean dirt away with approved materials. It is also useful to record when an impact occurred and whether the bike’s handling or noises changed.
A qualified bicycle technician or the manufacturer should assess suspected cracks, impact-related misalignment, loose steering or axles, damaged structural mounts, folding-hinge faults, and carbon-frame damage. A battery or electrical fault may additionally require a service provider trained on that specific e-bike system.
The next step is to maintain the bike according to its manual, not to assume a clean inspection today guarantees safety for weeks. Use our guide to e-bike service intervals to plan deeper maintenance around riding conditions and manufacturer requirements.
The basic rule is simple: look for changes before each ride, investigate new damage or movement promptly, and never ride an e-bike whose frame or fork integrity is in doubt.
GoEBikeLife publishes independent e-bike reviews, comparisons, and practical buying guides. Some links on this page are affiliate links. If you make a purchase through an eligible link, we may earn a commission at no additional cost to you.