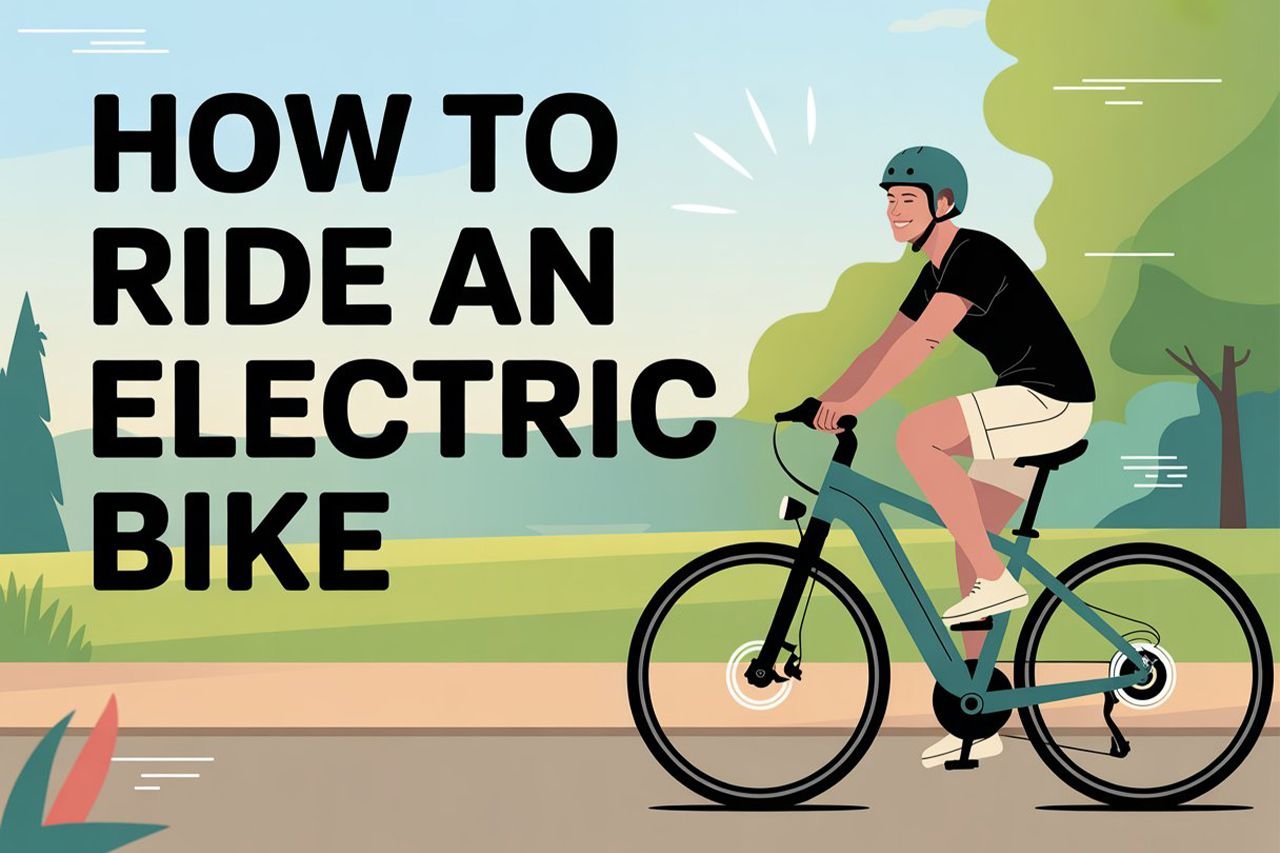
To ride an e-bike safely for the first time, begin in a flat, traffic-free area, select the lowest assist level, and practice starting, stopping, turning, and shifting before entering traffic. An e-bike balances like a conventional bicycle, but its extra weight and motor assistance can make acceleration, braking, and low-speed handling feel different.
This guide explains the controls and skills most beginners need. Your e-bike may respond differently, so follow its owner’s manual whenever its instructions differ from this general guidance.
Before You Ride: Fit the Bike and Check Its Condition
Do not use motor assistance to compensate for a bike that does not fit or has a mechanical problem. A short inspection before every ride can catch loose, worn, or damaged parts before they cause a loss of control.
Adjust the Saddle and Controls
Set the saddle so you can start and stop without feeling unstable. For normal pedaling, your knee should remain slightly bent when the pedal is at the bottom of the stroke. A beginner may initially prefer the saddle a little lower while practicing stops, provided the seatpost remains within its marked adjustment limits.
You should also be able to:
- Reach both brake levers without stretching or changing your grip.
- Turn the handlebar fully without cables pulling tight.
- Operate the assist buttons without looking down for more than a moment.
- Stand over or mount the frame safely for the bike’s design.
If the bike is too tall, too heavy to hold upright, or difficult to mount while holding the brakes, have a bike shop help with the fit before riding.
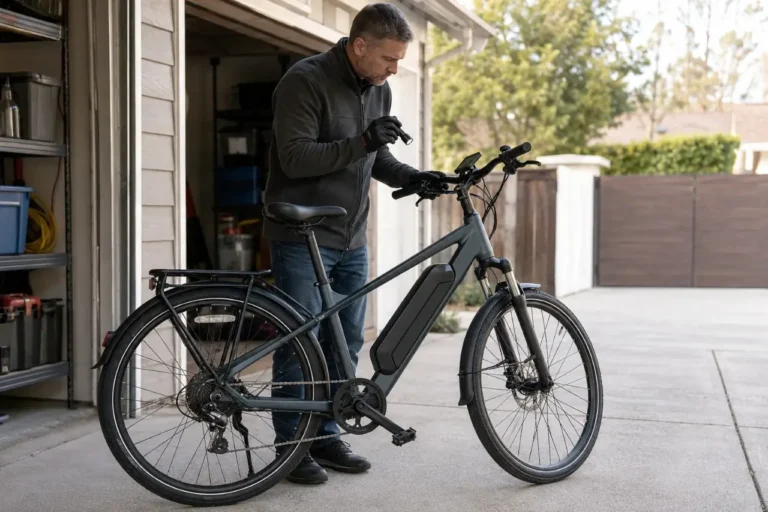
Complete a Pre-Ride Check
With the electrical system off, check the following:
- Tires: Inflate them to the pressure specified by the tire or bike manufacturer. A sidewall may show a permitted range or maximum rather than the ideal pressure for every rider and load. See our e-bike tire pressure guide for the factors that affect the correct setting.
- Wheels: Confirm both wheels are secure. Do not ride with a loose axle, broken spoke, damaged rim, or noticeable side-to-side wobble.
- Brakes: Squeeze both levers and make sure they feel firm and stop the bike. Do not ride if a lever pulls to the handlebar, braking is weak, fluid is leaking, or a cable is frayed.
- Steering and frame: Check for looseness, cracks, impact damage, or a handlebar that does not turn smoothly.
- Battery: Make sure it is undamaged, seated correctly, and locked to its mount.
- Lights and reflectors: Test them before riding in darkness or poor visibility.
- Throttle: If fitted, confirm it returns freely and is not obstructed.
The three-minute e-bike pre-ride checklist covers this inspection in more detail. The U.S. Consumer Product Safety Commission (CPSC) also advises riders to check the brakes, throttle, lights, tires, cables, handlebars, and frame before riding.
Wear a Properly Fitted Helmet
Wear a bicycle helmet that meets the applicable U.S. CPSC standard and fits level and securely on your head. Closed-toe shoes with secure laces, bright or reflective clothing, and cycling gloves can also improve grip, visibility, and comfort. Our e-bike helmet guide explains fit, labels, and replacement warning signs.
Learn the Controls Before the Motor Is Active
Read the owner’s manual and identify the power button, display, assist controls, brake levers, shifter, and throttle before moving. Keep the electrical system off while mounting or repositioning the bike.
Do not assume which brake lever operates which wheel. Lever assignment can differ by bike and market. Verify it in the manual, then confirm it at walking speed in a clear practice area.
Understand Pedal Assist
Pedal assist adds motor power while you pedal. Depending on the system, a cadence sensor may respond mainly to crank movement, while a torque sensor may respond to how hard you press on the pedals. Either system can feel stronger or engage sooner than a beginner expects.
Assist levels control how much support the system provides. The labels vary—some bikes use numbers, while others use names such as Eco or Tour. Begin at the lowest powered level. Do not assume that “Eco” will feel gentle on every bike.
Motor assistance should stop when you stop pedaling, apply a motor-cutoff brake if equipped, or reach the bike’s programmed cutoff speed. If the motor continues to drive unexpectedly, stop using the bike and have the system inspected.
Understand the Throttle, If Equipped
A throttle can propel some e-bikes without pedaling. Its availability and operation depend on the bike and local law. Some throttles work from a stop; others work only after the bike is moving or after a setting is enabled.
Do not test a live throttle while standing beside the bike, mounting it, or holding the handlebar with the front wheel sharply turned. Once seated and ready in a clear area, apply only a small amount while covering the brakes. Release it immediately if the response feels abrupt or does not match the manual.
Know How to Shift
For a typical derailleur drivetrain, shift while the cranks are turning but reduce pedal pressure during the shift. Avoid changing several gears under heavy motor load, especially on a hill. This reduces jolts and unnecessary wear on the chain and cassette.
Some internally geared hubs can shift while stopped, but procedures vary. Follow the drivetrain or bike manufacturer’s instructions rather than practicing shifts while stationary by default.
Your First Practice Session
Choose a flat, dry, open area away from motor vehicles and pedestrians. An empty parking lot or other private practice space can work if riding is permitted there. Avoid loose gravel, steep slopes, wet pavement, curbs, and tight paths until the controls feel predictable.
1. Mount With the Brakes Applied
Stand over or step through the frame, hold both brakes, and settle into a stable position. Keep your fingers away from the throttle. Turn on the system only after you are ready to move.
If the bike has a walk-assist feature, do not use it until you have read the manual. Walk assist can move a heavy e-bike unexpectedly if activated by mistake.
2. Start in the Lowest Assist Level
Select the lowest powered setting. Choose an easy mechanical gear, look ahead, release the brakes, and begin with a smooth pedal stroke. Keep the handlebar straight and avoid pressing hard on one pedal, which can trigger a stronger burst of assistance.
Practice several starts and stops in a straight line. If acceleration feels abrupt, stop and check the assist level and bike settings before trying again.
3. Practice Controlled Braking
Build a little speed, stop pedaling, and squeeze both brakes progressively. Most stopping power comes from the front brake, but grabbing it suddenly can lock the wheel or upset balance. Use both brakes smoothly, keep the bike upright, and look where you want to stop.
Repeat at gradually higher—but still moderate—speeds. Practice only on a clean, dry surface with ample runoff space. Wet pavement, loose material, worn tires, and higher speed all increase the distance or time needed to stop.
4. Add Wide Turns and Figure Eights
Begin with large circles in both directions, then progress to wide figure eights. Slow before the turn, look through it, keep your inside pedal raised, and avoid a sudden increase in assist while leaned over.
Do not practice very tight turns until you can control starts, speed, and braking without looking at the display.
5. Add Shifting and Higher Assist Gradually
Once starts, stops, and turns feel repeatable, practice shifting one gear at a time while pedaling lightly. Then try the next assist level. Change only one variable at a time so you can identify what caused a surge, rough shift, or handling problem.
There is no universal time limit for learning. Continue practicing until you can start, stop, turn, signal, and look over your shoulder without losing your line.
How to Ride Smoothly on Roads and Hills
Match Gears and Assist to the Situation
Use an easier mechanical gear before starting or climbing. Add assist only as needed. On a mid-drive e-bike, shifting early and easing pedal pressure during each change is especially important because the motor sends power through the chain.
Before stopping, shift into a gear that will make the next start manageable. Avoid mashing a high gear at low speed; this can create an abrupt assist response and strain the drivetrain.
On a hill, maintain a steady cadence and remain seated unless the bike manufacturer recommends another technique. Do not attempt a steep climb until you have practiced starting, shifting, and braking on gentle grades.
Slow Before Corners and Poor Surfaces
Set your speed before entering a corner. Keep movements smooth, avoid braking hard while leaned over, and reduce assist on wet pavement, gravel, leaves, painted road markings, or other low-traction surfaces.
On a descent, control speed early rather than waiting for a sharp turn. If the brakes fade, pulse, rub severely, or cannot control the bike, stop riding and arrange professional service.
Riding in Traffic and on Shared Paths
The National Highway Traffic Safety Administration (NHTSA) advises bicyclists to ride in the same direction as traffic, obey signs and signals, remain visible, ride predictably, and practice away from traffic before riding on the road.
When you are ready for public roads:
- Choose a familiar route with lower traffic speeds for your first trips.
- Scan ahead for doors, driveways, potholes, turning vehicles, and pedestrians.
- Signal before turning or changing lane position, then return both hands to the handlebar.
- Avoid phones, headphones, or anything that reduces your attention.
- Use a white front light, red rear light, and required reflectors in low light.
- Slow to walking speed when passing pedestrians and give an audible warning when appropriate.
Do not assume every e-bike is allowed wherever conventional bicycles are allowed. State definitions, helmet and age rules, equipment requirements, and road access can differ. Cities, parks, trails, and land managers may impose additional restrictions.
Under the common three-class framework, Class 1 generally provides pedal assistance up to 20 mph, Class 2 can use a throttle up to 20 mph, and Class 3 generally provides pedal assistance up to 28 mph. However, not every jurisdiction uses these definitions, and local rules can change. Check the bike’s class label, owner’s manual, and current rules for the exact place you plan to ride. Our U.S. federal and state e-bike laws guide and the PeopleForBikes state-law directory are starting points, not substitutes for the current local code or trail policy. Legal information checked August 31, 2026.
After the Ride: Park and Charge Safely
Turn the system off before dismounting or moving the bike by hand. Lock the frame to a secure fixed object and follow the manufacturer’s instructions if removing the battery.
Charge only with the charger supplied with the bike or a replacement that the device manufacturer has tested and approved for that exact battery system. A plug that fits does not prove compatibility. CPSC warns about so-called universal chargers because they can be incompatible even when their connector fits.
Charge in a dry, uncluttered area, remain present, never charge while sleeping, and unplug the charger when the cycle is complete. See our complete guide to charging an e-bike battery safely.
Do not ride or charge a battery that is swollen, leaking, cracked, unusually hot, producing a strong unusual odor, or damaged by a crash or water exposure. Contact the manufacturer or a qualified battery service provider. If a battery is smoking, hissing, sparking, or burning, do not touch or move it; leave the area, call 911, and follow emergency responders’ instructions.
When a Beginner Should Stop Riding
Stop the ride and seek qualified service if:
- The brakes cannot stop the bike reliably.
- A wheel, handlebar, stem, saddle, frame, or fork is loose or damaged.
- A tire has a cut, exposed casing, bulge, or repeated loss of pressure.
- The throttle sticks or the motor keeps applying power unexpectedly.
- The display shows a persistent fault that the owner’s manual does not safely resolve.
- The battery or electrical system shows heat, odor, swelling, smoke, sparks, water damage, or crash damage.
Do not open the battery, controller, motor, or charger to diagnose an internal fault. These systems require model-specific knowledge and appropriate service procedures.
The Bottom Line
Learning how to ride an electric bike is mainly about making its power predictable. Fit and inspect the bike, learn the controls with the system off, practice in the lowest assist level, and build one skill at a time. Move into traffic, hills, higher assist, and poor surfaces only after starts, stops, turns, and shifting feel controlled.