A good ride can change your day.

Check your e-bike’s wheels, brakes, tires, battery, controls, cargo, and rider gear in three minutes before entering traffic or a trail safely.
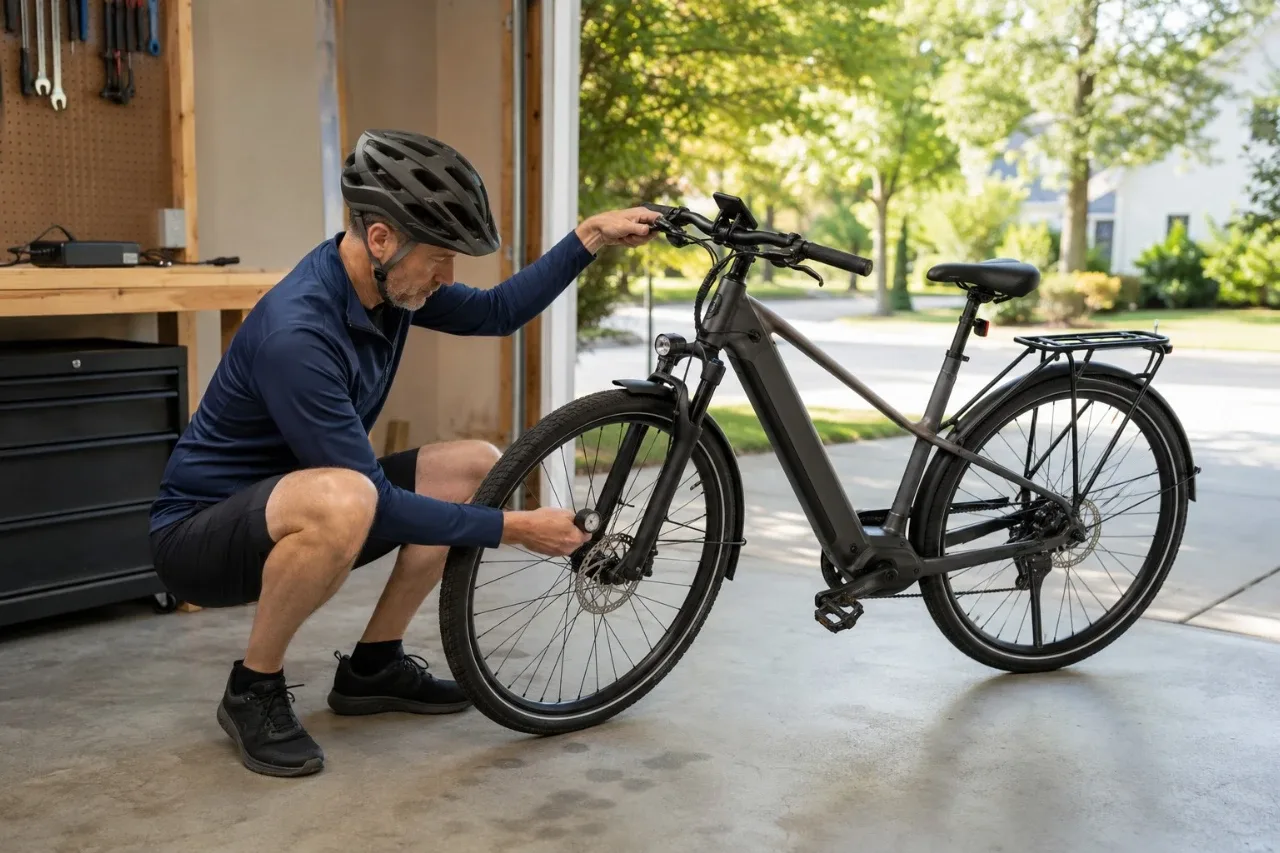
An ebike pre-ride safety checklist should confirm that the wheels, steering, brakes, tires, battery, controls, cargo, and rider are ready before the bike enters traffic or a trail. Do the inspection on level ground with the electrical system off, then finish with a brief low-speed test in a clear area. Once the sequence becomes familiar, it can take about three minutes.
This check does not replace scheduled maintenance. It is meant to catch a change—such as a loose wheel, soft tire, weak brake, unsecured battery, or unexpected motor response—before it causes a loss of control.
| Time | Check | Do not ride if you find |
|---|---|---|
| 0:00–0:30 | Walk around the frame, fork, handlebar, cables, accessories, and cargo | A crack, bent part, loose steering component, or item near a wheel, chain, or brake |
| 0:30–1:00 | Confirm both wheels, the handlebar, stem, saddle, and seatpost are secure | A loose wheel, quick-release lever, axle, handlebar, stem, saddle, or seatpost |
| 1:00–1:30 | Check the battery mount, display, wiring, lights, and controls | Battery damage, an unsecured battery, exposed wiring, an error warning, or abnormal heat, odor, or noise |
| 1:30–2:15 | Check tire pressure and condition; squeeze and hold each brake | A bulge, exposed tire casing, rapid air loss, damaged rim, weak brake, fluid leak, or lever that reaches the grip |
| 2:15–2:45 | Fit your helmet and secure clothing, straps, and cargo | A damaged helmet, loose load, overloaded rack, or clothing or straps that could enter moving parts |
| 2:45–3:00 | Roll at very low speed and test steering, both brakes, and motor response | Poor stopping, unstable steering, repeated chain skipping, unexpected acceleration, or motor power that does not stop normally |
Your e-bike owner’s manual takes priority over this general checklist. Wheel-retention systems, battery latches, brake layouts, tire limits, and control behavior vary by model.
Park on level ground away from traffic and switch the electrical system off. Remove any charging cable, chain lock, transport strap, or wheel lock before moving the bike.
Look over the frame, fork, handlebar, pedals, rack, fenders, cables, hoses, and visible wiring. Look for a new crack, bent component, loose accessory, pinched cable, or object close to a tire, spoke, brake rotor, or chain.
Give this step extra attention after a crash, vehicle-rack trip, hard curb strike, or shared storage. Gently lift and set down the bike while listening for a new rattle. An unexplained knock near the fork, handlebar, wheel, or crank needs investigation before riding.
Do not tighten an unfamiliar fastener by guesswork. Some e-bike components require a specific torque value, and overtightening can damage the part. Use the value and procedure in the owner’s manual or have a qualified bicycle mechanic correct it.
Confirm that both wheels are fully seated and secured. A quick-release lever should be properly closed and positioned so it cannot contact the brake rotor, spokes, fork, or an accessory. A thru-axle or bolt-on axle should be secure according to its manufacturer’s instructions. Do not ride if a wheel is loose or if you are unsure how its retention system works.
Stand beside the bike and turn the handlebar smoothly from side to side. The front wheel should follow without binding or pulling cables tight. Check that the handlebar cannot rotate in the stem and that the stem does not turn independently of the front wheel under gentle pressure.
With the front brake applied, rock the bike slightly while placing your fingers near the headset—the joint where the fork and frame meet. Knocking or visible movement may indicate looseness, although brake-pad movement can feel similar. If the source is unclear, arrange an inspection.
Make sure the saddle and seatpost do not twist, tilt, or slide under firm hand pressure. Trek’s current bicycle owner’s manual similarly includes handlebar, wheel, saddle, brake, cable, light, and accessory checks before riding.
Confirm that the battery is fully seated and latched as its manufacturer specifies. Gently check for movement without forcing it or touching exposed contacts. Close the charging-port cover if fitted.
Look for cracks, swelling, leaking fluid, corrosion, damaged connectors, exposed wiring, unusual odor, abnormal noise, or a battery that is hotter than expected before the ride. Do not ride or charge a battery that is swollen, leaking, crash-damaged, unusually hot, or behaving unpredictably. For a more detailed decision guide, review the warning signs of e-bike battery damage.
If a battery is smoking, hissing, sparking, or on fire, do not touch or move it. Move yourself and others away, call 911, and follow emergency responders’ instructions. Never open an e-bike battery or attempt to repair its cells, wiring, or battery-management system. Bosch also advises riders to check an e-bike battery for damage and use only a compatible charger.
Turn the system on and check for error messages and a plausible charge estimate. Confirm that fitted lights, turn signals, bell, or horn work. Battery bars and range estimates are not guarantees; hills, cold, wind, cargo, tire pressure, assist level, and battery condition can change range.
Do not activate a throttle during the stationary inspection when the drive wheel is on the ground. Test the throttle or pedal assist only during the controlled low-speed rollout described below. If the bike displays an unexplained error or a control behaves differently from normal, keep the bike parked until the cause is identified.
Use a gauge rather than a hand squeeze. Pressure must stay within every applicable tire, rim, and e-bike limit; use any narrower range in the owner’s manual. A sidewall number may be a permitted range or maximum rather than the ideal target. GoEBikeLife’s e-bike tire pressure guide explains how load, tire width, terrain, and wheel setup affect the setting.
Inspect the tread and sidewalls for cuts, bulges, exposed casing cords, cracking, or embedded objects. Check that the tire bead sits evenly around the rim. Look for a bent rim, broken or very loose spokes, and tire rub.
Do not ride with rapid pressure loss, an unseated bead, a bulge, exposed casing, rim damage, a broken wheel-retention part, or severe wheel wobble. These are repair issues, not conditions to monitor during the ride.
Squeeze each brake lever separately several times. It should move smoothly, return when released, and develop firm resistance before reaching the handlebar grip. Look for a frayed cable, damaged housing, kinked hose, or fluid around a hydraulic lever, hose, or caliper.
Hold one brake and gently push the bike forward and backward; repeat with the other brake. Each brake should resist the wheel it controls. Lever layouts are not universal, so know which lever operates the front and rear brake on your bike.
Keep chain lubricant, oil, tire dressing, and general-purpose cleaners away from disc rotors and brake pads. Shimano warns that oil or grease on rotors or pads can prevent proper braking. Do not ride if a lever suddenly reaches the grip, feels abnormally soft, fails to return, or produces weak braking. A cracked or badly deformed rotor, hydraulic leak, metal-on-metal grinding, or brake that will not hold the bike also requires service before riding. The complete five-minute e-bike brake inspection covers pad, rotor, cable, and hose checks in more detail.
Look for a damaged chain or belt, bent derailleur, loose crank arm or pedal, and anything hanging near the drivetrain or spokes. Light surface dirt can wait, but repeated chain skipping, a visibly damaged belt, a loose pedal or crank, or a derailleur that could enter the wheel is a reason to stop.
Secure panniers, baskets, child seats, and cargo so nothing can shift into a wheel or alter steering. Tuck away straps and clothing. Stay within the lowest applicable load limit for the e-bike, rack, carrier, and child seat or trailer. Practice with a new passenger or heavy load in a traffic-free area.
Wear a properly fitted bicycle helmet with the chin strap fastened. In the United States, look for the required CPSC compliance label and replace a helmet after a significant impact according to its manufacturer’s instructions. GoEBikeLife’s e-bike helmet guide explains fit and selection. Wear secure shoes and clothing that cannot catch in a pedal, chain, or wheel.
Check daylight, weather, and the route. Rain, wet leaves, loose gravel, painted markings, and metal covers can reduce traction. Slow down before turns and allow more room to stop. E-bike access rules vary by state, locality, land manager, path, and e-bike class, so confirm whether e-bikes are allowed on the route before using an unfamiliar path or trail.
In a clear area away from traffic, start in the lowest practical assist level. Ride at walking or jogging speed and confirm stable steering. Apply the front and rear brakes separately, then use both for a controlled stop. Do not add a hard emergency stop unless you are in a suitable practice area and know the bike’s braking behavior.
Next, confirm that pedal assist—and the throttle, if equipped—engages smoothly and predictably. Stop pedaling and apply the brakes normally. Motor support should stop as designed. Some systems include brake-activated motor cutoffs and others do not, so compare the response with the owner’s manual rather than assuming one behavior is universal.
Park the bike if it pulls to one side, steers unpredictably, cannot stop firmly, accelerates without the expected input, continues driving abnormally, displays a new error, or makes a repeated grinding, clunking, or snapping noise.
A dirty frame, cosmetic scratch, or crooked nonessential accessory can usually wait. A problem involving wheel retention, steering, braking, tire integrity, frame or fork damage, battery security, exposed electrical parts, or unexpected motor behavior cannot.
When the result is uncertain, do not use a ride as the test. Check the owner’s manual and contact the manufacturer or a qualified e-bike mechanic. A consistent three-minute inspection is valuable because it makes changes easier to notice—and keeps the first real test from happening in traffic, on a descent, or far from home.