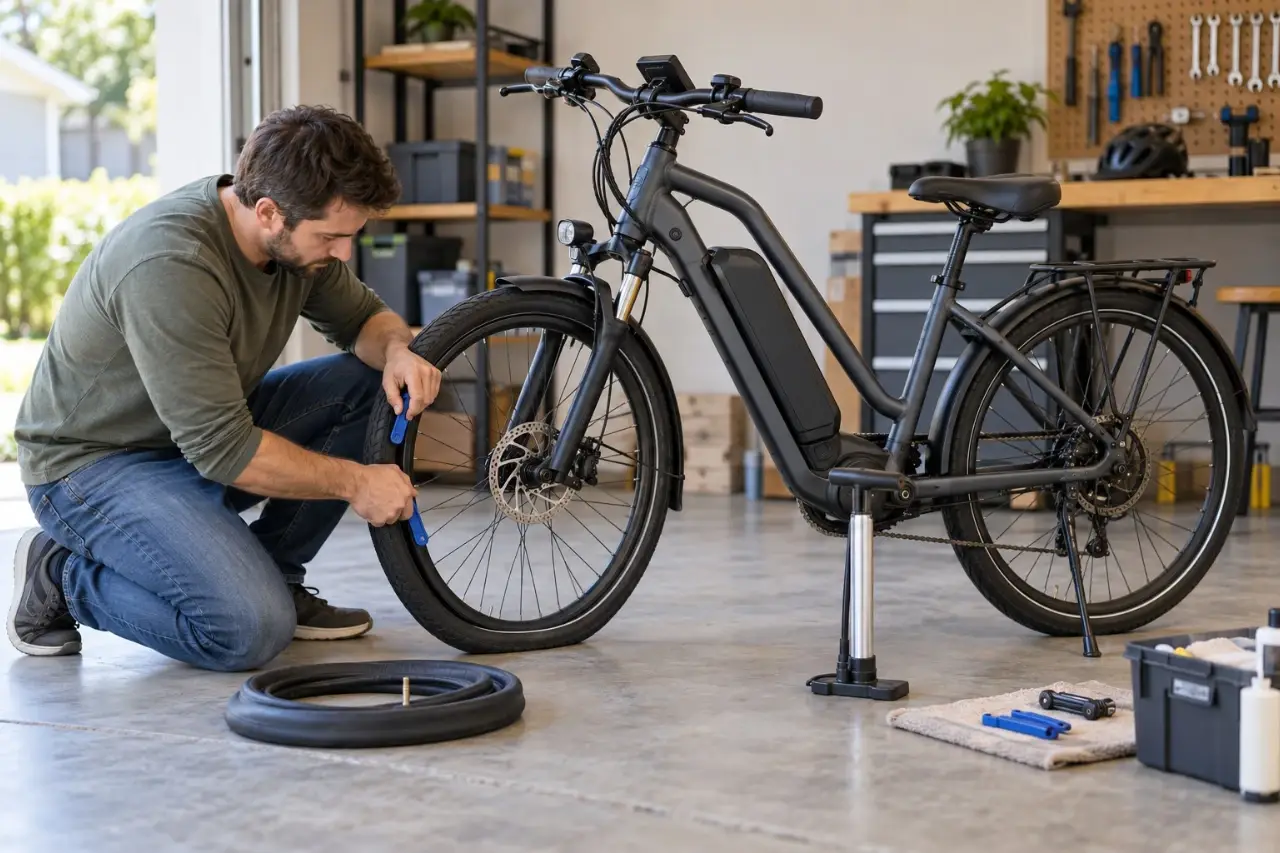
A flat tire is one of the most common problems e-bike riders encounter, but fixing it requires a few extra steps compared with a traditional bicycle. Electric bikes often have heavier wheels, hub motors, electrical cables, and additional hardware that must be handled carefully.
To fix a flat tire on an electric bike, turn off the bike, remove the battery if possible, identify the tire problem, remove the wheel if needed, repair or replace the tube, reinstall the wheel correctly, and check the tire before riding again. Always follow your e-bike owner’s manual because wheel removal procedures vary between models.
This guide explains how to safely repair a flat e-bike tire, what tools you need, when you should seek professional help, and how to prevent future flats.
What Causes an E-Bike Flat Tire?
Electric bike tires can go flat for many of the same reasons as regular bicycle tires, including:
- Sharp objects such as glass, nails, or thorns
- Tire punctures from road debris
- Pinched inner tubes caused by low tire pressure
- Worn or damaged tires
- Damaged valve stems
- Improper tire installation
Because e-bikes are usually heavier than traditional bicycles, low tire pressure can put additional stress on the tire and tube. Regularly checking your tire condition and pressure can help reduce the chance of unexpected flats.
Tools Needed to Fix an Electric Bike Flat Tire
Before starting a repair, prepare the correct tools.
Common tools include:
- Tire levers
- Replacement inner tube or patch kit
- Bicycle pump or inflator
- Correct size wrench or hex tools
- Tire pressure gauge
- Clean cloth or gloves
For roadside repairs, many riders carry a compact repair kit and portable pump.
When choosing replacement parts, always match:
- Tire size
- Tube size
- Valve type
- Tire width range
The information printed on your tire sidewall or existing tube is usually the best reference.
Step 1: Turn Off Your E-Bike and Prepare Safely
Before working on the tire:
- Turn off the e-bike system.
- Remove the battery if your model allows easy battery removal.
- Disconnect the charger if it is connected.
- Move the bike to a stable, safe location.
- Allow the motor and electrical components to cool if the bike was recently used.
Never work on an active electrical system. Avoid touching damaged wiring, connectors, or battery components while performing tire repairs.
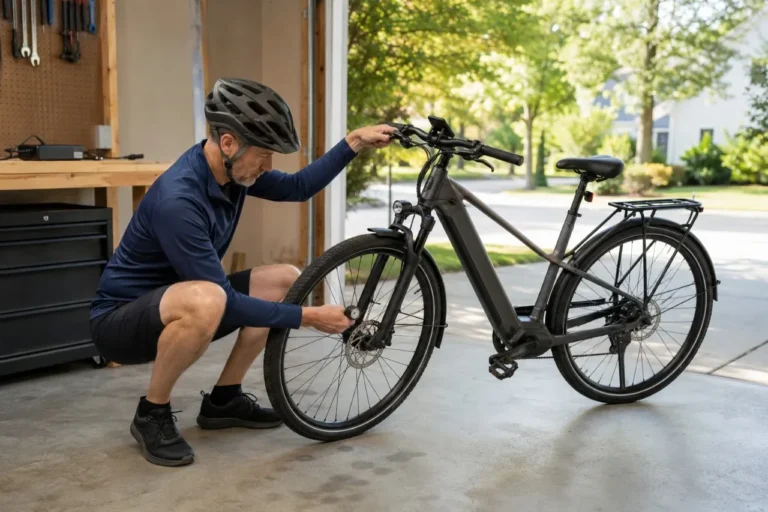
Step 2: Identify the Flat Tire Problem
Before removing the wheel, inspect the tire carefully.
Look for:
- Nails, glass, or sharp objects
- Cuts in the tire sidewall
- Visible tube damage
- Damaged valve area
- Bent rim sections
If an object is still inside the tire, remove it carefully and remember where it entered. A second puncture can happen if the sharp object remains inside the tire.
If the tire has a large sidewall cut, the rim is damaged, or the tire structure is compromised, do not continue riding. The tire may need professional replacement.
Step 3: Remove the Wheel Carefully
Wheel removal procedures depend on your e-bike design.
A front wheel is usually simpler to remove. Rear wheels can be more complicated because they may include:
- Hub motors
- Motor cables
- Torque arms
- Additional axle hardware
- Rear derailleur components
Before removing a rear wheel with a hub motor:
- Check your owner’s manual.
- Identify any motor cable connections.
- Note the position of washers, spacers, and hardware.
- Avoid pulling or twisting electrical cables.
Do not force parts apart if something does not release normally. Incorrect wheel installation can affect braking, alignment, and motor operation.
If you are unsure how the wheel hardware should be installed, consult the manufacturer or a qualified bike mechanic.
Step 4: Remove the Tire and Inner Tube
Once the wheel is removed:
- Release all remaining air from the tube.
- Use tire levers to carefully remove one side of the tire from the rim.
- Remove the inner tube.
- Inspect the inside of the tire for sharp objects.
Run your fingers carefully along the inside surface of the tire, but avoid pressing hard against possible sharp debris.
A common mistake is replacing the tube without checking the tire. The original puncture source may still be present and can damage the new tube.
Step 5: Repair or Replace the Inner Tube
You have two main options:
Option 1: Install a New Inner Tube
Replacing the tube is often the easiest solution for many riders.
Make sure the replacement tube matches:
- Tire diameter
- Tire width range
- Valve type
Before installing:
- Add a small amount of air so the tube keeps its shape.
- Place it evenly inside the tire.
- Avoid twisting or pinching the tube.
Option 2: Patch the Existing Tube
A patch can be useful when the tube has a small puncture and is otherwise in good condition.
Basic steps:
- Locate the puncture.
- Clean and prepare the area.
- Apply the patch according to the patch kit instructions.
- Allow proper bonding time if required.
- Check that the repair holds air.
For riders without repair experience, carrying a spare tube is often simpler during roadside emergencies.
Step 6: Reinstall the Tire and Wheel
After repairing or replacing the tube:
- Place the tube inside the tire.
- Install the tire bead back onto the rim.
- Check that the tube is not trapped between the tire and rim.
- Inflate the tire gradually.
- Confirm the tire sits evenly around the rim.
For e-bikes with rear hub motors:
- Reinstall all washers and hardware in the correct order.
- Make sure the axle is fully seated.
- Confirm motor cables are routed safely.
- Check that the wheel spins normally.
Never ride if the wheel is loose, misaligned, or the brakes do not work correctly.
Step 7: Inflate the Tire to the Correct Pressure
Use the tire sidewall markings and your owner’s manual to determine the correct pressure.
Do not rely on a universal PSI number because recommended pressure varies depending on:
- Tire width
- Tire construction
- Rider weight
- Cargo load
- Riding conditions
- Manufacturer specifications
After inflation:
- Check that the tire bead is evenly seated.
- Confirm the wheel rotates smoothly.
- Make sure the valve stem is straight.
For more information about maintaining correct pressure, see our guide on e-bike tire pressure.
When You Should Not Fix an E-Bike Flat Tire Yourself
A flat tire repair is usually manageable, but some situations require professional help.
Stop riding and seek assistance if you notice:
- A damaged or bent rim
- A large tire sidewall cut
- Damaged motor cables
- A loose or damaged axle system
- Brake problems after wheel installation
- Severe wheel alignment issues
- Battery or electrical damage
Do not attempt to repair internal battery components, motor electronics, or electrical systems unless you are qualified to do so.
Common Mistakes to Avoid When Fixing an E-Bike Flat Tire
Installing a New Tube Without Checking the Tire
The original puncture source may still be inside the tire.
Always inspect the tire before installing a replacement tube.
Inflating the Tire Without Checking the Sidewall Rating
Too much or too little pressure can affect handling, comfort, and tire life.
Use the manufacturer’s recommended range.
Forgetting Rear Hub Motor Hardware
Rear hub motor wheels may include special hardware that must return to the correct position.
Incorrect installation can create safety problems.
Riding Immediately After Repair
Before riding:
- Test the brakes.
- Check wheel alignment.
- Confirm the tire holds air.
- Make sure the motor cable is secure.
A short inspection can prevent a larger problem.
How to Prevent Future E-Bike Flat Tires
Regular maintenance can significantly reduce flat tire problems.
Check Tire Pressure Regularly
Low pressure increases the chance of pinch flats and can make riding less efficient.
Check pressure before longer rides or at least regularly based on your riding habits.
Inspect Tires for Damage
Look for:
- Worn tread
- Cracks
- Cuts
- Embedded objects
Replacing worn tires before failure improves safety.
For more information, read our guide on signs of worn e-bike tires.
Carry Basic Repair Supplies
Useful items include:
- Spare inner tube
- Tire levers
- Portable pump
- Patch kit
- Multi-tool
These supplies can help you handle common roadside problems.
Frequently Asked Questions
Can I repair an e-bike flat tire the same way as a regular bike?
The basic process is similar, but e-bikes often require extra care because of heavier wheels, hub motors, and electrical components.
Always check your owner’s manual before removing wheels.
Do I need to remove the battery before fixing a flat tire?
If your battery can be removed easily, removing it is a good safety precaution. However, follow your manufacturer’s instructions because designs vary.
How often should I check my e-bike tires?
Check tire pressure and inspect your tires regularly. Riders who frequently ride on rough roads, gravel, or debris-filled paths may need more frequent inspections.
Can I ride an e-bike with a flat tire?
No. Riding with a flat tire can damage the rim, tire, and other components. It can also make the bike difficult to control.
Final Thoughts
Fixing a flat tire is an important skill for e-bike owners, but electric bikes require extra attention because of their weight and electrical components.
The safest approach is to inspect the problem carefully, follow your manufacturer’s instructions, use compatible replacement parts, and avoid riding when the tire or wheel system is unsafe.
With regular tire checks and a few basic repair supplies, many flat tire problems can be handled quickly and safely.