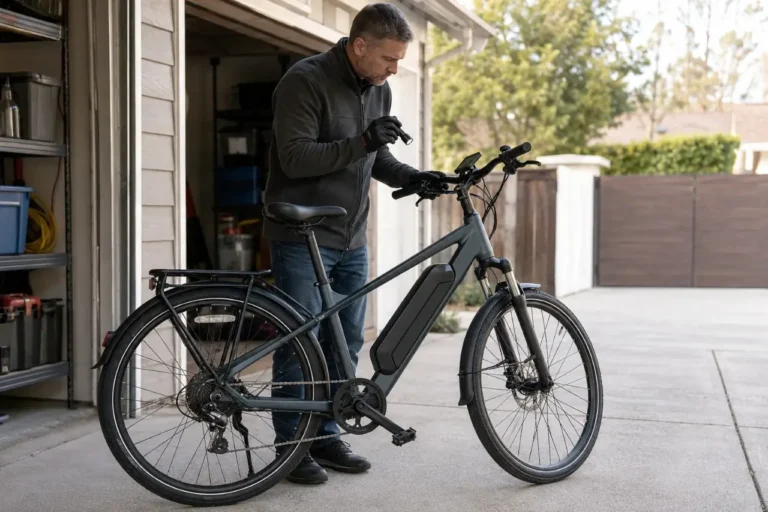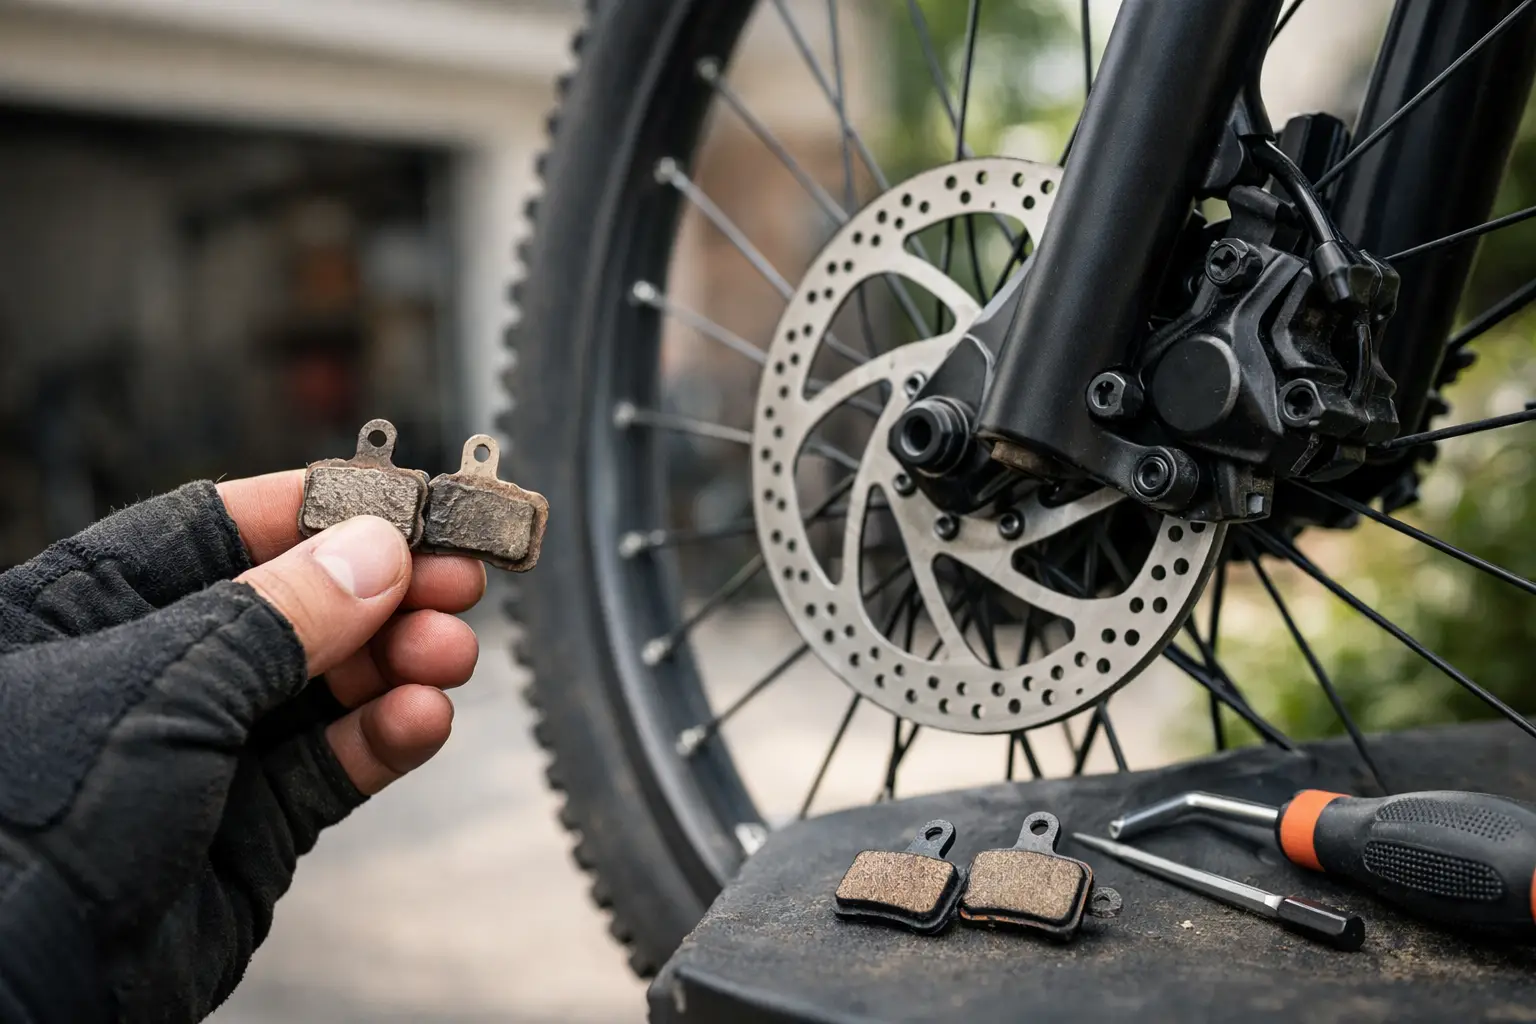
Replace your e-bike’s disc brake pads when they reach the wear limit specified by the brake manufacturer, become contaminated or damaged, or no longer provide reliable braking. Do not rely on mileage, noise, or lever feel alone. Pad life varies widely, and different brake brands use different thickness limits and measurement methods.
This guide focuses on disc brake pads, which are used on most current e-bikes. If your e-bike has rim brakes, follow the wear indicators and replacement instructions for that specific brake shoe.
The Most Reliable Answer: Check the Manufacturer’s Wear Limit
There is no universal minimum thickness for every e-bike brake pad. Even when two manufacturers give similar-looking numbers, they may be measuring different parts of the pad.
For example:
| Brake manufacturer | Example replacement limit | What is measured |
|---|---|---|
| Shimano | 0.5 mm or less | Friction material |
| SRAM | 3 mm or less | Friction material plus backing plate |

Shimano’s current disc brake user instructions say not to use a pad when its friction material is 0.5 mm or less. SRAM tells owners to replace its pads when the combined thickness of the pad material and backing plate is 3 mm or less. These values are not interchangeable.
Check the e-bike owner’s manual or the exact caliper model before measuring. Other brands also publish model-specific limits. If you cannot identify the brake or confirm the specification, ask a qualified bicycle mechanic to measure it.
7 Signs Your E-Bike Brake Pads Need Replacement or Inspection
1. The pads have reached their specified wear limit
Visible pad material is the clearest indicator. Look for the friction layer bonded to the metal backing plate on both sides of the rotor. Replace the pads when they reach the limit stated for your brake system—not a general number taken from another brand.
Some brakes can be checked through an opening in the caliper. Others require pad removal for an accurate measurement. Do not guess if the backing plate and friction material are difficult to distinguish.
2. You hear harsh grinding or metal-on-metal scraping
A harsh grinding sound during braking can mean the friction material is gone and the backing plate is contacting the rotor. Stop riding and have the brake inspected before using the e-bike again. Continued use can damage the rotor and sharply reduce dependable stopping performance.
A light intermittent rub while the wheel spins is different from grinding under braking, but persistent rubbing still deserves attention.
3. The pads are contaminated with oil or brake fluid
Chain lubricant, hydraulic brake fluid, grease, polish, and some cleaning sprays can soak into disc brake pads. Common clues include persistent squealing combined with weak braking, a slippery feel, or visible fluid near the caliper.
Manufacturers including SRAM and Tektro instruct owners to replace contaminated pads. Do not try to restore oil-soaked pads by heating, burning, or applying solvents. Correct the source before fitting new pads. A leaking hydraulic caliper or hose requires qualified service, and the rotor may need manufacturer-approved cleaning or replacement.
4. The friction material is cracked, chipped, or separating
Replace a pad if the friction material is cracked, badly chipped, crumbling, or separating from its backing plate. Damage can result from heat, contamination, incorrect installation, impact, or ordinary wear.
A shiny or glazed surface can also reduce friction and create noise. If braking remains weak or inconsistent, have the pad and rotor inspected.
5. One pad is wearing much faster than the other
The two pads in one caliper should not show a large difference in wear. Pronounced uneven wear can point to caliper misalignment, a sticking hydraulic piston, or an incorrectly adjusted mechanical caliper.
Replace disc brake pads as a pair within the affected caliper and correct the cause of the uneven wear. New pads alone may wear unevenly again if the caliper problem remains.
The front and rear brakes can wear at different rates, so their pad pairs do not always require replacement at the same time.
6. Braking power has become weak or inconsistent
Reduced stopping power can come from worn or contaminated pads, but it can also result from a glazed rotor, a mechanical cable problem, air or a leak in a hydraulic system, poor caliper alignment, or an overheated brake.
Treat weak, grabby, pulsing, or unpredictable braking as a reason to inspect the complete brake system. If the e-bike does not stop confidently in a low-speed test, do not ride it in traffic or on hills. The guide to what e-bike brake failure feels like explains other warning signs that require immediate attention.
7. The lever feel has changed—but use it only as a clue
A lever that suddenly pulls closer to the handlebar, feels spongy, or reaches the grip requires inspection. However, lever travel alone cannot tell you how much pad material remains.
Many hydraulic disc brakes automatically compensate for normal pad wear, so the lever may feel fairly consistent even when the pads are close to their limit. Mechanical disc brakes may need periodic pad or cable adjustment as the pads wear. Always combine the lever check with a visual inspection and the manufacturer’s wear specification.
How Often Should You Inspect E-Bike Brake Pads?
Use condition-based checks rather than fixed mileage. SRAM recommends inspecting its pads monthly and more often in sandy or dirty conditions. Inspect more frequently if you ride in rain or grit, descend long hills, carry cargo, or make repeated stops in traffic.
A practical routine is:
- Before every ride: squeeze both levers and confirm that each brake engages normally.
- Every few rides: listen for new rubbing, scraping, or grinding and check for fluid near hydraulic components.
- About monthly: inspect both pads in each caliper and compare them with the correct wear limit.
- After a long descent, crash, or sudden change in braking: inspect the system before riding again.
These are starting points, not substitutes for the schedule in your owner’s manual. For a broader routine covering levers, cables, hoses, rotors, and pad condition, follow this five-minute e-bike brake inspection.
How to Check Disc Brake Pad Wear Safely
1. Identify the brake system
Find the brand and model printed on the caliper or in the e-bike specifications. Use the official manual to confirm:
- The replacement thickness and how it is measured
- The compatible pad shape or part number
- The approved pad compounds and inspection method
Do not select replacement pads by appearance alone. Similar-looking pads may use different shapes, thicknesses, springs, or retaining hardware.
2. Stabilize and power down the e-bike
Park on a level surface, switch the electrical system off, and secure the bike. Remove the battery only if the e-bike manual recommends it for maintenance. Let the brakes cool after repeated stops or a long descent, and keep fingers away from a spinning rotor.
3. Inspect both pads
Use a flashlight to check the friction material on both sides of the rotor and compare the pads for uneven wear, damage, or contamination.
If the pads cannot be measured with the wheel installed, follow the manufacturer’s removal procedure or use a shop. With a hydraulic brake wheel removed, install the correct pad spacer and do not squeeze the lever; the pistons can move too far inward.
4. Check the rest of the brake system
Inspect the rotor for deep scoring, cracks, or deformation. Check a mechanical cable for damage and hydraulic components for fluid.
Do not ride with a hydraulic leak, cracked or badly deformed rotor, metal-on-metal grinding, a lever that reaches the grip, or unreliable stopping power. A mechanic should diagnose faults not clearly limited to normal wear.
Before You Buy Replacement Pads
Use pads approved for the exact caliper and rotor. Confirm the part number, shape, thickness, compound, spring, and retaining hardware. Check whether the rotor is marked “resin pad only” or carries another restriction.
Organic or resin pads are often quiet with a smooth initial bite. Metallic or sintered pads may offer better durability and heat tolerance in demanding conditions, but can be noisier and may not suit every rotor. Switch compounds only when the brake and rotor manufacturers allow it.
If you plan to replace the pads yourself, use the model-specific brake manual and the complete e-bike brake pad replacement guide. Brake work is safety-critical. If you cannot verify compatibility, retaining-hardware installation, or torque values, have a bicycle mechanic perform the replacement.


Bed In New Pads Before Normal Riding
New disc brake pads and rotors need bedding in so braking force builds predictably. Follow the brake manufacturer’s procedure; the number of controlled slowdowns and target speeds differ by system.
Use a flat, traffic-free area, build braking force gradually, and avoid locking a wheel. Until both brakes feel dependable, allow extra stopping room and avoid steep descents or heavy cargo.
Owners with hydraulic systems should also follow the broader e-bike hydraulic brake maintenance guide for leak checks, fluid compatibility, and service limits.
Bottom Line
Replace e-bike disc brake pads at the exact wear limit specified for your brake, or sooner if they are contaminated, damaged, separating, or no longer braking reliably. Because manufacturers measure pad wear differently, identify the caliper and check its official instructions before using any thickness number. Grinding, hydraulic leaks, a lever that reaches the grip, or weak stopping power are reasons to stop riding and arrange an inspection.
Manufacturer References
- Shimano disc brake user manual
- SRAM brake pad replacement threshold
- Tektro hydraulic disc brake owner’s manual
GoEBikeLife publishes independent e-bike reviews, comparisons, and practical buying guides. Some links on this page are affiliate links. If you make a purchase through an eligible link, we may earn a commission at no additional cost to you.