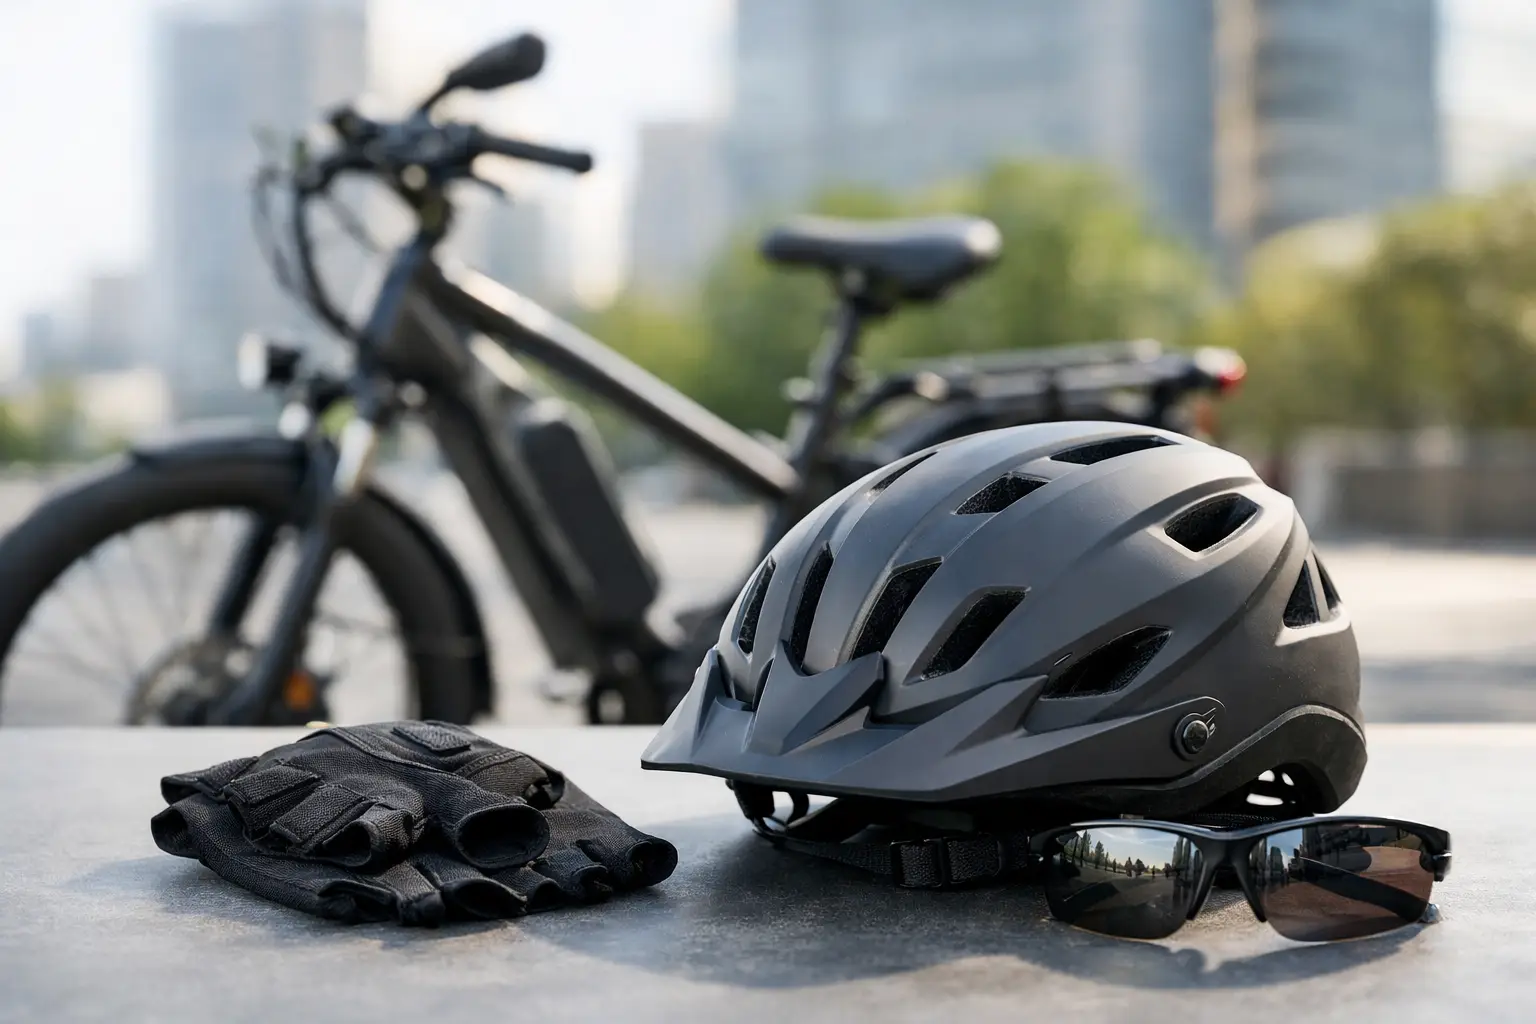
A helmet that fits correctly and is worn on every ride is one of the most useful ebike helmet essentials. E-bikes can get riders up to traffic speed quickly, cover more miles than a typical bike trip, and make a small mistake happen faster. Your helmet cannot prevent every injury, but it is designed to reduce the force transferred to your head in certain impacts.
The practical goal is simple: use a bicycle helmet that meets the applicable safety standard, sits level and snug, has a secured chin strap, and is replaced after a significant impact or visible damage. The owner’s manual for your e-bike still takes priority for any model-specific riding instructions.
Why E-Bike Helmet Essentials Matter More at Higher Speeds
A helmet does not know whether you are pedaling a standard bicycle or riding an e-bike. What changes is the riding environment. Pedal assist can help you accelerate into intersections, maintain speed on hills, and carry momentum longer than you expect. Cargo, passengers, wet pavement, potholes, and mixed traffic can add to the consequences of a fall.
This does not mean every e-bike ride requires the same type of helmet use. A slow ride on a protected path and a fast commute on city streets present different risks. Still, consistent helmet use removes one decision from the start of every trip. Put it on before you roll away, not after reaching the busy part of the route.
Helmet requirements also vary. Some states and local jurisdictions set age-based rules, while trail systems, schools, employers, and land managers may have their own requirements. Check rules that apply to your location and route, especially if you ride with children or use e-bikes on public trails. A legal minimum is not the same as a complete personal safety plan.
Start With the Right Safety Label
For ordinary bicycle use in the United States, look inside the helmet for a label showing compliance with the Consumer Product Safety Commission, commonly called CPSC, bicycle helmet standard. This label indicates the helmet was made to meet the applicable federal safety requirements for bicycle helmets.
Some helmets also carry additional markings for particular uses or test protocols. For example, NTA 8776 is a standard often associated with helmets intended for higher-speed e-bike riding. An added label may be relevant to the way you ride, but it does not replace proper fit or make a helmet invulnerable. Read what the label actually says rather than assuming all markings mean the same thing.
Do not use a damaged, altered, or unknown-condition helmet because it looks intact from a distance. The protective foam liner can be compromised without an obvious crack. A used helmet with no known history is hard to evaluate, particularly if its straps, buckle, shell, or foam show wear.
Three E-Bike Helmets to Consider for Different Riding Styles
The right helmet depends on how and where you ride. The three options below address different priorities, from higher-speed e-bike commuting to urban style and warm-weather ventilation.
Before ordering, measure the circumference of your head and compare it with the manufacturer’s size chart. When the helmet arrives, check the certification label inside and confirm that it sits level, snug, and stable without creating uncomfortable pressure points.
Quick Picks
- Best for Class 3 e-bike riders: XNITO E-Bike Helmet
- Best for stylish urban commuting: Thousand Heritage 2.0
- Best for ventilation and longer rides: Giro Syntax MIPS
1. XNITO E-Bike Helmet: Best for Class 3 E-Bike Riders
The XNITO is the clearest e-bike-specific option among these three helmets. It is listed as meeting both CPSC and NTA 8776 standards, with the latter developed for higher-speed e-bike riding up to 28 mph (45 km/h).
It also includes rechargeable front and rear LED lights, 10 ventilation openings, a rear fit dial, and additional coverage around the temples and back of the head. These features make it especially relevant to Class 3 riders, city commuters, and anyone who regularly rides in lower-light conditions.
Best for: Class 3 e-bikes, faster commutes, urban riding, and low-light visibility.
Keep in mind: The integrated lights are visibility aids. They do not replace the e-bike’s required headlight, taillight, or reflective equipment.
| Preview | Product | Price | |
|---|---|---|---|

| XNITO Bike Helmet with LED Lights – Urban Bicycle Helmet for Adults, Men & Women – CPSC… | $150.00 | View on Amazon |
2. Thousand Heritage 2.0: Best for Stylish Urban Commuting
The Thousand Heritage 2.0 combines a low-profile, vintage-inspired design with practical features for everyday city riding. It meets CPSC and ASTM standards and includes a dial-adjustment system, internal cooling channels, a one-handed magnetic buckle, and a built-in low-profile visor.
Its PopLock opening allows the helmet to be secured with a compatible bicycle lock, which can be useful for commuters who do not want to carry their helmet at every stop. An optional magnetic rear light is available separately.
Best for: City commuting, errands, casual rides, and riders who prefer a low-profile helmet design.
Keep in mind: The Heritage 2.0 is not presented as an NTA 8776 helmet, and its magnetic rear light is sold separately.
| Preview | Product | Price | |
|---|---|---|---|

| Thousand Heritage 2.0 Adult Bike Helmet; The Original Low Profile Retro Commuter Cycling… | View on Amazon |
3. Giro Syntax MIPS: Best for Ventilation and Longer Rides
The Giro Syntax MIPS is a road-style helmet designed for riders who prioritize ventilation, adjustable fit, and comfort over longer distances. Its Wind Tunnel ventilation system uses multiple exterior vents and internal channels to move air across the rider’s head.
The Roc Loc 5 Air fit system allows tension and fore-aft positioning to be adjusted, while the integrated MIPS system is designed to reduce certain rotational forces during some angled impacts. Its slim profile also makes it a practical choice for fitness-oriented e-bike riders.
Best for: Longer rides, warm-weather riding, paved routes, and riders who prefer a lightweight road-cycling design.
Keep in mind: It does not include integrated lights and is not presented as an NTA 8776-certified e-bike helmet. Verify the certification label on the specific U.S. model before use.
Which Helmet Should You Choose?
Choose the XNITO if you ride a Class 3 e-bike or specifically want an NTA 8776-certified helmet with integrated visibility lights.
Choose the Thousand Heritage 2.0 if your priorities are urban styling, commuting convenience, and an easy-to-use magnetic buckle.
Choose the Giro Syntax MIPS if you ride longer distances, live in a warm climate, or prefer the ventilation and fit of a road-cycling helmet.
Whichever model you choose, correct sizing and fit matter more than appearance or extra features. The helmet should sit level, remain stable when fastened, and carry the safety label required for your riding location.
Fit Is the Most Important Helmet Adjustment
A compliant helmet that shifts around on your head cannot work as intended. Fit takes only a few minutes to check and should be revisited when you change hairstyles, wear a cycling cap, or adjust for colder-weather layers.
Position the helmet level
Place the helmet low and level on your head, covering the forehead. Its front edge should sit about one to two finger widths above your eyebrows, roughly 1 inch to 2 inches (2.5 to 5 centimeters). A helmet tipped far back exposes too much forehead. One tilted down too far can block your view upward and may be uncomfortable.
Use the rear retention dial or adjustment system, if your helmet has one, until the fit feels even and snug. It should not create pressure points or a headache. If it feels tight only in one spot, loosening the dial may not solve the problem. The helmet’s shape may simply not match your head well.
Set the side straps and chin strap
The side straps should form a Y shape just below each ear. The buckle should sit under the chin, not on the jawbone. Fasten the chin strap so it is snug enough that you can fit only one or two fingers between the strap and your chin.
Then perform a movement check. With the buckle fastened, try to roll the helmet forward and backward using your hands. It should move your skin and hair slightly, but it should not slide enough to uncover your forehead or rotate off the back of your head. If it moves too much, readjust the retention system, straps, or both.
Check fit with your riding setup
If you wear glasses, test the helmet with them on. If you use a hood or a thick winter hat, do not assume the helmet will fit safely over it. Bulky layers can prevent the helmet from sitting low and stable. A thin, purpose-made cap may work with some helmets, but it should not interfere with fit, straps, or ventilation.
Do not wear a baseball cap, hard hair clip, earbuds that create pressure points, or anything else under the helmet that changes how the foam contacts your head. If you need hearing assistance, make sure you can still hear traffic, alarms, and other route hazards.
Use the Helmet Correctly on Every Ride
A helmet works only when it stays on your head. Buckle it for short test rides, trips around a parking area, and low-speed errands, not only for road commutes. Falls can happen while mounting the bike, turning at walking speed, or stopping on loose gravel.
Keep loose straps secured so they cannot flap into your face or catch on a jacket collar. Before riding at night, confirm that a helmet-mounted light or reflective accessory does not compromise the shell, straps, or fit. Avoid drilling holes, gluing hard accessories to the shell, or making other modifications unless the helmet manufacturer specifically permits them. Alterations can affect performance and may void the manufacturer’s instructions.
A visor can help with sun, rain, and trail debris, but it should not obstruct your view. If you use a helmet with an integrated light, charge and maintain that light according to its instructions. It is a visibility aid, not a substitute for the e-bike’s required lighting or for attentive riding.
Inspect, Clean, and Store Your Helmet
Give your helmet a quick inspection before rides and a closer check after a fall, drop, or hard knock. Look for cracks, dents, deep scrapes, crushed foam, loose straps, a damaged buckle, or a shell separating from the foam. Also watch for a retention system that no longer tightens reliably.
For routine cleaning, use mild soap, water, and a soft cloth. Removable pads can usually be hand-washed and air-dried if the manufacturer allows it. Avoid solvents, gasoline, harsh cleaners, paint, and high heat. These can damage foam, plastic, adhesives, or straps.
Store the helmet in a dry indoor area away from direct sun, vehicle interiors, radiators, and other heat sources. Leaving it in a hot car is especially hard on materials over time. Do not hang it by the straps where it can be crushed by other gear, and keep it away from pets that may chew straps or padding.
Know When Replacement Is Necessary
Replace the helmet after any crash or impact where your head hits the ground, vehicle, object, or another person, even if the outside looks normal. Replace it after a hard drop as well if you cannot be confident it was unharmed. The foam liner is generally designed to manage one significant impact, not repeated impacts.
Replacement is also appropriate when the shell or foam is cracked, straps are frayed, the buckle does not latch securely, padding no longer holds the helmet stable, or the fit system is failing. Manufacturers may provide a suggested service life based on materials and normal use. Follow that guidance, and replace sooner when the helmet has been exposed to damage, heat, or heavy wear.
If you are unsure whether a helmet is still usable after a crash, treat it as out of service and contact the manufacturer for its inspection or replacement guidance. Do not try to repair crushed foam, cracked shells, or damaged straps yourself.
A properly fitted helmet is quiet preparation: it takes a few seconds to buckle, yet it supports every mile of your commute, errand run, trail ride, or family outing. Make that check part of the same routine as checking your battery charge, brakes, and tires.
Three E-Bike Helmets to Consider for Different Riding Styles
The right helmet depends on how and where you ride. The three options below address different priorities, from higher-speed e-bike commuting to urban style and warm-weather ventilation.
Before ordering, measure the circumference of your head and compare it with the manufacturer’s size chart. When the helmet arrives, check the certification label inside and confirm that it sits level, snug, and stable without creating uncomfortable pressure points.
Frequently Asked Questions
1. Do I need a special helmet for riding an e-bike?
Most everyday e-bike riders can use a bicycle helmet that meets the applicable safety standard, such as the CPSC standard in the United States. Riders who regularly travel at higher speeds may also consider a helmet certified to NTA 8776. Proper fit remains essential regardless of the certification.
2. How should an e-bike helmet fit?
An e-bike helmet should sit level and snug on your head, with its front edge about one to two finger widths above your eyebrows. The side straps should form a Y shape below each ear, and the chin strap should allow room for only one or two fingers.
3. Is wearing a helmet legally required on an e-bike?
E-bike helmet laws vary by state, city, rider age, e-bike class, and riding location. Trails, schools, employers, and land managers may also impose separate rules. Check the current requirements for your location and route before riding.
4. Should I replace my helmet after an e-bike crash?
Yes. Replace the helmet after a crash or significant impact involving your head, even if the exterior appears undamaged. The protective foam may have compressed or cracked internally and may not provide the same protection in another impact.
5. How often should an e-bike helmet be replaced?
Follow the replacement schedule provided by the helmet manufacturer. Replace it sooner if you notice cracked foam, a damaged shell, frayed straps, a failing buckle, loose padding, or a retention system that no longer holds the helmet securely.
6. Can I wear a hat or hood under my e-bike helmet?
Avoid baseball caps, thick hats, bulky hoods, and hard hair accessories under a helmet because they can interfere with its position and stability. A thin cycling cap may be suitable if it does not affect the helmet’s fit, straps, or retention system.
7. How should I clean and store an e-bike helmet?
Clean the helmet with mild soap, water, and a soft cloth. Avoid solvents, harsh cleaners, paint, and high heat. Store it indoors in a dry location away from direct sunlight, radiators, hot vehicles, and anything that could crush or damage it.
GoEBikeLife publishes independent e-bike reviews, comparisons, and practical buying guides. Some links on this page are affiliate links. If you make a purchase through an eligible link, we may earn a commission at no additional cost to you.