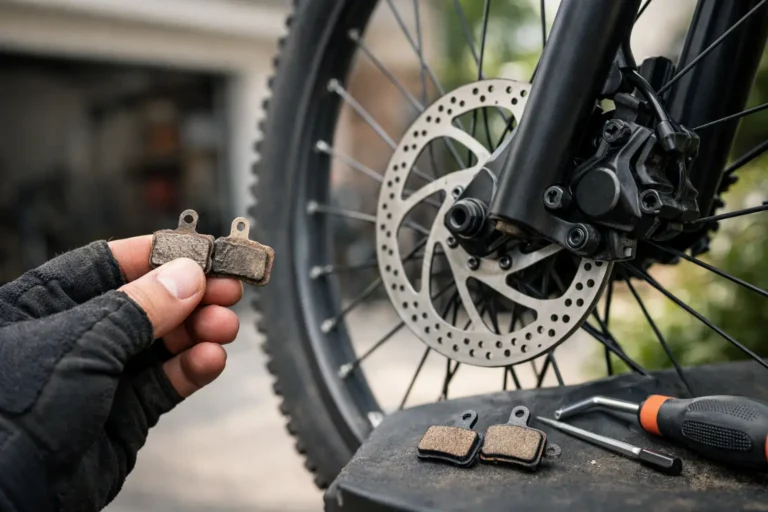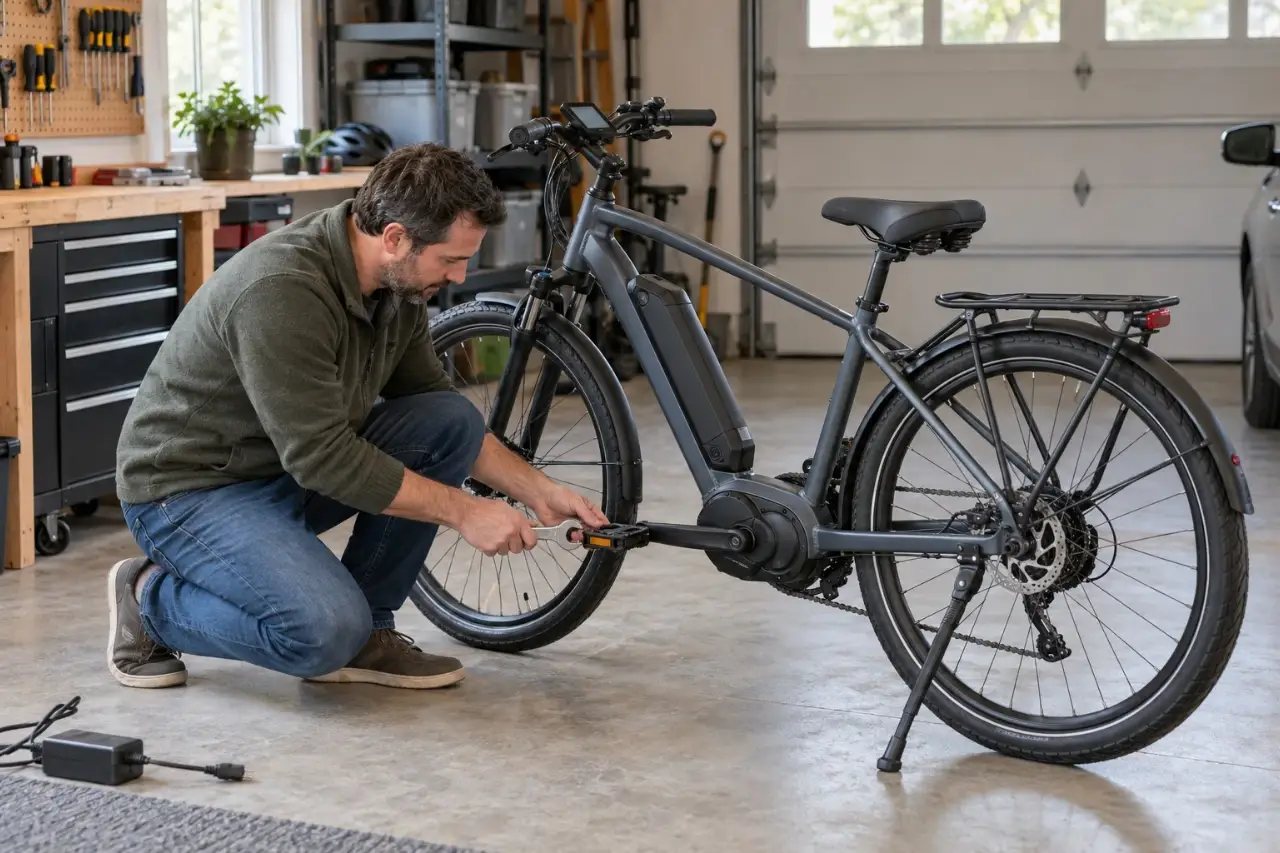
A loose e-bike pedal should be inspected before riding because the cause may be a simple loose pedal connection, a worn pedal, or damaged crank-arm threads.
First identify where the movement comes from: the pedal spindle, the pedal body, or the crank arm.
Continuing to ride with a loose pedal can damage the crank arm, especially on heavier e-bikes that place higher loads on drivetrain components.
First, Find Out What Is Actually Loose
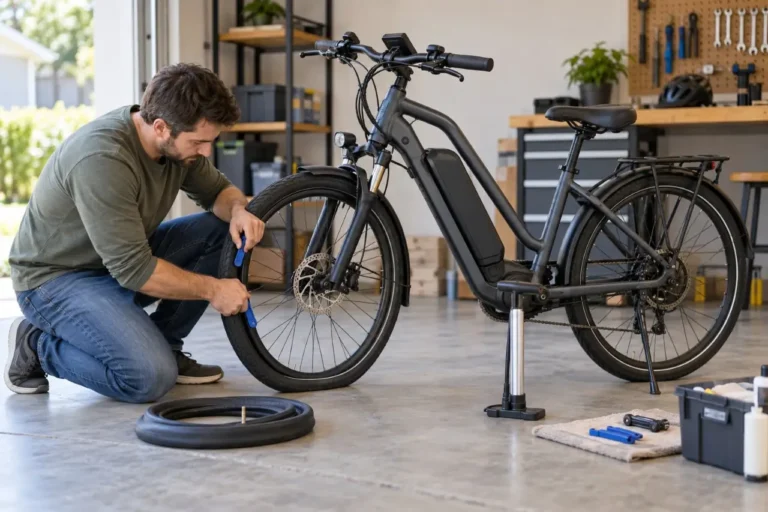
Park the e-bike on level ground, switch it off, and remove the battery if that makes the bike easier to handle. You do not need to work on any electrical parts for this repair.
Hold one crank arm steady and try to move the pedal body side to side. Then grasp the crank arm near its center and try to move the entire arm away from and toward the frame. These checks point to different problems.
If the pedal spindle moves where it enters the crank arm, the pedal may be loose or its threads may be damaged. The spindle is the threaded metal axle that screws into the crank.
If the pedal platform wiggles around the spindle but the spindle stays firmly attached to the crank, the pedal’s internal bearings or bushing may be worn. Most basic platform pedals are replaced rather than rebuilt, although some serviceable pedals have manufacturer-specific adjustment instructions.
If the whole crank arm rocks on the bike, the problem is not a loose pedal. It may involve the crank fixing bolt, bottom bracket, or another drivetrain part. Do not try to solve that by overtightening the pedal. Have a qualified bicycle mechanic inspect it, particularly if there is clicking, grinding, or visible movement at the crank arm.
How to Fix Ebike Loose Pedals
For a pedal that has loosened but still has clean, undamaged threads, a pedal wrench or hex key may be enough. Check the pedal spindle and crank design before choosing a tool. Many pedals use 15 mm wrench flats, while some use an 8 mm hex key from the inner side of the crank arm.
1. Identify the correct turning direction
The right pedal, on the chain and drivetrain side, has normal right-hand threads. It tightens clockwise when viewed from the outside of the bike.
The left pedal has reverse, or left-hand, threads. It tightens counterclockwise when viewed from the outside of the bike. This design helps keep the pedal from loosening as you ride. Turning the left pedal clockwise to tighten it is a common mistake and can damage the threads.
If you are unsure which pedal you have, look for an “L” or “R” stamped on the spindle. Do not force a pedal that resists turning.


2. Remove the pedal if the threads need inspection
If the pedal feels loose after tightening, or you can see a gap between the pedal and crank arm, remove it to inspect both sets of threads. Use the same directions in reverse: loosen the right pedal counterclockwise and the left pedal clockwise, viewed from the outside.
Turn the wrench or hex key with steady pressure. Keep your hands and knuckles clear of chainring teeth. On some e-bikes, a chain guard, kickstand, fender, or motor housing can limit tool access. Reposition the crank arm instead of using an improvised tool or forcing the pedal at an angle.
3. Check for damaged threads
Wipe the pedal spindle threads and look closely at the threaded hole in the crank arm. Threads should look even and sharply defined. Stop and arrange professional service if you find flattened, stripped, cross-threaded, or missing sections of thread.
A pedal that goes in crooked, turns only partway, or will not tighten firmly may be cross-threaded. Do not keep riding or attempt to force it deeper. Crank arms are commonly aluminum, which is softer than the pedal spindle. Continued riding can turn a repairable issue into a crank-arm replacement.
Also inspect the crank arm around the pedal hole. A crack, distortion, or enlarged opening calls for immediate replacement of the crank arm by a qualified mechanic. Do not use thread tape, glue, or a thread-locking compound as a substitute for sound threads.
4. Reinstall the pedal squarely
If the threads are clean and undamaged, apply a small amount of bicycle grease to the pedal spindle threads unless the pedal or e-bike manufacturer specifically says otherwise. Grease helps prevent corrosion and makes future removal easier. It does not repair worn threads.
Start threading the pedal by hand. It should turn smoothly for several full turns with little resistance. This is the best protection against cross-threading. Only after it is fully seated against the crank arm should you use a wrench or hex key.
Tighten the pedal firmly to the torque specified by the pedal, crankset, or e-bike manufacturer. Torque is the measured twisting force used to secure a fastener. Specifications vary by component, so the owner’s manual or component documentation takes priority over a generic number. If you do not have the proper tool or cannot verify the specification, a bike shop can tighten and inspect both pedals quickly.

5. Recheck before riding
After tightening, hold the crank arm and try to move the pedal again. There should be no looseness at the spindle-to-crank connection. Spin the pedal. A little resistance can be normal on some new pedals, but grinding, roughness, or noticeable side-to-side play points to worn internal bearings.
Take a short, low-speed test ride in a safe area close to home. Pedal gently at first, then recheck both pedals after a few minutes. If the repaired pedal loosens again, stop riding and have the threads and crank arm inspected.
When the Pedal Body Is Loose Instead
A pedal can feel loose even when its spindle is tightly installed. This usually shows up as wobble in the pedal platform while the spindle itself remains fixed in the crank arm. The cause may be worn bearings, a worn bushing, a missing end cap, or internal damage after a strike against a curb or rock.
Some higher-service pedals can be adjusted or rebuilt with the correct parts and manufacturer instructions. Many common pedals are sealed or inexpensive enough that replacement is the safer practical option. Do not attempt to pry apart a pedal or improvise bearing adjustments if you cannot confirm that the model is designed to be serviced.
Replace a pedal promptly if it binds, grinds, has heavy wobble, has a bent spindle, or has cracked plastic or metal around the body. A failing pedal can make it harder to keep your foot planted when starting, climbing, or braking.
Why E-Bike Pedals May Loosen or Wear Faster
The pedal threads on an e-bike work the same way as those on a regular bicycle, but usage can be tougher. E-bikes often cover more miles, carry cargo, climb hills under assist, and weigh more when they fall over or strike an obstacle. Riders may also apply more force while starting from a stop or when assisting the motor on steep grades.
Pedals commonly loosen after installation because they were not fully seated, were installed on the wrong side, or were cross-threaded. They can also loosen after a crash, a pedal strike, or service that involved removing the crank or pedals. Corrosion is another issue for bikes stored in humid garages, transported on exposed vehicle racks, or ridden through rain and winter road spray.
A properly installed pedal generally should not need routine tightening. If yours repeatedly works loose, treat that as a sign to inspect the pedal spindle and crank arm rather than simply tightening it again.
When You Should Stop Riding Immediately
Do not continue riding if you notice any of these signs:
- The pedal spindle moves inside the crank arm
- The pedal cannot be tightened securely
- The crank arm itself moves side to side
- The crank arm has cracks, deformation, or an enlarged pedal hole
- The pedal spindle is bent or the pedal body is damaged
These conditions can cause loss of control or additional component damage. A qualified bicycle mechanic should inspect the bike before it returns to service.
A Simple Pedal Check for Regular E-Bike Maintenance
Add the pedals to your pre-ride check, especially after transporting the bike, a tip-over, or a hard pedal strike. Check that each pedal spins reasonably smoothly, does not wobble at the crank arm, and has no cracks or sharp damage. While you are there, look at the crank arms and chainring area for unusual movement or rubbing.
Do this check more often if you ride daily, carry a child seat or cargo, use rough paths, or frequently ride in wet conditions. Keeping pedal threads clean and properly installed is a small job, but it protects a far more expensive part of the bike.
If the pedal will not stay tight, do not let a short commute turn into stripped crank threads. A timely inspection can preserve the crank arm and get you back to riding with confidence.

GoEBikeLife publishes independent e-bike reviews, comparisons, and practical buying guides. Some links on this page are affiliate links. If you make a purchase through an eligible link, we may earn a commission at no additional cost to you.