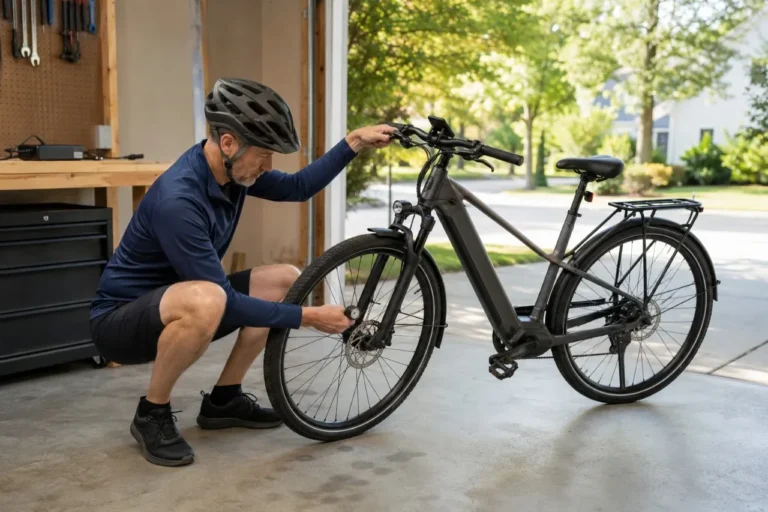
An e-bike annual safety review is a planned inspection of accumulated wear, battery and charger condition, safety equipment, and overdue service. Check the frame, steering, wheels, tires, brakes, drivetrain, and external electrical parts, then record what needs attention. Complete any safety-critical repairs before a test ride. This review complements regular maintenance and pre-ride checks; it does not establish that a bike is safe for another full year.
Use the annual appointment to compare this year’s condition with previous records and plan the next service. Your bike and component manuals determine the actual maintenance intervals. Heavy use, cargo, wet conditions, or a fault can require attention much sooner.
Prepare the Bike and Its Service History
Gather the owner’s manual, component instructions, previous invoices, and a simple inspection log. Record the date, odometer reading if available, recurring noises, recent impacts, and changes in braking or assistance. Check the manufacturer’s safety notices and the CPSC micromobility safety and recall page for the exact bike, battery, and charger models.
Before touching the battery, look for swelling, leakage, smoke, unusual heat, or odor. If anything suggests battery failure, skip cleaning and testing and follow the battery warning guidance below.
Otherwise, switch the bike off, disconnect the charger, and support the bike securely on dry, level ground. Remove a normal, cool battery only as the manual permits. An integrated battery does not need to come out for an owner inspection. Keep hands away from electrical contacts.
Clean with a soft brush and damp cloth using approved methods. Avoid pressure washing, direct water at electrical openings, and soaking bearings. Bosch’s battery-care guidance recommends gentle cleaning rather than direct jets. Follow your own system’s instructions and allow permitted cleaning moisture to dry before reassembly or charging.
For everyday departures, use the separate e-bike pre-ride safety checklist. For ongoing cold-weather care, follow the winter maintenance checklist.
1. Inspect Structural Parts and Attachment Points
Examine the frame, fork, handlebar, stem, seatpost, and folding joints. Look for suspected cracks, structural dents, deformation, and movement at joints. Check grips, bar-end plugs, saddle security, and accessory mounts. Do not ride with a suspected structural defect or slipping handlebar or saddle.
Turn the handlebar gently through its normal range. Binding, loose steering, or cables pulled tight need attention. With the front brake applied, gently rock the bike to notice unusual movement. Clicking alone does not identify a headset fault; brake or suspension movement can also contribute. Have unexplained play assessed.
Check suspension for visible damage, abnormal looseness, or leakage, and review its service schedule. Do not open a fork or shock. Inspect rack, child-seat, basket, and trailer mounts against their instructions and load limits.
Do not tighten every bolt by feel. Use the specified procedure and torque only where owner maintenance is permitted; otherwise ask a shop. Trek’s torque guidance explains where model-specific values may be found. Repeated loosening needs diagnosis, not repeated extra tightening.
2. Check Tires, Rims, and Wheel Security
Inspect the full circumference of each tire for exposed casing threads, cuts, bulges, cracking, and abnormal wear. A naturally smooth road tread is not automatically worn out. Use the tire manufacturer’s wear criteria. Bulges, exposed casing, or serious cuts mean no riding until replacement or professional assessment.
Measure pressure with a gauge. Use the approved riding range for your tire, rim, and bike, accounting for load and conditions. Never exceed the lowest applicable maximum. The sidewall maximum is not a target pressure. The Jamis bicycle owner’s manual explicitly distinguishes tire and rim limits.


Confirm that axles or quick releases are secured according to the manual. Check for rim cracks, damaged spokes, and unusual wheel play. If you can support the bike safely with a correctly rated stand and approved clamping point, turn each wheel slowly by hand with power off. Keep fingers away from spokes and rotors. Otherwise, leave lifted-wheel checks to a shop.
A wobbling wheel, insecure axle, cracked rim, or broken or clearly loose spoke needs service before riding. Do not adjust spoke tension by guesswork.
3. Inspect Brakes Before Any Moving Test
With the bike stationary, squeeze each lever separately. It should develop resistance before reaching the grip. Then, standing beside the bike, gently push against each applied brake to confirm it holds its wheel. This preliminary check does not prove full braking performance.
Inspect mechanical brake cables and housing for damage or fraying. Check hydraulic hoses and connections for leaks. Weak braking, grinding, a suddenly soft lever, or a lever that creeps toward the grip means stop and arrange service.
Review pad and rotor wear against the exact brake manufacturer’s limits. Do not apply one thickness limit to every brake. Where the pads cannot be inspected reliably in place, ask a technician to measure them. Rim brakes also require inspection of the rim braking surface and its wear indicators.
Keep oil and grease away from braking surfaces. Use only cleaning products and methods approved for that brake. Shimano’s brake instructions identify contamination, cable damage, and rotor damage as safety concerns. Our guide to when e-bike brake pads need replacement explains the warning signs. Replacement pads or rotors may require the manufacturer’s bedding-in procedure before normal riding.
4. Review Drivetrain Wear and Pedal Security
Inspect the chain for damaged or stiff links, corrosion, and accumulated grime. Measure wear with a gauge compatible with the chain, following the chain manufacturer’s replacement criteria, or have a shop measure it. Record the result so you can compare it at the next service.
Clean and lubricate a chain only as instructed, with power off and fingers clear of pinch points. Apply bicycle chain lubricant sparingly and wipe off excess. Do not use motor power to rotate the drivetrain during maintenance. Belt drives require their own inspection and tension instructions; do not apply chain lubricant to a belt.
Check pedals and crank arms for damage or looseness. Review any history of skipping, jumping gears, or chain derailment. Resolve these problems before a riding test. A loose crank, damaged pedal, or chain that can slip under pressure can cause a fall. Leave gear testing until the final stage, using light pedal pressure and low assistance.
5. Review Battery, Charger, and Electrical Condition
Inspect only accessible external parts. Look for damaged insulation, pinched cables, corrosion, broken covers, and a loose battery mount. Do not open housings, unplug wiring for exploratory testing, probe terminals, or bypass safety features.
For an undamaged removable battery, check the exterior and retention mechanism using the manual’s procedure. Do not force a sticking battery or reinstall a damaged one. An external inspection cannot establish internal battery health.
Use only a manufacturer-approved charger for that battery. Compatibility includes battery chemistry, nominal battery voltage, charger output voltage, charging current, connector, polarity, and any required charging profile or communication. Matching the plug or voltage alone is insufficient. The CPSC warns against incompatible “universal” chargers.
Review charging habits: remain awake and present, keep the area clear of combustible materials and exits, and follow the specified charging temperatures and instructions.
Stop using or charging a battery with swelling, leakage, significant impact damage, suspected water intrusion, or abnormal heat or odor. Do not remove, carry, or attempt to repair a suspect battery as part of this checklist. Contact the manufacturer for non-emergency assessment and handling guidance. Drying after immersion does not establish safety.
If there is smoke, hissing, rapidly increasing heat, or fire, leave the area, keep others away, and call 911 from safety. Do not approach to unplug or move it. Follow emergency responders’ instructions. The FDNY battery safety booklet explains warning signs and emergency precautions.
6. Check Helmet, Lighting, and Visibility
Inspect the helmet’s shell, liner, straps, buckle, and fit system. Replace it after an impact to the helmet or head, even if damage is not visible, and follow its replacement guidance. CPSC helmet guidance explains why impact damage may be hidden.
Once the bike has passed the mechanical and battery checks, power it on to check lights, the display, and warnings. Check secure mounts, unobstructed reflectors, and reliable front and rear lighting. Test the bell and mirrors if fitted. Bags should not block lights. Confirm current equipment and helmet requirements with the responsible local authority before riding.
7. Complete a Controlled Test Only After Problems Are Resolved
Wear a fitted helmet and choose a dry, level, traffic-free area. Begin at walking speed, verify braking, and then check steering, gentle acceleration, and shifting with low assistance. Avoid heavy shifting loads.
Confirm that assistance and any throttle or brake cutoff behave as the manufacturer describes. Pedal assistance, throttle operation, and walk modes are different functions; stopping pedaling is not a universal test of all motor operation. Do not improvise a powered wheel-in-the-air test.
Unexpected propulsion, sticking controls, poor braking, wobbling, or unexplained warnings mean stop and arrange service. Record an unfamiliar e-bike error code exactly rather than clearing it and assuming the fault is gone.
Record the Outcome and Plan Service
An annual shop review can be a useful planning checkpoint, but use your manufacturer’s time, mileage, or operating-hour intervals whenever they require earlier service. Trek’s owner’s manual, for example, recommends annual service and more frequent maintenance when use warrants it. That is manufacturer guidance, not a universal inspection law.
Ask whether the shop supports your electrical system. Bring this record and request assessment of wear, bearings, wheel condition, suspension service, fasteners, and any unresolved symptoms.
| Record | What to enter |
|---|---|
| Review date and mileage | Current reading and comparison with last service |
| Wear findings | Tire condition, measured chain wear, and shop pad/rotor measurements |
| Safety faults | Symptom, affected part, and whether riding is suspended |
| Completed work | Parts replaced, adjustments, date, and service provider |
| Next action | Manufacturer interval, follow-up date, or pending diagnosis |
An unchecked or uncertain item remains unresolved. Resume riding only after safety faults are addressed, and continue normal pre-ride checks between annual reviews.
GoEBikeLife publishes independent e-bike reviews, comparisons, and practical buying guides. Some links on this page are affiliate links. If you make a purchase through an eligible link, we may earn a commission at no additional cost to you.