There is no single tire pressure that works for every e-bike. Start with the permitted pressure range on the tire sidewall, then check the e-bike manual and any limit marked by the rim or wheel manufacturer.
Your final setting must stay inside every applicable limit. Within that safe range, adjust for rider and cargo weight, tire width, terrain, and whether the tire uses a tube or a compatible tubeless system.
Key Takeaways
- Do not choose pressure from tire width alone. The tire, rim, and e-bike manufacturer’s instructions set the boundaries.
- More load generally requires more pressure, while a wider tire or rougher surface may work better at a lower pressure within the approved range.
- Front and rear pressures do not have to match. The more heavily loaded wheel often needs more support.
- Use a gauge, and stop riding if you find a bulge, exposed casing cords, an unseated bead, rim damage, or rapid pressure loss.
Find the Safe Pressure Range First
Look near the tire-size marking for a permitted pressure range, a minimum and maximum, or a maximum-only value. It may be shown in pounds per square inch (PSI), bar, or kilopascals (kPa). One bar is approximately 14.5 PSI, and 100 kPa equals 1 bar.
Schwalbe’s tire-pressure guidance states that the permitted range is marked on the sidewall and that pressure should not be above or below the tire’s stated limits.
The owner’s manual may give a recommended range for the original tires or separate front and rear targets. The rim may also have a maximum pressure, especially on some tubeless or hookless systems. Do not exceed the lower of the tire or rim maximums. SRAM’s Zipp wheel instructions apply this same lower-maximum rule to their wheel systems.
A maximum is a safety ceiling, not automatically the best operating pressure. You must also respect any stated minimum. If the tire, rim, and bike instructions do not leave a shared operating range, do not guess. Contact the manufacturer or a qualified bicycle mechanic to confirm compatibility.
Pressure also cannot make an overloaded tire or e-bike safe. Confirm the bike’s total payload limit and any tire load rating before carrying a passenger, child seat, or heavy cargo. Total system weight includes the rider, e-bike, cargo, and accessories.
Illustrative PSI Starting Points by Tire Width
These broad examples are not specifications for a particular tire. Use a number only if it falls inside the limits for your tire, rim, and e-bike. If the manual gives a target, start there instead.
| Tire category | Common width | Illustrative starting band only |
|---|---|---|
| Narrow road or city tire | 28–38 mm | 50–80 PSI (3.4–5.5 bar) |
| Wide commuter or gravel tire | 40–55 mm | 30–55 PSI (2.1–3.8 bar) |
| Mountain or all-terrain tire | 1.9–2.6 in. | 20–40 PSI (1.4–2.8 bar) |
| Plus or fat tire | 3.0–5.0 in. | 8–30 PSI (0.6–2.1 bar) |


The bands overlap because casing construction, wheel diameter, rim width, tubes or tubeless construction, and load all matter. A 4-inch urban e-bike tire, for example, may require considerably more pressure than a 4-inch tire designed for soft snow. Never go below a marked minimum simply because another tire of the same width can run lower.
Adjust Pressure for Load and Wheel Setup
Heavier loads usually require pressure toward the upper part of the approved range. This limits excessive tire deformation, rim strikes, and pinch flats in tubed tires. Lighter loads may allow a lower setting for comfort and traction.
Many e-bikes place more load on the rear wheel because of rider position, a rear hub motor, a rack, or cargo. Other designs distribute weight differently, so do not assume the rear always needs more air. Follow separate front and rear values in the manual when provided.
When adding cargo, confirm the limits for the bike, rack, wheel, and tire. Increase pressure in small steps without exceeding any limit, then test the bike in a low-traffic area. If the tire still folds, squirms, or reaches the rim over bumps near its maximum permitted pressure, stop carrying that load. Do not exceed the limit to compensate.
A compatible tubeless system can often operate at a lower pressure because there is no tube to pinch. It can still suffer rim strikes, bead movement, or air loss if pressure is too low. The tire, rim, valve, and rim tape must all be approved for tubeless use. A wide tire is not automatically tubeless-ready, and some rims have a lower pressure ceiling than the tire.
Adjust for Pavement, Gravel, and Soft Terrain
Make terrain adjustments only within the approved range.
Smooth pavement
A somewhat higher setting can reduce excessive casing flex and may feel more responsive. More pressure is not always faster, however. A tire that is too firm for the surface can bounce over irregularities, feel harsh, and lose traction.
Rough pavement and gravel
A slightly lower setting can help the tire conform to broken pavement or loose gravel. Reduce pressure gradually and watch for rim strikes, vague steering, or the tire folding during turns.
Sand and snow
Fat tires can use lower pressure to increase their contact area and flotation. The correct number depends heavily on the tire, rim, load, and surface. Stay above the system’s minimum, and add air before returning to hard terrain if the low setting allows excessive tire movement.
Wet roads
There is no universal rule that says to lower pressure in rain. Tire condition, tread design, surface contamination, speed, and braking technique all affect wet grip. Brake earlier and stay within the approved range rather than making a large pressure change.
How to Check and Adjust E-Bike Tire Pressure
1. Check before riding
Measure pressure before the ride, when the tires are cool. If the bike moves from a warm room into much colder air, recheck after the tires adjust to the outdoor temperature. Air pressure changes with temperature, and all bicycle tire systems lose pressure over time.
For a regularly used e-bike, a weekly gauge check is a practical baseline, but the tire type or manual may call for more frequent checks. Check again before a long or heavily loaded ride, after storage, after a major temperature change, or whenever handling feels different.

2. Use the correct pump and gauge
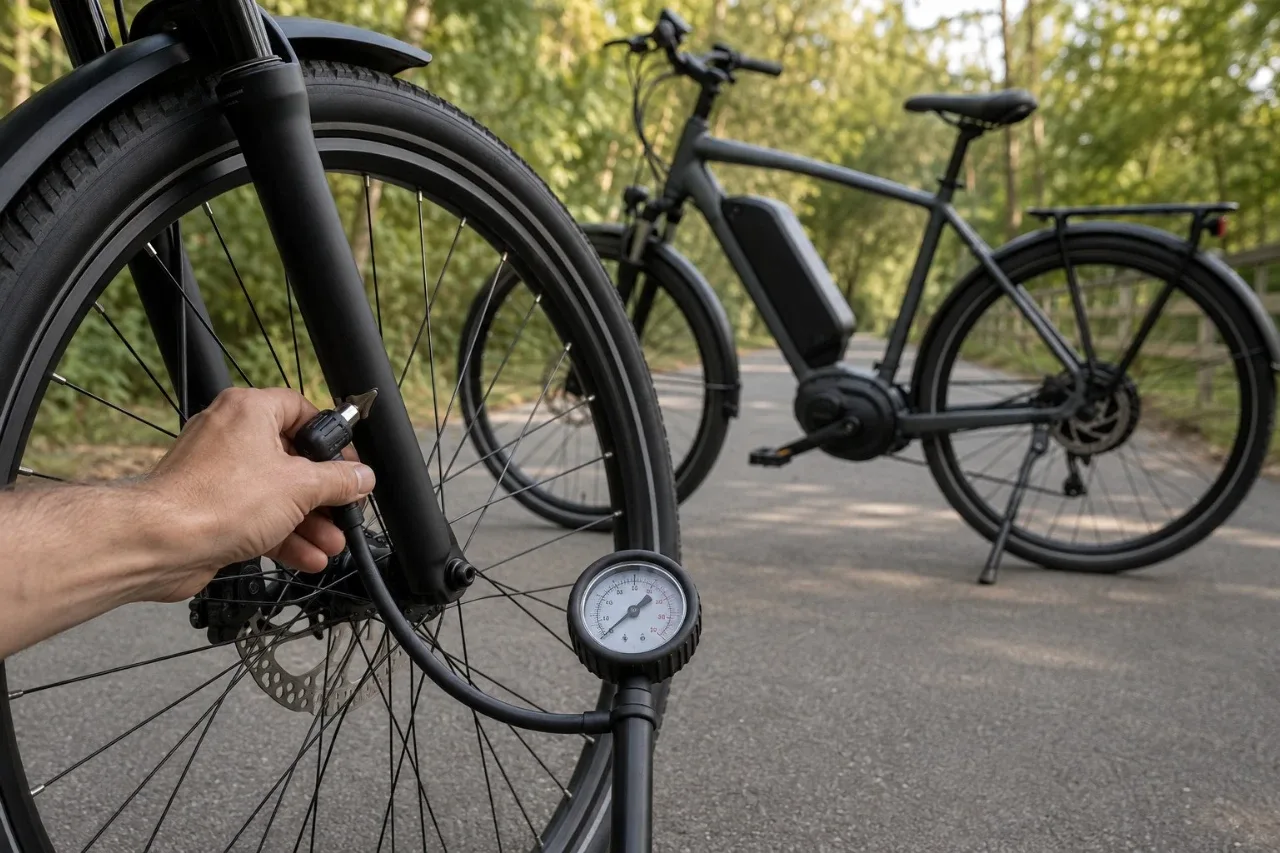
A Presta valve is narrow and has a small threaded tip that must be loosened before inflation. A Schrader valve is wider and resembles a car-tire valve. Use a bicycle pump that fits the valve and has a gauge covering your pressure range. A low-pressure gauge is especially useful for fat tires because a 1–2 PSI change can noticeably affect ride feel. Trek’s inflation guide provides a basic pump-and-valve walkthrough.

3. Inflate gradually
Add air in small steps and recheck after each adjustment. Do not use the sidewall maximum as the default target. If you release air, measure again instead of estimating by feel.
4. Inspect the tire and bead
The molded line just above the rim should remain evenly spaced around both sides of the wheel. Also check for cuts, bulges, exposed casing threads, cracking, and rim damage.
5. Test and record the setting
Ride briefly on familiar ground. Change one variable at a time—front or rear—and adjust in small increments. Low-pressure fat and mountain-bike tires may respond noticeably to a 1–2 PSI change. Record the front and rear values that work for your normal load.
For a broader inspection routine covering tread, beads, and wheel condition, see GoEBikeLife’s e-bike tire care guide.
Signs Your Pressure Needs Attention
| What you notice | Possible cause | What to do |
| Sluggish feel or tire squirm | Pressure may be too low for the load | Check with a gauge and compare with approved limits |
| Repeated rim strikes or pinch flats | Low pressure or excessive load | Stop and inspect the tire, rim, and load limits |
| Harsh, skittish ride | Pressure may be too high for the surface | Reduce it without going below the minimum |
| Rapid pressure loss | Puncture, valve, bead, rim-tape, or casing problem | Find the cause before riding again |
| New bulge or uneven bead line | Tire damage or seating problem | Stop riding and arrange inspection |
Low pressure can increase casing flex, rolling resistance, pinch-flat risk, and rim-strike risk. Excessive pressure can reduce comfort and traction, while pressure above a tire or rim limit can cause system failure. Pressure also affects energy use, but the range impact varies too much to promise a fixed mileage gain. See why e-bike range can drop for other common causes.
When to Stop Riding
Stop riding for rapid or repeated air loss, an unseated bead, a bulge, a deep cut, exposed casing cords, a damaged rim, tire rubbing, or handling that remains unstable after pressure is corrected.
A clear puncture in a conventional tube may be manageable for an owner who can safely remove and reinstall the wheel. Rear hub-motor wheels can involve motor cables, torque hardware, and model-specific procedures, so follow the owner’s manual. If the cause is unclear or wheel reinstallation is outside your experience, use a qualified bicycle mechanic.
GoEBikeLife’s guide to fixing a flat tire on an electric bike explains that repair decision in more detail, while the year-round e-bike maintenance guide covers the rest of the bike.
Frequently Asked Questions
What PSI should I use for my e-bike?
Use the range approved for your exact tire, rim, and e-bike, then adjust within it for total load and terrain. There is no universal e-bike PSI. If the manual provides front and rear targets, start there.
Should the front and rear tires use the same pressure?
Not necessarily. The more heavily loaded wheel often needs more pressure. Many e-bikes carry more load at the rear, but bike design and cargo placement vary.
Is the maximum PSI on the sidewall the recommended pressure?
No. A marked maximum is an upper limit, not automatically the ideal riding pressure. The best setting may be lower, provided it remains above any stated minimum and within the rim and e-bike manufacturer’s limits.
Can I lower pressure for more grip?
You can test a slightly lower setting within the approved range. Stop lowering it if the tire squirms, folds in turns, strikes the rim, loses air at the bead, or falls below a stated minimum.
How often should I check e-bike tire pressure?
Inspect the tires before riding and use a gauge regularly. Weekly is a practical baseline for many regularly used e-bikes, but check more often if the setup loses air quickly, the manual requires it, or you are preparing for a long, loaded, or cold-weather ride.
GoEBikeLife publishes independent e-bike reviews, comparisons, and practical buying guides. Some links on this page are affiliate links. If you make a purchase through an eligible link, we may earn a commission at no additional cost to you.