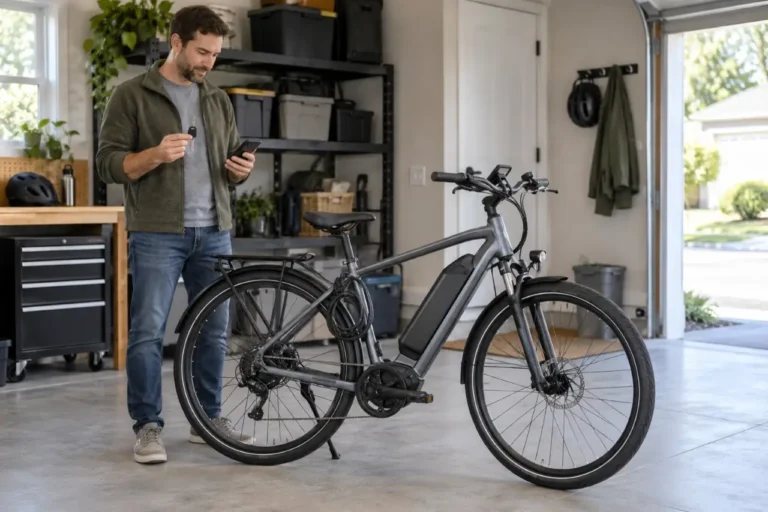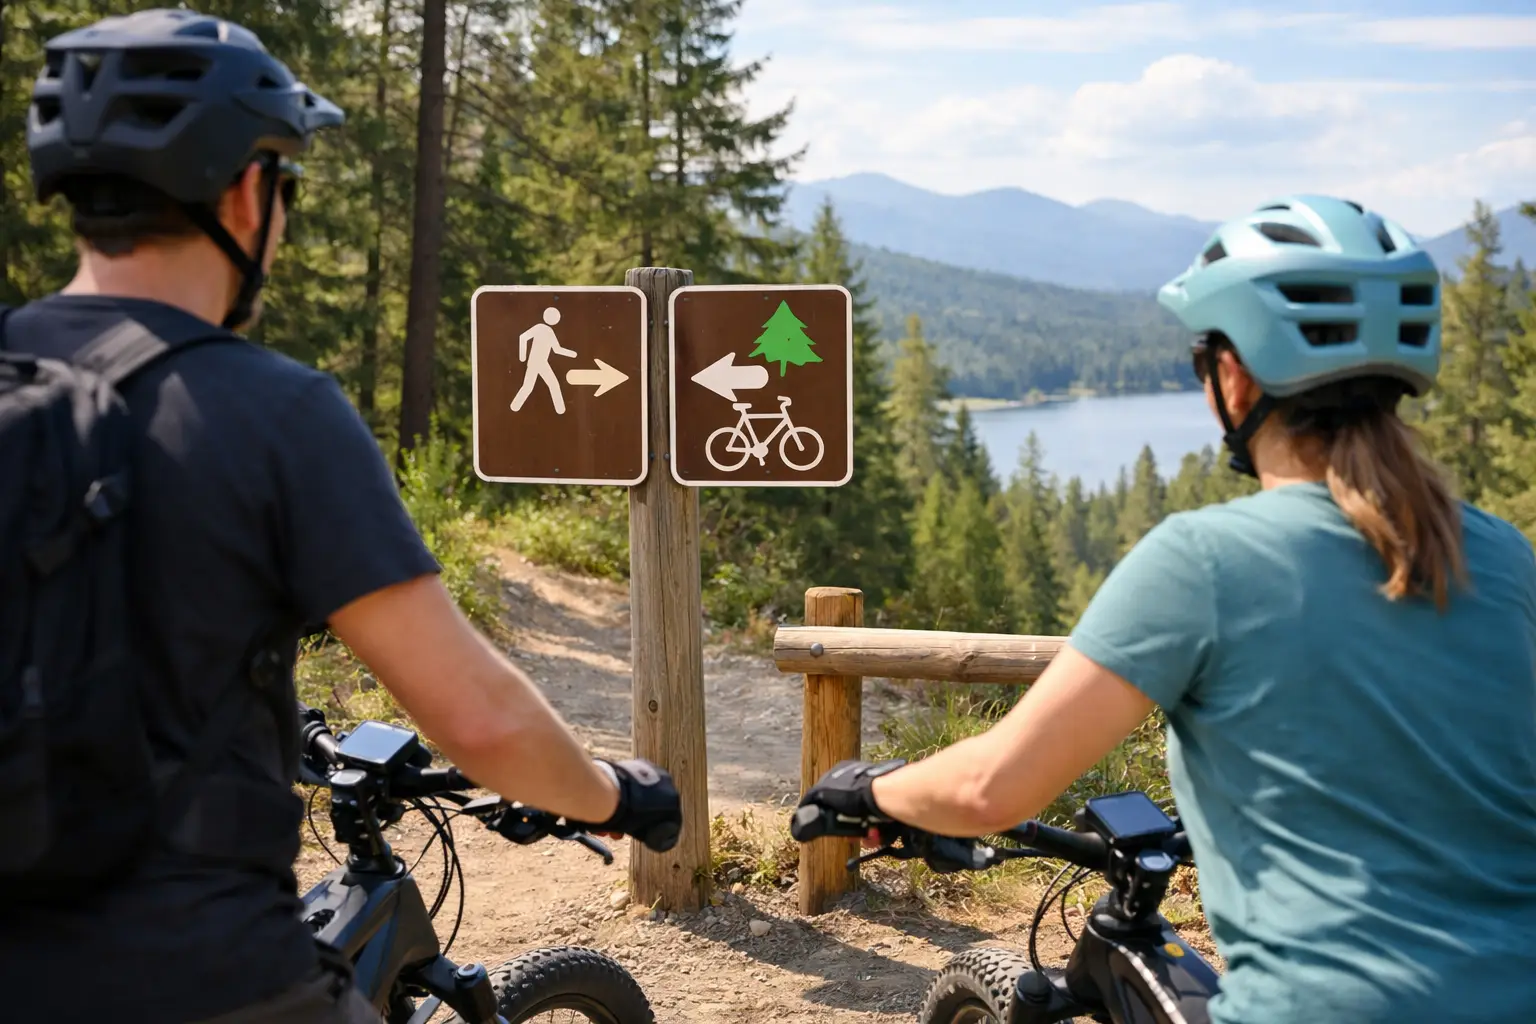
A smooth dirt path may look open to every bicycle, but ebike trail access is not automatic. A trail that welcomes pedal bikes can still prohibit e-bikes, allow only certain e-bike classes, or restrict motorized use entirely. Check the rule for the specific trail and the day you plan to ride, not just the park name or a map label.
The practical answer is simple: identify your e-bike’s class, find out who manages the trail, and follow that manager’s posted rules. This protects the trail experience, avoids citations or removal, and helps preserve access for other e-bike riders.
Why ebike trail access varies
E-bikes are regulated differently from conventional bicycles because they have an electric motor. In many places, access rules turn on the bike’s class, its maximum assisted speed, and whether it has a throttle. But the details can change across state, county, city, park, and land-management boundaries.
A state law may allow a Class 1 e-bike on certain bicycle paths, while a city park department limits all e-bikes on its natural-surface trails. A federal land manager may designate some routes for motorized use and others for nonmotorized travel. The trail operator’s current rule is the one that matters when you arrive.
Do not rely on what another rider is doing. They may have permission you do not know about, be riding a different class of bike, or simply be breaking the rule.
Know your e-bike class
Many US states use a three-class framework. A Class 1 e-bike provides motor assistance only while you pedal and stops assisting at 20 mph (32 km/h). A Class 2 e-bike can provide motor assistance without pedaling and also stops assisting at 20 mph. A Class 3 e-bike is pedal-assist only and can assist up to 28 mph (45 km/h).
This framework is common, not universal. Some states use different definitions, and a trail manager may create its own access policy. A Class 1 label does not guarantee trail permission, and a Class 2 throttle does not automatically mean a bike is prohibited. It means you need to verify the local rule.
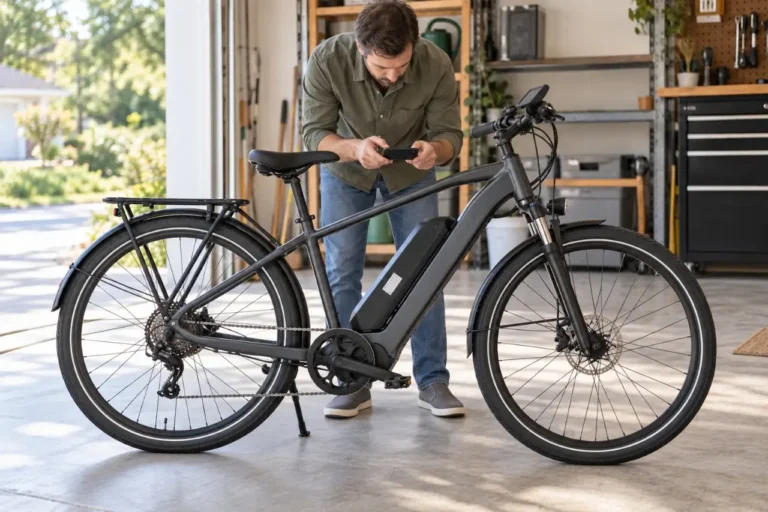
Look for the permanent class label on your e-bike’s frame. It commonly lists the class, motor wattage, and top assisted speed. If the label is missing or the bike has been modified, access can be harder to determine. Use the owner’s manual and contact the trail manager before riding rather than assuming the bike qualifies.
How to check trail access before you go
Trail signage at the entrance is useful, but it is not always complete or current. Plan to check more than one source, especially when riding a new network, a destination trail, or public land.
- Identify the trail manager. A trail may be managed by a city parks department, county agency, state park, transit authority, private organization, or federal agency. The name on the kiosk, parking sign, or official map often identifies the manager.
- Check the current official trail rule. Look for e-bike-specific language, class restrictions, seasonal closures, speed limits, and route designations. Terms such as “bicycles permitted” and “motorized vehicles prohibited” can be unclear without an e-bike policy. When the wording is not clear, ask the managing agency directly.
- Match the rule to your actual bike. Confirm whether your bike is Class 1, 2, or 3, and whether it has a throttle. A bike capable of assistance above the local limit may be treated differently, even if you promise to ride slowly.
- Check temporary conditions. Rain closures, wildfire restrictions, maintenance work, wildlife protections, events, and trail damage can change access. These rules may apply to all users, including e-bike riders.
- Read the signs when you arrive. Posted conditions at the trailhead can override older information. If the sign conflicts with what you found earlier, do not guess. Choose another route until you can confirm the rule.
Screenshots from social media, old forum posts, and third-party trail apps can help you find a route, but they are not a dependable legal source. Rules change, and app categories often do not distinguish between a Class 1 commuter e-bike and a higher-speed e-bike.
Public land rules need extra attention
National forests, Bureau of Land Management areas, national parks, wildlife refuges, and other public lands can have route-specific rules. Do not assume that a path shown on a recreation map is available to e-bikes.
On many federally managed lands, an e-bike may be allowed only where motorized use is authorized, unless the local manager has made a different designation. That can mean an unpaved road is open while a nearby singletrack trail is not. Rules may also differ among districts within the same larger land system.
State parks can be just as variable. Some permit certain e-bike classes on paved multiuse paths but not on narrow natural-surface trails. Others make distinctions by trail difficulty, season, or congestion. If you are traveling, check the destination’s rules before loading the bike onto your vehicle.
Ride in a way that supports access
Permission to use a trail is only the starting point. Speed, passing behavior, surface damage, and conflicts with other users affect whether managers keep e-bike access open.
Use a low assist setting where the trail is busy, narrow, steep, or loose. More power can help on a climb, but sudden acceleration can spin the rear tire and damage soft dirt. If your tire is slipping, ease off the pedals, reduce assist, and choose a smoother line. Do not force the bike uphill by repeatedly spinning the tire.
Control speed for the conditions, not just the e-bike’s limit. Twenty mph can be appropriate on an open paved path and far too fast on a blind, narrow turn. Slow before corners, creek crossings, trail intersections, and areas with limited sightlines. A class label tells you what the bike can do, not what is safe at a particular moment.
When approaching people on foot, horses, or slower riders, reduce speed early and communicate calmly. A simple “passing on your left” is useful where appropriate, but wait for a safe place and enough room. On multiuse trails, yield rules may be posted. Where they are not, patience is usually safer than trying to squeeze through.
Stay on the designated tread. Riding around puddles, obstacles, or other users widens trails and harms vegetation. If a trail is muddy enough that your tires leave deep ruts, turn around or select a hardened route. This is not just etiquette. Repeated damage can lead to closures that affect every rider.
Be realistic about bike weight and braking
Many e-bikes weigh more than standard bicycles, especially models with larger batteries, cargo racks, or wider tires. On a descent, that extra mass can increase stopping distance and make loose surfaces less forgiving.
Before a trail ride, check that both brakes engage firmly, tire pressure is appropriate for the tire and terrain, and the battery is locked in place. Carrying a heavy e-bike over barriers, through tight gates, or around closures is not a workaround for an access restriction. If the route is not open to your bike, do not enter it.
Common access mistakes to avoid
The most frequent mistake is treating an e-bike like any other bicycle without checking its classification. Another is assuming that riding with the motor turned off changes the rule. It often does not. Access policies commonly apply to the vehicle’s design and capability, not whether you use assistance on a particular ride.
Avoid modifying your e-bike to exceed its labeled speed or changing its classification. Beyond potential safety and warranty issues, modifications can make a bike ineligible for trails that permit standard low-speed e-bikes. Follow the manufacturer’s instructions for your bicycle and battery.
Also avoid arguing at the trailhead. If a ranger, park employee, or posted sign says your e-bike is not permitted, leave the trail and verify the policy later. An honest misunderstanding is easier to resolve than a confrontation or a citation.
When rules are unclear
If an official policy does not mention e-bikes, ask a specific question: “Is a labeled Class 1 pedal-assist e-bike allowed on this trail?” Include the trail name, your bike class, its assisted top speed, and whether it has a throttle. Specific details make it more likely you will receive a useful answer.
Keep the response for your records if access is important to your plans, but recognize that closures and on-site directions can still change. For questions about fines, legal classifications, or a disputed enforcement action, consult the managing agency or a qualified legal professional. General trail guidance is not legal advice.
Good trail access depends on riders who check first, ride with restraint, and leave the route in good shape for the next person. That approach gives you more places to ride with confidence and gives trail managers a stronger reason to keep the door open.
Frequently Asked Questions
Are e-bikes allowed on all bicycle trails?
No. A trail that permits traditional bicycles may still prohibit e-bikes or allow only certain e-bike classes. Access depends on the land manager’s current rules, so check the specific trail before riding.
Does a Class 1 e-bike automatically qualify for trail access?
No. Class 1 e-bikes are pedal-assist models that stop providing assistance at 20 mph, but the classification does not guarantee access. Local agencies and trail managers may apply additional restrictions.
Are Class 2 throttle e-bikes allowed on trails?
It depends on the trail. Some managers allow Class 2 e-bikes, while others permit only Class 1 models or restrict throttle-equipped bikes to motorized routes. Verify the policy for your actual bike.
Can I use a prohibited trail if I turn off the motor?
Not necessarily. Many access policies consider the bike’s classification and capabilities rather than whether the motor is active during the ride. Turning off assistance may not make the e-bike legally equivalent to a conventional bicycle.
Are e-bikes allowed on federal public lands?
Access varies by agency, location, and route. The National Park Service allows individual park superintendents to determine where e-bikes may operate, while the Bureau of Land Management uses route designations and site-specific decisions. Check the relevant NPS park or BLM office before visiting.
How can I check whether a trail allows e-bikes?
Identify the agency or organization managing the trail, then check its official website, trail map, alerts, and posted regulations. Confirm that the rule applies to your e-bike’s class, assisted speed, and throttle configuration.
Do temporary trail closures apply to e-bike riders?
Yes. Closures caused by weather, wildfire danger, maintenance, wildlife protection, or trail damage normally apply to all affected users. Check current alerts before leaving and read trailhead signs when you arrive.
What should I do if the trail rules are unclear?
Contact the trail manager and provide the trail name, e-bike class, assisted speed, and whether the bike has a throttle. If you cannot confirm that your e-bike is permitted, choose another route until the policy is clarified.