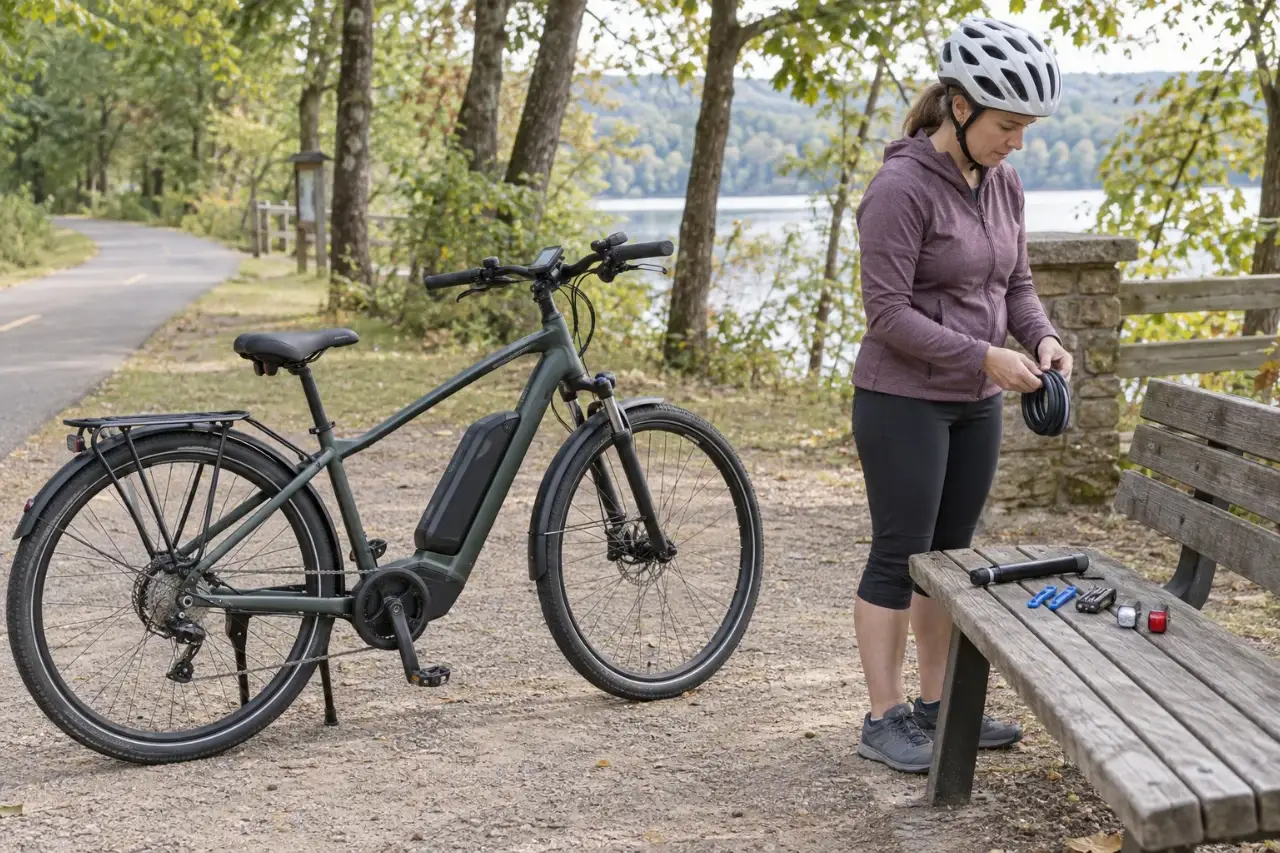
Your e-bike roadside essentials should include a tire repair option matched to your wheels, a compatible hand pump and pressure gauge, a suitable multi-tool, a charged phone, identification, and independently powered backup lights. Add the tools your particular wheel requires only if you can use them safely. The kit should help you handle a familiar minor problem or arrange a pickup when riding is unsafe.
A flat tire five miles (8 km) from home can mean a difficult walk with a heavy e-bike. Carry tools you know how to use, and follow your owner’s manual whenever its requirements differ from general advice.
What Belongs in an E-Bike Roadside Kit?
Start with the equipment below, then adjust for your tire setup, distance, weather, and access to help.
| Item | Purpose | What to check |
|---|---|---|
| Spare tube and compatible patches | Address a repairable tube puncture | Tube diameter, supported tire width, valve type and length, and patch compatibility with tube material |
| Tire levers | Remove the tire when needed | Suitability for your tire and rim; avoid improvised metal tools |
| Hand pump and pressure gauge | Restore and check pressure | Valve compatibility, useful pressure range, and capacity for your tire volume; an adequate built-in gauge can replace a separate one |
| Compact multi-tool | Adjust a familiar, noncritical accessory | Correct bit sizes and access to the fastener |
| Model-specific wheel tools, if needed | Remove and reinstall a wheel | Axle type, tool size, retention hardware, and required tightening procedure |
| Phone, ID, emergency contact, and payment method | Request help and identify your location | Battery charge, weather protection, and expected signal coverage |
| Independent front and rear lights | Provide backup if the main battery or integrated lights stop working | Secure mounts, charge, and enough runtime for the route |


Carry your battery key if owner-permitted removal requires it. Keep keys and metal tools away from exposed battery terminals. Gloves, a rag, a few first-aid supplies, and a bag for dirty parts are useful additions.
Secure the kit so straps cannot enter the wheels, brakes, or drivetrain. Check that a saddle bag does not obscure the rear light and that a frame bag does not interfere with steering or battery access.
Build the Tire Kit Around Your Actual Wheels


A puncture kit is useful only when its contents fit the installed tire and wheel. Read the tire markings and check the tube packaging before leaving home.
Use the ETRTO size where available. For example, 47-622 identifies a nominal tire width of 47 mm and a bead-seat diameter of 622 mm. The replacement tube must support that diameter and the tire’s width. Inch labels alone can be ambiguous, as Schwalbe’s tire-size explanation shows.
Also match the valve: Schrader and Presta require a compatible pump head. The valve must be long enough for the rim. Patch products must suit the tube material; do not assume a kit intended for conventional rubber tubes works with every lightweight tube.
A Spare Tube Does Not Guarantee a Roadside Repair
Practice the manufacturer’s wheel-removal and reinstallation procedure at home. Hub-motor wiring, axle nuts, torque washers, fenders, and racks may complicate the job. A small multi-tool may not fit the axle or provide what is needed for correct reassembly.
Before mechanical work, turn the bike off and follow the manual’s battery-isolation procedure. Remove an undamaged, user-removable battery when instructed; do not force an integrated battery out. Rad Power Bikes’ flat-tire preparation guidance is one manufacturer-specific example, not a universal procedure.
Never pull on motor wiring. If you cannot reinstall the wheel and its retention hardware correctly, including any specified torque, arrange transport. Do not guess that an axle is “tight enough.”
With a hydraulic-brake wheel removed, avoid squeezing its brake lever and use the manufacturer-specified pad spacer as directed. Park Tool explains that lever operation with the wheel out can advance the pistons.
A torn casing, damaged rim, broken spoke, loose wheel, or tire that will not seat safely ends the repair attempt. A fresh tube cannot make damaged wheel components safe.
Choose an Inflator You Can Rely On
A hand pump is a practical starting choice because it does not depend on a charged battery or a finite supply of cartridges. For a large-volume tire, choose a pump you have actually tried on that tire.
CO2 can be an optional backup. Confirm cartridge and inflator compatibility and follow their handling instructions. Do not assume one cartridge will fill a fat tire to its required pressure. If using sealant, check whether its manufacturer permits CO2 inflation.
Set pressure within all applicable tire, rim, and e-bike limits. The sidewall maximum is not automatically the correct target, and a lower rim maximum takes precedence. Schwalbe highlights this in its tire-and-rim pressure guidance. For load and terrain considerations, see our e-bike tire pressure guide.


Tubeless Setups Need Their Own Plan
Check what is installed; “tubeless-ready” does not prove the bike currently runs without tubes. Carry a plug kit only when your tire and repair-product instructions permit its use, and learn the procedure beforehand.
A compatible tube may provide a backup, but fitting it can require valve removal and dealing with sealant or inserts. Do not assume a compact pump will reseat a displaced tubeless bead. Sidewall damage, an unseated bead, or continuing pressure loss calls for help.
Check the Bike Before You Need the Kit
Before departure, inspect tires, wheel security, steering, brakes, battery retention, and cargo. Check the display and lights, then test braking and control response at low speed away from traffic. Use the pre-ride safety checklist for the full routine.
Leave room in your range plan for hills, wind, temperature, cargo, and changes in assist use. A display estimate is not a guarantee. Plan a shorter route or a pickup option instead of assuming you can find a charger.
If a planned stop includes charging, use only the supplied or manufacturer-approved charger, a suitable permitted location, and the conditions specified in the manual. Stay present while charging. The CPSC warns against choosing a charger simply because its connector fits.
Handle a Roadside Stop Safely
Slow gradually and stop fully clear of traffic and the active path where possible. Choose firm ground with room for yourself and the bike. If no safe repair space exists, call for help from a protected location; lights and reflective clothing do not make a traffic lane a safe workspace.
- Assess without disassembly. Look for tire damage, displaced cargo, loose accessories, or warning messages.
- Decide whether the repair is familiar and low risk. A loose mirror may be manageable. Brake failure, steering play, wheel damage, or electrical faults require a different response.
- Power down and stabilize the bike. Follow the manual before touching moving parts or removing a wheel. Keep hands clear of the chain, sprockets, and rotors.
- Repair only within your ability. Protect displays and controls from the ground. Do not force parts or experiment with safety-critical fasteners.
- Verify before riding. Confirm wheel retention, tire seating and pressure, clear cable routing, and normal braking. Then make a brief low-speed test away from traffic and recheck the repair.
A spare chain quick link is optional for a rider familiar with chain repair. It must match the exact chain specification, and the necessary tools and manufacturer’s installation instructions must be available. It does not make a damaged derailleur or repeatedly skipping drivetrain safe.
Know When the Ride Should End
Stop riding for weak or inconsistent brakes, loose handlebars, frame or fork damage, an insecure or damaged wheel, repeated chain skipping, tire bulges, or continued air loss. Do not ride on a flat tire to reach a better repair location.
Battery Warning Signs Require Distance, Not Tools
Stop using and charging a battery with swelling, leakage, abnormal heat, significant impact damage, or suspected water intrusion. Do not open it, heat it, tape it together, or attempt a roadside electrical repair.
For smoke, fire, hissing, popping, rapidly increasing heat, or a strong unusual odor suggesting active failure, move yourself and others away and call 911 from a safe location. Do not touch, remove, or transport the battery. Follow emergency responders’ instructions; FDNY guidance emphasizes leaving the area during a battery fire.
For suspected damage without active emergency signs, keep the system off and obtain manufacturer or qualified service guidance before handling or transporting it.
Lost Assist Is Not Always Ordinary Battery Depletion
Normal depletion may allow pedaling without assist if the manual permits it, all mechanical functions work, and you can manage the bike and route. Check that adequate lighting remains available.
Unexplained shutdowns, repeated power cuts, errors, unusual resistance, or erratic motor behavior are different. Stop and follow the safe response to e-bike error codes. Do not repeatedly restart the bike or assume switching off assist resolves the underlying problem. Arrange a pickup when the cause or safety is uncertain.
Carry a Backup Plan, Too
Save your route and relevant manual pages offline. For remote rides, tell someone your route and expected return time; consider an appropriate communication option if cellular coverage is unreliable. Bring water and clothing suited to a delay.
Confirm that a helper or roadside service can carry your specific e-bike. Check weight, tire width, wheelbase, and vehicle/rack limits in advance using our safe e-bike transport guide. A damaged battery needs separate professional guidance, not a routine ride home in a car.
After using the kit, replenish supplies. Periodically check the pump, lights, tube, patches, and any expiry dates. Update the kit whenever your tires or components change.
GoEBikeLife publishes independent e-bike reviews, comparisons, and practical buying guides. Some links on this page are affiliate links. If you make a purchase through an eligible link, we may earn a commission at no additional cost to you.