A little joy belongs in every day.

Worn e-bike tires can show exposed casing, deep cracks, bulges, or fading wear indicators. Stop riding with structural damage and replace the affected tire.
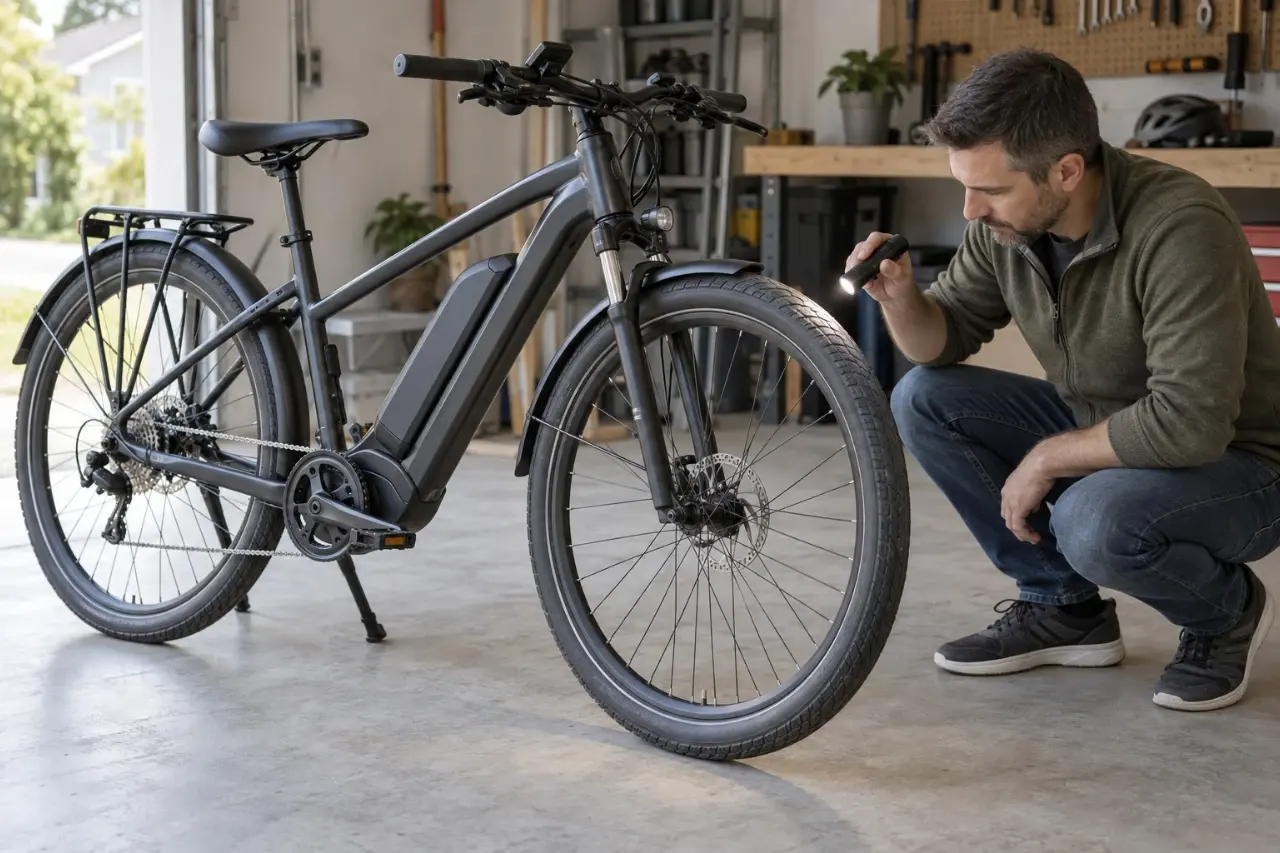
Signs of worn ebike tires include worn-down tread indicators, exposed casing, deep cracks or cuts, bulges, repeated punctures, grip changes, and deterioration after storage.
Stop riding if rubber has worn through to the casing, the tire bulges, a cut exposes fabric, or the bead is coming off the rim.
Other changes need inspection: a smooth road tire or a single flat does not automatically mean replacement is due.
Many e-bikes carry substantial weight from the bike, rider, battery, and cargo. Motor assistance can also make frequent, longer trips easier. Tire construction, loading, pressure, surfaces, and riding habits determine how quickly wear develops; an e-bike tire does not have a universal mileage limit.
The rear tire often wears sooner because of weight distribution and driving forces. The pattern varies with motor layout and cargo placement, so inspect both tires independently. Neither a tire’s age nor remaining tread depth alone can confirm that it is safe.
Compare the center and shoulders with the tire’s original pattern. Rounded, shortened knobs can reduce their usefulness on loose ground. A center that has become noticeably squared off deserves closer inspection.
Some pavement tires have a smooth center when new. Others use small recessed dots or holes as wear indicators. Follow the instructions for your exact model: Continental’s bicycle tire FAQ explains that its recessed indicators signal replacement when they wear away. Do not assume every tire has raised wear bars or the same replacement threshold.
The casing is the fabric structure that supports the tire’s shape. Rubber worn through to this structure, or to an underlying puncture-protection belt, means the tire needs replacement. Schwalbe’s tire-wear guidance identifies both as wear limits.
Look for newly exposed threads, fraying, or an underlying layer showing through a worn patch. Do not confuse a tire’s original sidewall finish with rubber that has worn or torn away.
Stop riding on the affected tire. Tape, a new tube, or extra sealant cannot restore a damaged casing. Have the tube or tubeless components and rim checked when the tire is replaced.
Inspect both sidewalls. Deep cracks, spreading splits, exposed fabric, or damage accompanied by a bulge require replacement before riding. A tread cut that reaches the casing also needs professional assessment; being able to hold air does not prove the tire is sound.
Fine surface lines are harder to judge. They may reflect superficial aging, but appearance alone cannot establish their depth or safety. Compare them with the tire manufacturer’s guidance, and ask a qualified bicycle mechanic if the condition is uncertain. Do not inflate a visibly damaged tire just to see whether a crack opens wider.
A sidewall bubble, lifted tread, or new lump is a stop-riding warning. A tire that rises and falls as the wheel turns may have casing damage or an installation problem. Uneven bead seating can happen even on a new tire, so distortion is not always caused by wear.
The bead is the reinforced tire edge that seats on the rim. Where a molded seating line is present, it should sit evenly above the rim on both sides. Continental’s maintenance guidance distinguishes bead-seating problems from other tire and wheel defects.
Do not add air to a bulging tire or push its bead into place while inflated. Have a mechanic identify the cause before reinflation or riding. Damaged casing or beads require replacement; reseating alone cannot repair them.
Repeated flats can accompany thinning tread, but they can also come from one overlooked sharp object, a leaking valve, damaged rim tape, or an installation problem. In a tubed tire, low pressure and an impact can pinch the tube against the rim.
If you already know how to remove the tire safely, follow the bike’s power-isolation instructions first, then inspect under good light. Do not sweep bare fingertips along the inside searching for glass or wire. Use visual inspection and appropriate tools, or let a shop handle embedded debris. Park Tool’s tire-and-tube guide explains how checking the tire, tube, and rim helps identify recurring punctures.
Tubeless systems also need their valve, bead seal, rim tape, and sealant checked. Replace the tire when inspection finds worn-through rubber or structural damage. Our e-bike troubleshooting guide covers recurring flats alongside other common maintenance problems.
Worn knobs can matter on gravel or dirt, and deteriorated rubber deserves attention. On pavement, however, grip also depends on the rubber compound, pressure, surface contamination, and conditions. Schwalbe’s tread explanation makes clear why a road tire can work without deep grooves.
Do not judge bicycle tire safety using a car-tire water-channeling rule. Wet paint, metal covers, leaves, and loose material can challenge even new tires.
If handling changes unexpectedly, slow smoothly and stop somewhere safe to inspect. Do not deliberately skid, brake hard, or corner aggressively to test questionable tires. Persistent instability, tire rubbing, wheel wobble, or weak braking calls for service before another ride, even if the tread looks acceptable.
Low mileage does not prevent storage damage. Prolonged sunlight, unsuitable temperatures, or leaving a bike standing on flat tires can affect tire condition. A tire with deep cracking or lasting distortion needs assessment before use.
Inspect before adding air after long storage. If the tire appears sound, restore pressure within all approved limits and recheck its shape and seating. Stop inflation if a bulge or uneven bead appears.
There is no replacement age that applies to every tire. Follow model-specific guidance, and do not use a thumb test of rubber hardness as proof of safety. Normal gradual pressure loss during storage is different from persistent air loss after inflation.
| Finding | What to do |
|---|---|
| Exposed casing, structural sidewall damage, a casing bulge, or separated tread | Stop riding and replace the damaged tire; inspect the wheel system too. |
| Uneven bead, rapid air loss, tire rub, or unexplained wobble | Stop riding and identify the cause. A tire replacement alone may not solve it. |
| Manufacturer’s wear indicator has reached its replacement limit | Replace the tire according to that model’s instructions. |
| One puncture with an otherwise sound tire and wheel | A permitted tube or tubeless repair may be possible after identifying the cause. |
| A smooth center with no other damage | Compare the original design and wear guidance before deciding. |
A repair kit cannot make a structurally damaged tire safe. If a problem appears away from home, arrange pickup when needed; our roadside essentials guide explains what a kit can handle and when the ride should end.
The sidewall may show a range or only a maximum. Use the bike manufacturer’s operating guidance within every applicable tire, rim, and wheel-system limit. Respect stated minimums and the lowest applicable maximum; a maximum is not automatically the target. If the instructions conflict, get compatibility advice before inflation. Continental’s tire-and-rim guidance reinforces this requirement.
See our e-bike tire pressure guide for pressure selection and the pre-ride safety checklist for the rest of the bike.
A localized worn patch can follow a skid. Sidewall scuffing can come from contact with a frame, fender, or incorrectly positioned rim-brake pad. Prolonged underinflation can damage flexing sidewalls.
Center wear alone cannot reliably diagnose overinflation. Likewise, wheel wobble and bearing play need their own assessment. Have a mechanic investigate rapid or recurring uneven wear instead of using pressure changes to compensate for a mechanical problem.
Replace every tire that fails inspection. You can often replace only the worn rear tire if the front remains sound and suitable. Replace both when both have reached their wear limits or show deterioration that requires replacement.
Follow manufacturer guidance on front/rear fitment and rotation direction. Do not move a questionable tire to the front to get more use from it. Different wheel sizes or position-specific designs may prevent swapping tires.
Before ordering, confirm the exact tire size and bead-seat diameter, approved rim width, frame clearance, tube or tubeless compatibility, and suitability for the bike’s load and operating speed. An “e-bike” label alone does not establish compatibility.
If replacement requires hub-motor wheel removal, follow the bike’s power-isolation, axle-hardware, wiring, and tightening instructions. Use a qualified e-bike mechanic when you cannot complete and verify that work safely.