Many electric bike riders wonder if they can remove the speed limit on their e-bike to go faster. This modification has become a popular topic among cyclists who want more performance from their bikes.
Removing an electric bike’s speed limiter typically involves accessing the bike’s controller or display unit and either cutting specific wires, using software to change settings, or installing a tuning device that tricks the speed sensor. The exact method depends on the e-bike’s brand and model, with some requiring simple wire disconnections while others need specialized software or hardware modifications.
This guide will walk readers through understanding speed limiters, checking legal requirements, and following safe removal procedures. The article also covers testing methods, potential risks, and alternative ways to boost speed without permanent modifications.
What is a Speed Limiter on an Electric Bike?
A speed limiter is an electronic system that prevents an electric bike from going faster than a set maximum speed. Most e-bikes come with different types of speed control systems, and these limits exist for legal compliance and safety reasons.
Types of Speed Limiters
Electric bikes use several different speed limiting systems depending on the manufacturer and model. The most common type is the controller-based limiter that’s built into the bike’s main computer system.
Sensor-based limiters work by monitoring wheel rotation or motor speed. When the bike reaches the preset limit, the system reduces power to the motor automatically.
Some e-bikes have display-based limiters where the speed restriction is programmed into the LCD screen unit. Others use firmware limiters that are coded directly into the motor’s software.
Here are the main types you’ll find:
- Controller limiters – Built into the main electrical system
- Sensor limiters – Monitor speed through wheel or motor sensors
- Display limiters – Programmed into the screen interface
- Firmware limiters – Coded into motor software
How Speed Limiters Work
Speed limiters monitor your e-bike’s speed in real-time through various sensors. Most systems track wheel rotation speed or motor RPM to calculate how fast you’re going.
When you approach the speed limit, the system gradually reduces power to the electric motor. This creates a feeling like you’re riding uphill even on flat ground.
The motor doesn’t completely shut off at the limit. Instead, it provides just enough assistance to maintain the maximum allowed speed, usually around 20 mph for Class 1 and 2 e-bikes.
Some advanced systems use GPS tracking to monitor speed, though this is less common on consumer models.
Reasons for Speed Restrictions
E-bike speed limits exist primarily for legal reasons. In the United States, federal law classifies e-bikes into three categories with specific speed restrictions for each class.
Class 1 and 2 e-bikes are limited to 20 mph with motor assistance, while Class 3 e-bikes can go up to 28 mph. These classifications determine where you can legally ride your electric bike.
Safety is another major factor behind speed restrictions. Higher speeds increase accident risk and potential injury severity, especially for inexperienced riders.
Removing speed limiters can result in expensive fines because it may make your e-bike illegal to ride on bike paths, trails, or public roads. Many areas have strict enforcement of e-bike speed regulations.
Insurance and warranty coverage often depend on keeping factory speed limits intact. Tampering with these systems can void your protection if something goes wrong.
Legal And Safety Considerations Before Removal

Removing speed limits from an electric bike creates serious legal risks and safety hazards that riders must understand. Most areas classify e-bikes based on their maximum speed, and modifications can void warranties while affecting insurance coverage.
Local Laws and E-Bike Classification
Most states classify electric bikes into three main categories based on speed limits. Class 1 and 2 e-bikes have a 20 mph limit, while Class 3 allows up to 28 mph.
Removing the speed limiter often bumps the bike into motorcycle territory legally. This means riders might need:
- Driver’s license – Regular bike licenses won’t cut it anymore
- Registration and plates – Just like a motorcycle
- Insurance coverage – Liability protection becomes mandatory
- Helmet requirements – Even in areas where bike helmets are optional
Some cities ban modified e-bikes from bike lanes entirely. Riders caught on illegal e-bikes face fines ranging from $100 to $1,000 depending on location.
The legal headaches get worse on trails and parks. Many recreational areas only allow unmodified e-bikes with original speed limits intact.
Warranty and Insurance Impacts
Manufacturers void warranties immediately when riders tamper with speed limiters. This leaves owners stuck paying for expensive repairs that would normally be covered.
Insurance companies treat modified e-bikes differently too. Standard homeowner’s or renter’s policies often exclude coverage for motorized vehicles above certain speeds.
Common warranty violations include:
- Motor modifications or bypasses
- Controller reprogramming
- Speed sensor removal
- Firmware changes
Some riders think they can hide the modifications, but diagnostic tools reveal tampering during warranty claims. Repair shops report these changes to manufacturers regularly.
Personal injury liability becomes a bigger concern with faster speeds. If a modified e-bike causes an accident, insurance companies may deny claims entirely.
Key Precautions Before Modifying Your E-Bike

Modifying an electric bike’s speed limit affects more than just how fast someone can go. The changes impact safety systems, brake performance, and the bike’s overall durability.
Essential Safety Checks
Before anyone touches their electric bike’s speed settings, they need to inspect the bike thoroughly. The frame should be checked for cracks or weak spots that could fail under higher speeds.
Tire condition becomes critical when speeds increase. Riders should look for:
- Tire pressure – Must match manufacturer recommendations
- Tread depth – Should have adequate grip remaining
- Sidewall damage – Any cuts or bulges create failure risks
- Age of tires – Rubber older than 5 years becomes unreliable
The chain and drivetrain need attention too. A loose chain can slip or break when more power gets applied. All bolts should be tightened to proper torque specifications.
Battery connections must be secure and clean. Loose wiring can create dangerous sparks or cause sudden power loss while riding.
Risks of Increased Speed
Higher speeds create exponentially more danger for riders. The forces involved in crashes increase dramatically – a 25 mph impact carries four times more energy than a 12 mph collision.
Most electric bike components get designed for specific speed ranges. Going faster stresses parts beyond their intended limits. Motors can overheat and fail when pushed too hard.
Legal issues arise in many areas too. Most places limit e-bikes to 20-28 mph to avoid requiring motorcycle licenses and registration. Exceeding these limits can result in fines or legal liability in accidents.
Speed vs. Stopping Distance:
- 15 mph: 25 feet to stop
- 20 mph: 40 feet to stop
- 28 mph: 65 feet to stop
- 35 mph: 95 feet to stop
The rider’s experience level matters greatly. Someone used to 20 mph speeds may not react properly when traveling 35 mph.
Impact on Braking and Components
Standard e-bike brakes get calibrated for factory speed limits. When speeds increase, stopping distances grow much longer than most riders expect.
Hydraulic disc brakes handle higher speeds better than mechanical systems. But even good brakes face challenges when speeds jump significantly. Brake pads wear faster and rotors heat up more.
The increased stress affects multiple components. Spokes can loosen or break from higher forces. Wheel bearings wear out quicker from the extra load.
Suspension systems, if present, may not absorb impacts properly at higher speeds. This creates a harsh ride and reduces control over bumps and obstacles.
Components Most Affected by Speed Increases:
- Brake pads (2-3x faster wear)
- Wheel bearings (reduced lifespan by 40%)
- Chain and sprockets (increased stretch and wear)
- Frame joints (higher stress concentrations)
Smart riders budget for more frequent maintenance and part replacements when they modify their electric bike for higher speeds.
How to Remove the Speed Limiter: Step-By-Step Guide
Removing an electric bike’s speed limiter involves locating the limiting component, either disconnecting wires or modifying hardware, using software methods, or installing aftermarket tuning kits. Each method requires different tools and technical knowledge levels.
Locating the Speed Limiter or Wire
The first step in any electric bike speed limiter removal involves finding where the manufacturer hid the limiting component. Most manufacturers place the speed limiter wire near the controller or motor assembly.
Common Speed Limiter Wire Locations:
- Inside the controller housing (most common)
- Near the motor connection points
- Within the display unit wiring
- Connected to the wheel speed sensor
The speed limiter wire is typically a thin wire that’s different from the main power cables. It often connects to a small connector or directly to the controller board. Some riders find it helpful to consult their bike’s manual or search online forums for their specific model.
Before starting any work, riders should disconnect the battery completely. This prevents accidental short circuits that could damage expensive components. Taking photos of wire connections before removal helps during reassembly.
Disconnecting or Modifying the Limiter
Once located, the speed limiter wire can be disconnected or modified to remove the restriction. The simplest method involves unplugging the connector if one exists.
Wire Modification Steps:
- Cut the speed limiter wire cleanly
- Cap both ends with electrical tape
- Secure loose wires away from moving parts
- Test the bike at low speed first
Some electric bikes use a resistor-based system instead of a simple wire. These require different handling – riders need to either bypass the resistor or replace it with one of different value. This method requires basic electronics knowledge.
For bikes with integrated speed limiting in the controller, modification becomes more complex. These systems may require controller replacement rather than simple wire cutting. Riders should research their specific controller model before attempting modifications.
Software-Based Removal Methods
Modern electric bikes often use software-based speed limiting that requires digital tools to remove. These systems store speed limits in the controller’s firmware or display unit software.
Software Removal Tools:
- Manufacturer-specific tuning software
- Universal e-bike programming cables
- Smartphone apps for compatible systems
- Computer-based diagnostic tools
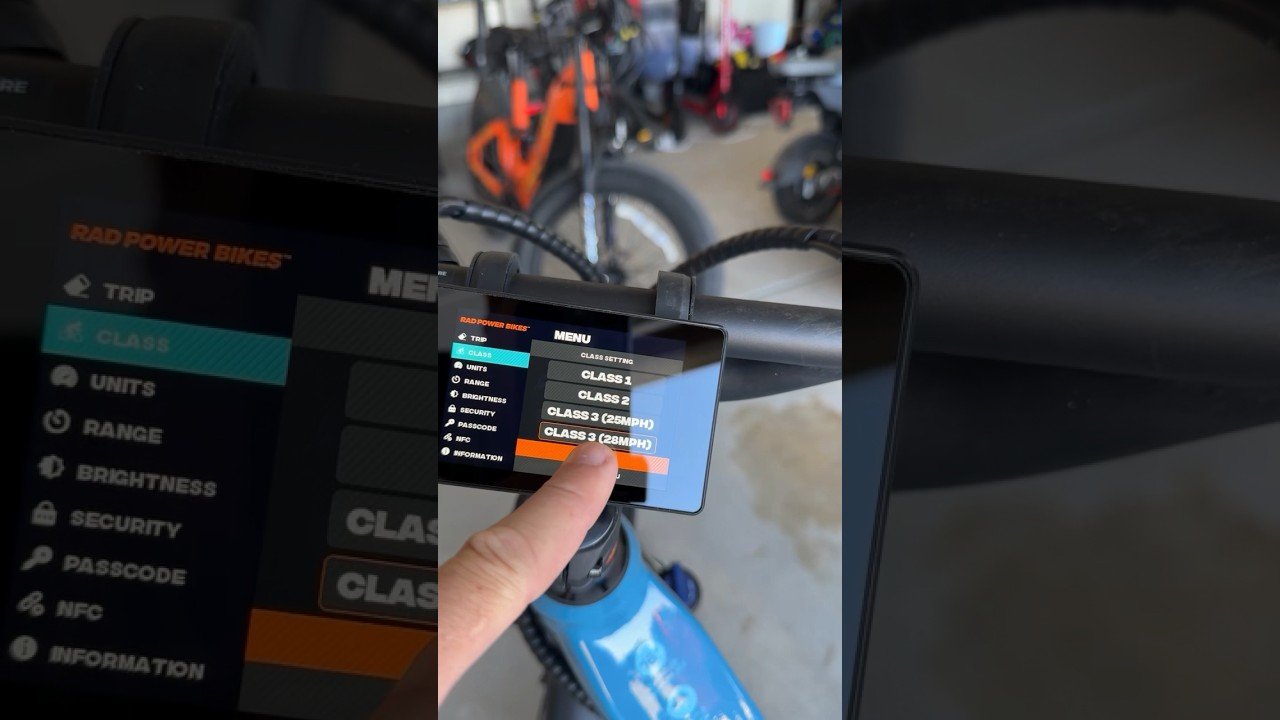
The process typically involves connecting the bike to a computer or smartphone via USB or Bluetooth. Users then access the bike’s settings menu to change or disable speed restrictions. Some manufacturers lock these settings behind service codes.
Popular brands like Bosch, Shimano, and Bafang each have different software requirements. Riders need to identify their exact motor and controller model before purchasing software tools. Some aftermarket software solutions work across multiple brands.
Success rates vary depending on firmware versions. Newer bikes often have more sophisticated protection against software modifications.
Using Aftermarket Tuning Kits
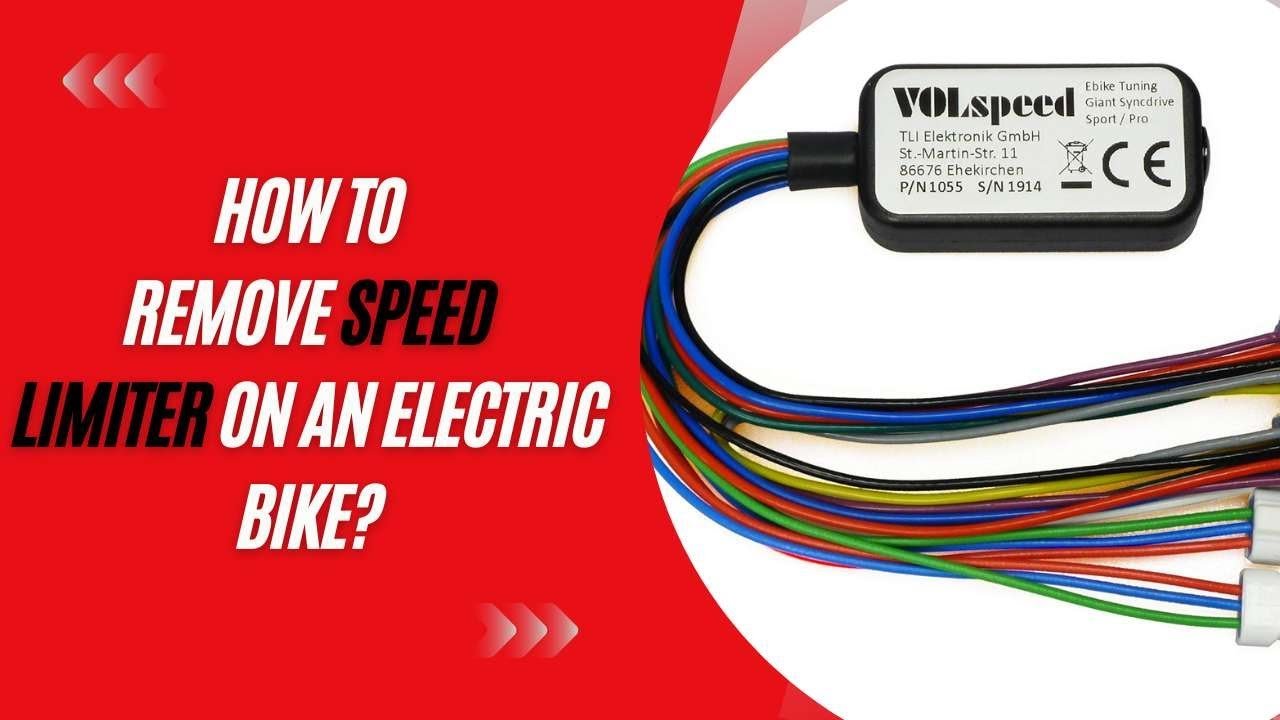
Aftermarket tuning kits offer the most user-friendly approach to speed limiter removal. These kits typically plug between existing connections without requiring wire cutting or software knowledge.
Popular Tuning Kit Types:
- Speed sensor bypass modules
- Controller replacement units
- Display override devices
- Motor timing adjustment kits
Installation usually takes 30-60 minutes and requires basic tools. Most kits include detailed instructions and customer support. The devices work by intercepting speed signals and sending modified data to the controller.
Quality varies significantly between manufacturers. Premium kits often include features like adjustable speed limits and stealth modes that hide modifications during service visits. Cheaper options may cause reliability issues or trigger error codes.
Riders should verify kit compatibility with their specific bike model before purchasing. Some kits void warranties or cause compatibility issues with other bike systems like lights or displays.
Testing and Adjusting Your E-Bike After Speed Limiter Removal

After modifying the speed controls, riders need to verify the changes worked and check that all systems function properly. These tests help confirm the bike performs safely at higher speeds.
How to Confirm Speed Limiter Is Disabled
The most straightforward way to test speed limiter removal involves taking the bike for a controlled ride. Find a safe, flat area like an empty parking lot or bike path with minimal traffic.
Start pedaling gradually and monitor the speedometer. Most e-bikes with active limiters cut power around 20 mph for Class 1 and 2 bikes, or 28 mph for Class 3 models.
If the motor continues providing assistance beyond these speeds, the limiter is likely disabled. However, don’t push the bike to maximum speed immediately during testing.
Key indicators of successful removal:
- Motor assistance continues past original speed limit
- No sudden power cut-off at previous maximum speed
- Display shows speeds higher than factory settings
- Pedaling feels consistent without abrupt changes
Use a GPS speedometer app on your phone to double-check the bike’s built-in display. Some bike computers may show inaccurate readings after modifications.
Performance and Functionality Checks
Beyond speed testing, riders should examine other bike systems that might be affected by the modification. Check the battery drain rate during the first few rides, as higher speeds typically consume more power.
Test the brakes thoroughly at various speeds. The bike’s stopping power needs to match its new capabilities. Brake pads and rotors designed for 20 mph may struggle with 30+ mph speeds.
Monitor the motor temperature during longer rides. Removing speed limits can cause motors to work harder and generate more heat than designed.
Essential system checks:
- Battery life and charging cycles
- Motor noise and vibration levels
- Brake response and stopping distance
- Tire wear patterns and pressure needs
Pay attention to how the bike handles at increased speeds. Some frames and components aren’t engineered for sustained high-speed riding, which could affect stability and safety.
Potential Consequences of Removing the Speed Limiter

Removing an electric bike’s speed limiter brings several serious risks that riders need to understand. Legal troubles, mechanical problems, and reduced battery life are the main issues that come with this modification.
Possible Legal Penalties
Most countries set e-bike speed limits at 15.5 mph (25 km/h) or 20 mph (32 km/h) depending on local laws. When riders remove these limits, their electric bike may no longer qualify as a bicycle under the law.
This reclassification can lead to hefty fines. In the EU, penalties range from €50 to €500 for riding an unlicensed electric vehicle. The bike might require registration, insurance, and a driver’s license to operate legally.
Police can impound modified e-bikes during traffic stops. Some areas treat speed-limit removal as vehicle tampering, which carries criminal charges in certain jurisdictions.
Common Legal Requirements for Modified E-bikes:
- Motor vehicle registration
- Insurance coverage
- Valid driver’s license
- Helmet requirements (varies by location)
- Restricted riding areas (no bike lanes or paths)
Increased Wear and Maintenance Needs
Higher speeds put extra stress on every part of an electric bike. The motor works harder and generates more heat, which shortens its lifespan significantly.
Brakes face the biggest challenge since they must stop a heavier vehicle traveling at greater speeds. Brake pads wear out 2-3 times faster, and brake cables stretch more frequently.
Tires also take a beating from increased speeds and forces. The added weight of the battery and motor creates more friction, leading to faster tread wear and potential blowouts.
Chain and gear systems experience more strain too. Riders often need to replace chains, cassettes, and derailleurs more frequently after removing speed limits.
Parts That Wear Faster:
- Brake pads and rotors
- Tires and inner tubes
- Chain and cassette
- Motor bearings
- Suspension components
Changes in Battery Range and Efficiency
Removing speed limits dramatically reduces how far an electric bike can travel on a single charge. Higher speeds require exponentially more power due to increased wind resistance.
Most e-bikes lose 30-50% of their range when consistently riding above the standard speed limit. A bike that normally travels 40 miles might only manage 20-25 miles at higher speeds.
Battery life also suffers from the increased power demands. Lithium-ion batteries degrade faster when they discharge rapidly, which happens during high-speed riding.
Heat becomes a major problem too. Motors and batteries generate more heat at higher speeds, and excessive heat damages battery cells permanently. This leads to shorter overall battery lifespan and expensive replacements.
Alternative Ways to Increase E-Bike Speed Without Removing the Limiter
Instead of tampering with speed limiters, riders can boost their electric bike performance through battery optimization, weight reduction, and smart component upgrades. These methods improve e-bike efficiency and speed while keeping the bike street-legal.
Optimizing Battery and Motor
A fully charged battery delivers maximum voltage and peak performance. Most e-bikes lose speed as battery levels drop because voltage decreases with charge depletion.
Riders should charge their battery to 100% before long rides or when maximum speed is needed. This simple step can mean the difference between hitting 20 mph or struggling to reach 17 mph on the same bike.
Battery voltage directly impacts motor power:
- 36V systems: Lower power output
- 48V systems: Moderate power increase
- 52V systems: Highest legal voltage for maximum speed
Converting to a higher voltage system requires replacing the entire electrical setup. The motor, controller, and battery must all match voltage ratings to avoid damage.
Reducing Weight & Rolling Resistance
Extra weight forces the motor to work harder, especially on hills. A 200-pound rider will experience noticeably slower acceleration than a 150-pound rider on the same bike.
Smart riders remove unnecessary accessories and cargo to shed pounds. Every 10 pounds removed can improve climbing speed and acceleration.
Weight reduction strategies:
- Remove unused racks, bags, and accessories
- Choose lightweight helmets and gear
- Carry only essential items
- Consider carbon fiber components for permanent weight savings
Proper tire pressure reduces rolling resistance significantly. Under-inflated tires create drag that slows the bike down and drains battery faster.
Upgrading Tires and Components
Tire choice dramatically affects speed and efficiency. Wide, knobby mountain bike tires create more friction than narrow, smooth road tires.
Switching to narrower tires with less tread can increase average speed by 2-4 mph without any motor modifications. Road-oriented tires often feature slick center strips for reduced rolling resistance.
Aerodynamic improvements include:
- Adjusting handlebars for a lower riding position
- Installing narrow, lightweight wheels
- Adding aero bars for long-distance riding
- Choosing form-fitting clothing over loose, baggy gear
Tire pressure should match the rider’s weight and riding style. Higher pressure reduces contact area with the ground, allowing wheels to roll faster with less effort from the motor.
Ongoing Maintenance and Riding Responsibly After Modifications
Once someone removes their e-bike’s speed limiter, they need to stay on top of maintenance more than ever. The extra stress on components means more frequent checks and upgrades to keep everything running safely.
Regular Maintenance Tips
Modified e-bikes work harder than stock ones, so they need extra attention. The motor draws more power, which puts stress on the battery and electrical system.
Check the battery weekly. Look for swelling, heat buildup, or unusual discharge patterns. Modified e-bikes can drain batteries 30-40% faster than normal.
The chain and drivetrain take a beating at higher speeds. Clean and lubricate the chain every 100 miles instead of the usual 200-300 miles.
Key maintenance schedule for modified e-bikes:
- Battery inspection: Weekly
- Chain cleaning: Every 100 miles
- Brake pad check: Every 200 miles
- Tire pressure: Every ride
- Electrical connections: Monthly
Hydraulic disc brakes need more frequent bleeding and pad replacement. The extra stopping power required at higher speeds wears them down faster.
Safe Riding Practices
Riding a derestricted electric bike requires different habits than a stock one. Higher speeds mean less reaction time and more severe consequences if something goes wrong.
Always wear proper protective gear. A quality helmet becomes even more critical when traveling above 28 mph. Consider additional protection like gloves and knee pads.
Plan routes carefully to avoid heavy traffic and pedestrian areas. Modified e-bikes shouldn’t be used on bike paths or trails where speed limits apply.
Practice emergency braking regularly. Find a safe area to test stopping distances at different speeds. This helps riders understand their bike’s limits before they need to use them.
Watch for overheating during long rides. The motor and battery work harder at sustained high speeds, which can cause performance issues or damage.
Final Thoughts
Removing the speed limiter on an electric bike isn’t rocket science, but it’s definitely not something to rush into without thinking it through. The process can be straightforward with the right approach.
Most riders can remove speed limiters through controller settings or by repositioning sensors. Tuning kits offer another clean solution that doesn’t require permanent changes.
Key considerations before modifying:
- Legal risks – Fines and bike confiscation possible
- Warranty void – Manufacturers won’t cover modified bikes
- Safety concerns – Brakes may not handle higher speeds
- Battery drain – Faster speeds mean shorter rides
The modification itself might take 30 minutes, but the consequences can last years. Riders who choose this path should invest in better safety gear and upgraded brakes.
Smart riders test their modifications in private areas first. They also avoid showing off on public roads where police might notice unusually fast e-bikes climbing hills.
For those who need more speed regularly, buying a proper electric motorcycle with licensing might make more sense. It’s legal, safe, and designed for higher speeds from the ground up.
The choice ultimately comes down to weighing convenience against consequences. Some riders find the extra speed worth the risks, while others prefer staying within legal limits.

