A little joy belongs in every day.

Learn how to ride an electric bike safely, from pre-ride checks and low-assist practice to smooth braking, turning, shifting, and traffic awareness.
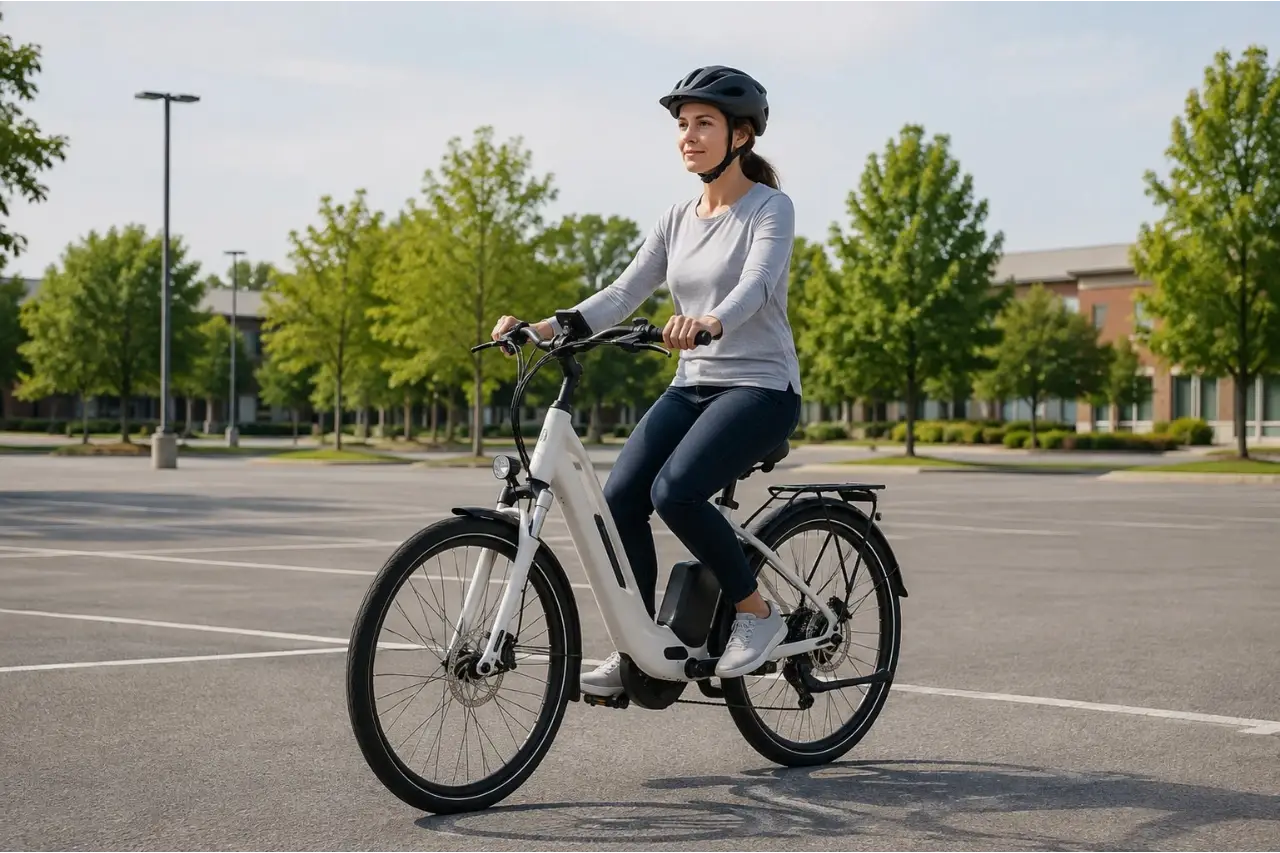
If you can already balance and steer a regular bicycle, learning how to ride an electric bike is mainly about managing the extra weight and motor assistance. Start by reading the controls, checking the bike, and practicing in a flat area away from traffic. Keep the motor off or use the lowest assist level until starting, braking, and turning feel predictable.
An e-bike still uses familiar bicycle controls, but three differences matter immediately:
Pedal-assist behavior also varies. A torque sensor responds to pedal force, while a cadence sensor detects crank movement and may feel less connected to how hard you pedal. Some systems blend several inputs. Learn how your bike responds instead of assuming every e-bike behaves the same way.
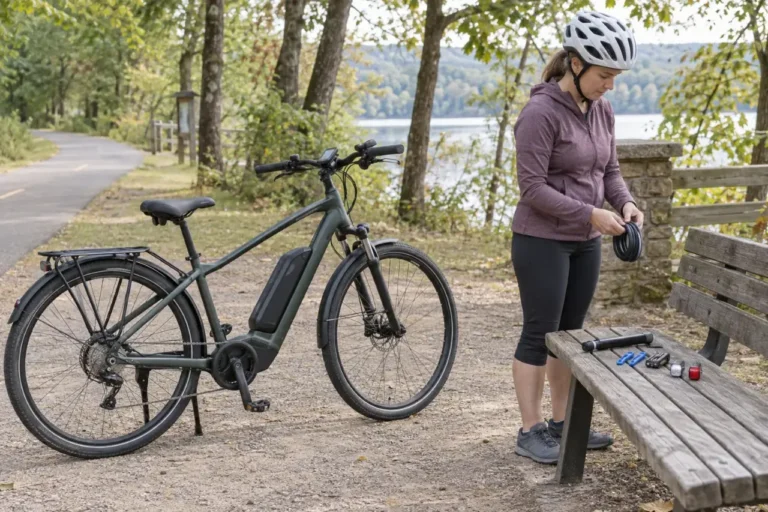
The U.S. Consumer Product Safety Commission advises riders to inspect the handlebars, brakes, throttle, lights, tires, cables, and frame and to follow the manufacturer’s instructions before riding. NHTSA also recommends an air, brakes, and chain check followed by a short test ride.
Set the saddle so you can start and stop without losing balance. When pedaling normally, your knee should remain slightly bent at the bottom of the stroke. Ask a bicycle shop to check your fit if you are unsure.
Confirm that:
Brake-lever layout is not universal, so check the owner’s manual rather than relying on habit.
Use the pressure limits provided by the tire, rim, and e-bike manufacturer. The tire sidewall may show a range or maximum rather than the ideal pressure for every rider. Load, tire width, terrain, and wheel setup also matter. Our e-bike tire pressure guide explains how to choose a safe starting pressure.
Squeeze each brake lever and roll the bike forward to confirm that each brake holds its wheel. Look for a lever that reaches the grip, fluid leaks, damaged cables or hoses, loose wheels, worn pads, or a cracked or badly warped rotor. Do not ride if either brake is unreliable. Use the full five-minute e-bike brake inspection if anything feels different from your previous ride.
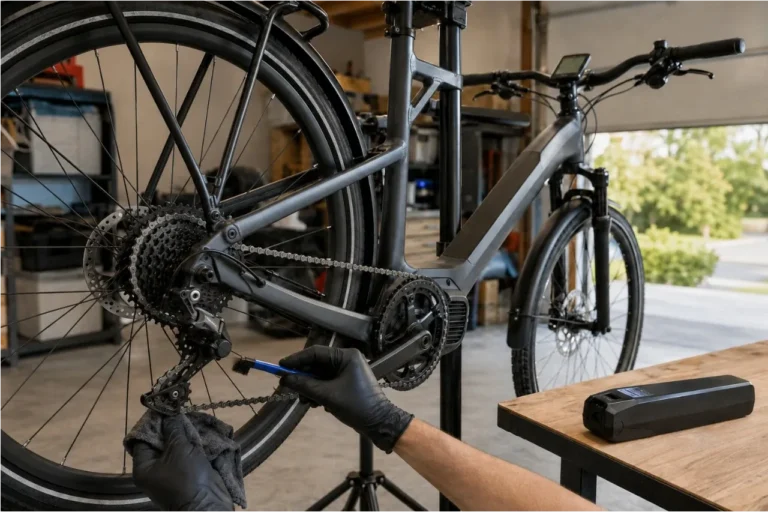
Check that the chain is seated, moves freely, and is not heavily rusted or damaged.
Make sure the battery is correctly seated and locked according to the manual. Check the display for enough charge to complete a short practice ride, and test the lights if visibility may be poor.
Do not use or charge a battery that is swollen, leaking, cracked, badly dented, unusually hot, smoking, or producing a strong chemical odor. Move away from a smoking or burning battery, follow emergency-service instructions, and do not attempt to handle it.
With the bike stationary and powered off, locate:
Read the manual to learn what the display icons mean and whether the throttle can operate at assist level zero. On some bikes, touching the pedals or throttle while mounting can start the motor. Keep the power off or select the manufacturer’s non-assist setting until you are seated, ready, and holding both handlebars.
Walk assist is for pushing the bike while walking beside it, not for riding.
Use an empty parking lot or another open, legal area with a firm surface. Wear a properly fitted bicycle helmet on every practice ride. In the United States, look for a label showing compliance with the CPSC bicycle helmet standard; see our e-bike helmet fit and safety guide for details.
Stand over the bike, keep a brake applied, and mount without touching the throttle. Practice getting on and off before adding motor assistance.
Select an easy mechanical gear and the lowest pedal-assist level. Look ahead, release the brakes, push off, and begin pedaling smoothly. Avoid pushing hard on the pedals or applying full throttle from a standstill.
Repeat short starts and stops. If assistance feels abrupt, switch the motor off and regain control before trying again.
Keep your eyes up rather than looking at the wheel or display. Relax your elbows, practice riding slowly without weaving, and scan over each shoulder while holding a straight path.
Begin with large circles and figure eights. Enter slowly and look through the turn. Until you understand the motor response, stop pedaling and release the throttle before a tight turn; crank movement can activate assistance on some cadence-sensor bikes.
Keep the inside pedal raised through the turn so it is less likely to strike the ground. Resume smooth pedaling as the bike straightens.
Use both brakes progressively. The front brake usually supplies much of the stopping force, while the rear brake helps keep the bike stable. Do not grab the front brake suddenly or rely only on the rear brake.
Start at walking speed. Squeeze both levers smoothly, keep the bike straight, and shift your weight slightly rearward. Increase speed only after you can stop without skidding or swerving. Then rehearse firmer stops; the goal is control, not locking a wheel.
Use the lowest level that comfortably matches the terrain. Higher assistance generally increases acceleration and energy use. Reduce assist before crowds, tight turns, slippery surfaces, and complex intersections.
Test a throttle at very low speed. Apply it gradually and keep your hand ready at the brake. Do not use it to compensate for poor balance or launch into a tight turn.
Shift to an easier gear before a hill or stop. With a derailleur, keep the pedals turning with light pressure while shifting; heavy motor and pedal load can create a harsh change and extra wear. Other drivetrains may require different techniques, so follow the manual.
Choose a short, familiar, low-traffic route. Ride in the same direction as traffic, obey signs and signals, and communicate before changing position or turning. Remain visible, predictable, focused, and alert.
At intersections and driveways, assume a driver may misjudge your speed. Cover the brakes and avoid passing where a turning vehicle could cross your path. Leave space from parked cars to avoid opening doors.
Use a white front light, red rear light, reflectors, and visible clothing when required or visibility is poor. Do not hold or use a phone while riding.
Before climbing, select an easier gear and build a smooth cadence. Sudden throttle or high assist on gravel can break rear-wheel traction. For more technique, see how to ride an e-bike up steep hills.
Slow down before descending or entering a corner. Wet pavement, leaves, gravel, painted markings, and metal covers can reduce traction. Brake earlier and avoid abrupt steering or braking. Follow the manufacturer’s wet-weather limitations.
Legal information checked August 26, 2026.
The three-class framework is widely used in the United States, but definitions, age and helmet requirements, equipment rules, and route access are not identical everywhere. A city, county, park, trail manager, or private landowner may control a route.
Check the bike’s classification label and current rules for every new route. GoEBikeLife’s federal and state e-bike law guide explains which level of government controls different requirements. Local agencies and land managers remain the final authority.
| Check | Confirm before leaving |
|---|---|
| Fit | Saddle, handlebar, and controls are secure and comfortable |
| Tires | Undamaged and within approved pressure limits |
| Brakes | Both work firmly and predictably |
| Battery | Secure, undamaged, and sufficiently charged |
| Controls | You understand assist, throttle, gears, and lights |
| Safety gear | Helmet fitted; lights and visibility gear ready |
| Route | Short, legal, familiar, and low traffic |
Stop riding for loose steering or wheels, frame or fork damage, unreliable brakes, tire problems, unexpected motor activation, a sticking throttle, electrical damage, or any battery warning sign. Have unresolved faults inspected by a qualified bicycle or e-bike technician.
Is an electric bike easy to ride for a beginner?
It is usually manageable for someone who can already ride a bicycle, but the weight and motor response require practice. Someone who cannot yet balance, steer, start, and stop a bicycle should learn those skills before adding motor assistance.
Do you have to pedal an electric bike?
A pedal-assist-only e-bike requires pedaling for motor support. A throttle-equipped model may move without pedaling, depending on its design. Local rules may restrict throttle-equipped e-bikes.
Can you ride an e-bike with the motor off?
Most can be pedaled with the motor off, although extra weight may make them harder to pedal than a conventional bicycle.
What assist level should a beginner use?
Begin with the motor off or the lowest assist setting in a flat area away from traffic. Increase assistance one level at a time only after starting, turning, and braking feel predictable.
How should you stop an electric bike safely?
Look ahead, stop pedaling or release the throttle, and apply both brakes progressively while keeping the bike straight. Practice at low speed before attempting harder stops or riding in traffic.